The Tilt-Shift Photography Technique is one that has been very popular in contemporary art. It mimics the look of a Tilt-shift lens, which costs upwards of $1500 and is used for Architectural photography to make sure the lines of a building are parallel (which is close to impossible to do with a regular camera lens). We will be looking at examples of tilt shift photography and you will be doing your own faking of tilt shift photography in Photoshop using the following tools: Duplicate Layer, Tilt Shift Lens Blur, Saturation, and Contrast.
For the Do- Now, open up the following tutorial on Tilt Shift Photography
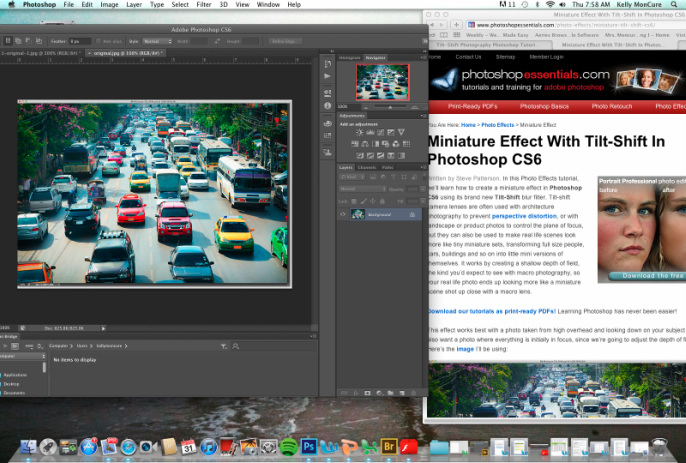
Drag the image from the top of the tutorial into Photoshop CS6.
Have the tutorial open on the right hand side and the image in Photoshop on the left hand side of your screen, like below.
For the Do- Now, open up the following tutorial on Tilt Shift Photography
Drag the image from the top of the tutorial into Photoshop CS6.
Have the tutorial open on the right hand side and the image in Photoshop on the left hand side of your screen, like below.
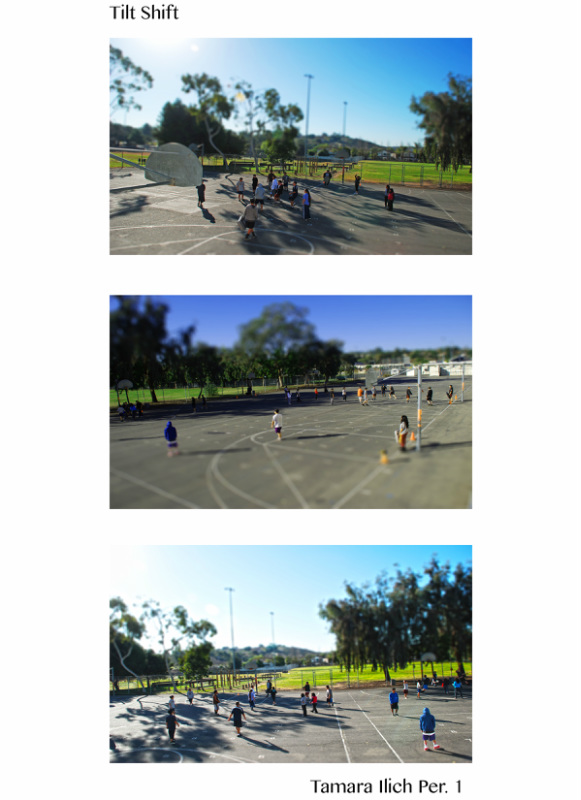
We will be working on the tutorial together, then you will be doing the technique on three of your best birds eye view pictures from the block day. When you are done, you will be placing them within the three photo template in the Tilt- Shift folder on the shared drive.
Graded on the following (100 points total)
1. Photos used were using the birds eye view technique of shooting from above (20 points each photo)
2. Time on task (10 points)
3. Gradual blur (10 points)
4. Effective use of the contrast and saturation tools for the illusion (10 points)
5. Good craftsmanship- no smudges/ scratches/ thumbprints on photo/ resized photos (10 points)
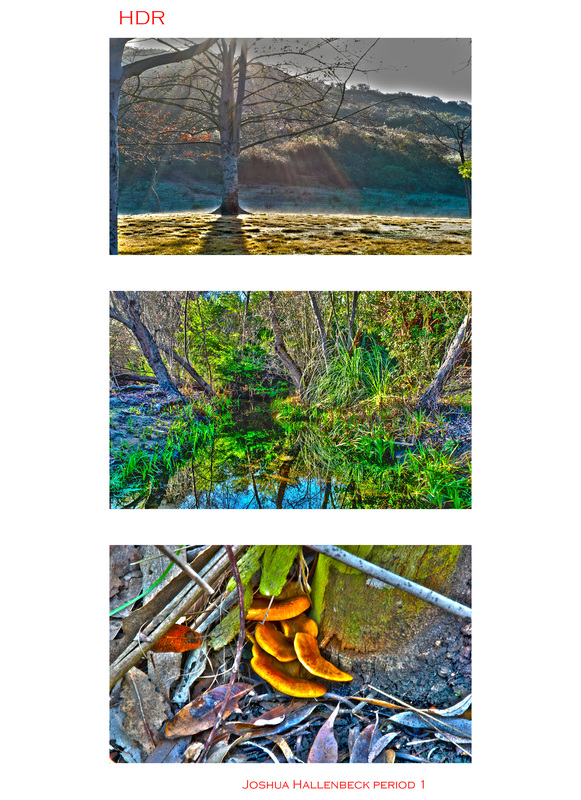
If you finish before the end of class, start work on three of your best composed photographs for the HDR technique. You will also put them on a three photo template in the shared drive under the HDR folder in Second semester.
For a refresher on how to do the HDR Technique-
Go to Photoshop CS6
File > Automate > Merge to HDR Pro
Choose five of the exposures of a composition (-1, -.5, 0, +.5, +1)
Press okay- then a screen with a box will come up with presets and ways to adjust your image
When you are happy with how it looks, be sure to merge the layers and save as a jpeg.
 RSS Feed
