Do these steps in order to make your HDR photograph, which combines five exposures to create an image with clearly defined highlights and shadows.
1. Open up Photoshop.
2. Go to FILE > AUTOMATE > MERGE TO HDR PRO...
3. A box will come up which reads "Source files. Choose two or more files..."
4. Press BROWSE > PHOTOS (under media- you'll have to scroll down to see it) > iPhoto
5. Choose the FIVE exposures of the SAME subject by pressing and holding down the COMMAND key > OPEN
6. Once you see the five selected images (DSC_000etc) in the box under the Files, press OK
7. Wait a minute for Photoshop to do it's magic- the computer program is figuring out how to align all the photographs correctly, and it takes a little longer then usual since they are large files
8. Another box will pop up for HDR, with the photo looking super cool. Along the bottom you will see a thumbnail of each image checked off- if one seems off, you can uncheck it to make the HDR more successful.
9. On the top right of the right hand side, there is an option to check off "ghost", which means that the computer will align the images even more to make it sharper and look better.
10. You are free to adjust the brightness/ saturation etc manually OR you can select from the top right of the box whether you want it more saturated, black and white, saturated, photo realistic, etc.
11. Make sure you are getting rid of any dust in the background/ sky! Nothing ruins a picture more then a big piece of dust smack dab in the center of the sky! To get rid of it, use the spot healing tool brush, which looks like a band-aid with a dashed circle, about 5 down from the top in the tool bar.
12. SAVE YOUR WORK in your finished projects folder as a jpg, as the appropriate compositional rule. Make sure you are using DASHES instead of a period between your first and last name etc. Here they are, in order of the sheet (make sure the photo matches the compositional rule named!***)
lastname-firstname-ruleofthirds-hdr.jpg
lastname-firstname-leadingline-hdr.jpg
lastname-firstname-framing-hdr.jpg
lastname-firstname-simplicity-hdr.jpg
lastname-firstname-symmetry-hdr.jpg
lastname-firstname-crop-hdr.jpg
13. Upload your photographs onto the shared folder RBV-Class1 in the appropriate classroom and assignment folder, and onto My Big Campus.
***Compositional rules for your reference***
A. Rule of thirds (your subject is in the 1/3 quadrant of the picture, like it’s folded into thirds)
B. Leading line (your eye will be led through the photograph through a line, such as a sidewalk or a path)
C. Framing (your subject will be “framed” by trees, a gazebo, etc)
D. Simplicity (your subject is clearly defined with a non-busy background)
E. Symmetry (think of a butterfly wing/ two trees evenly spaced)
F. Crop (get in close to your subject to show texture and detail)
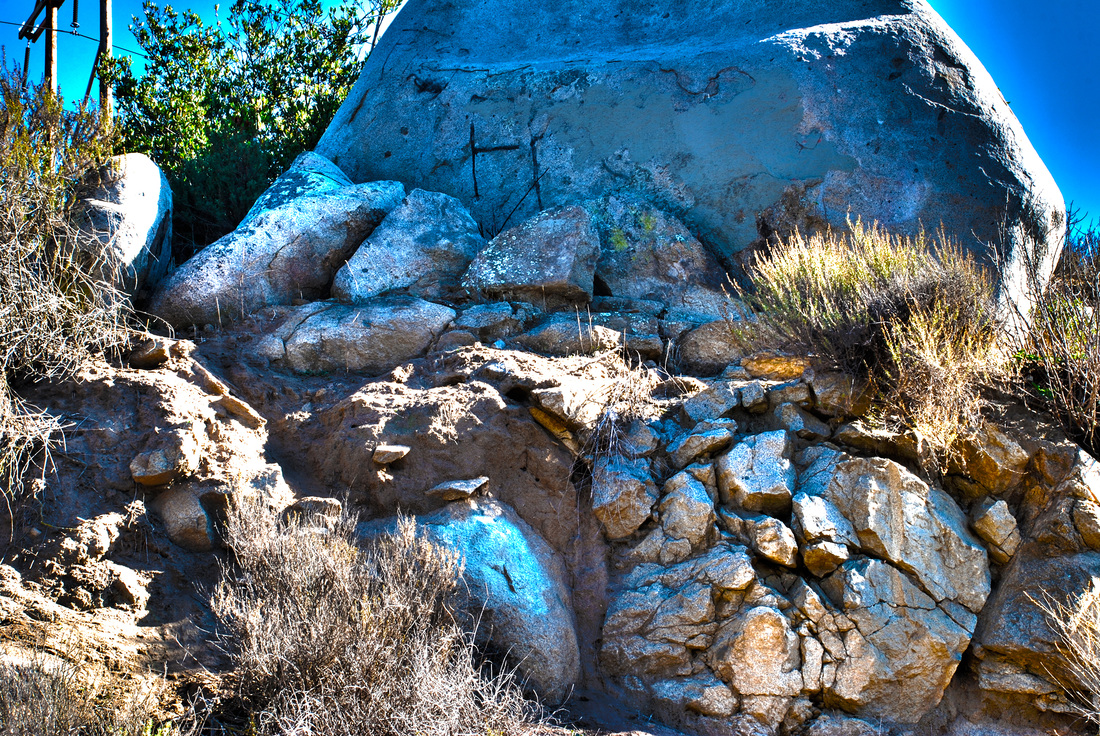
Timothy Bunda, Class of 2014, Crop
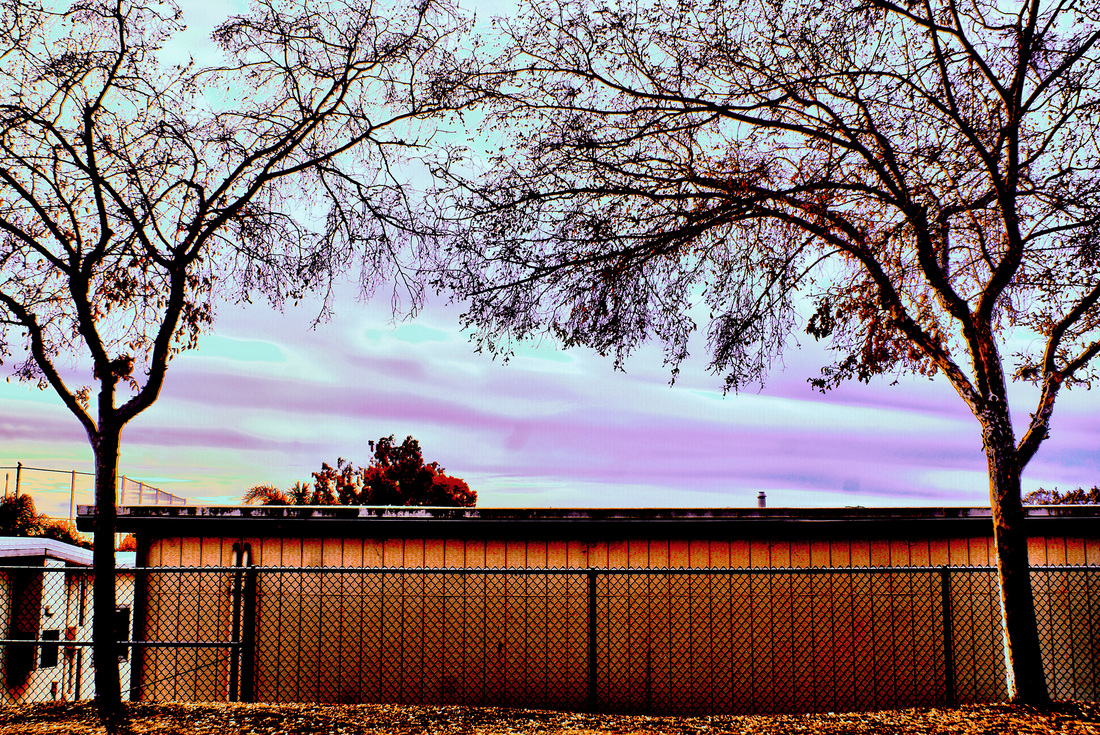
Ashton Thomas, Class of 2014, Symmetry
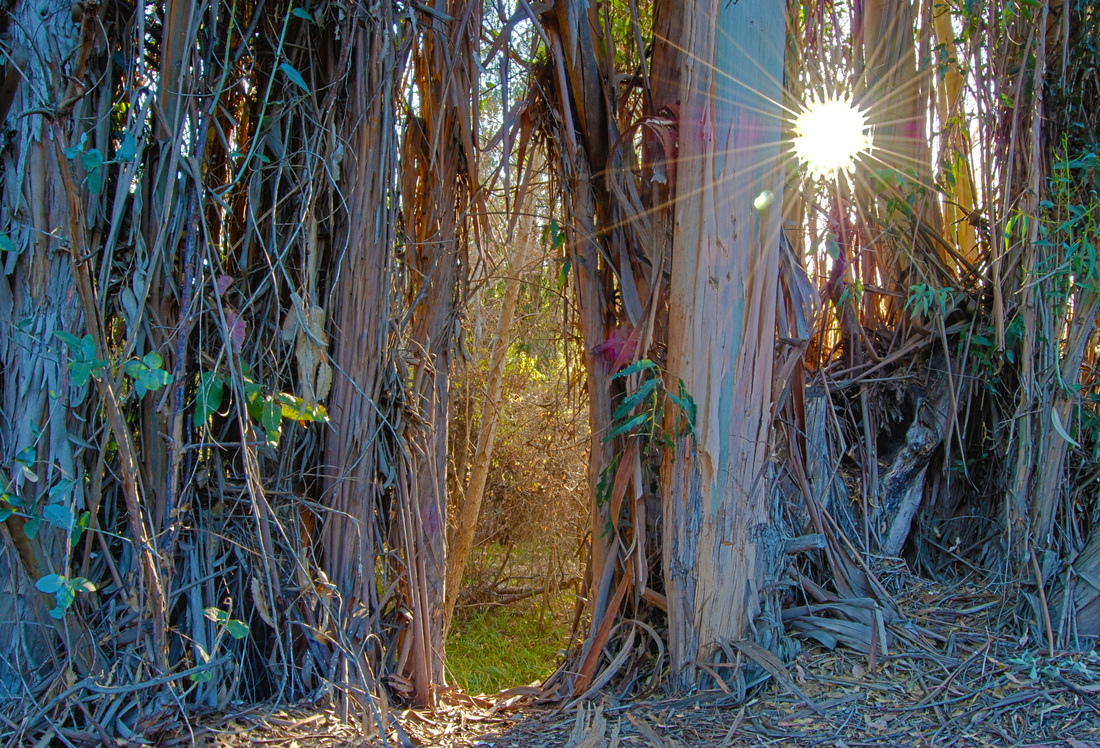
Eliot Ehrler, Class of 2014, Framing
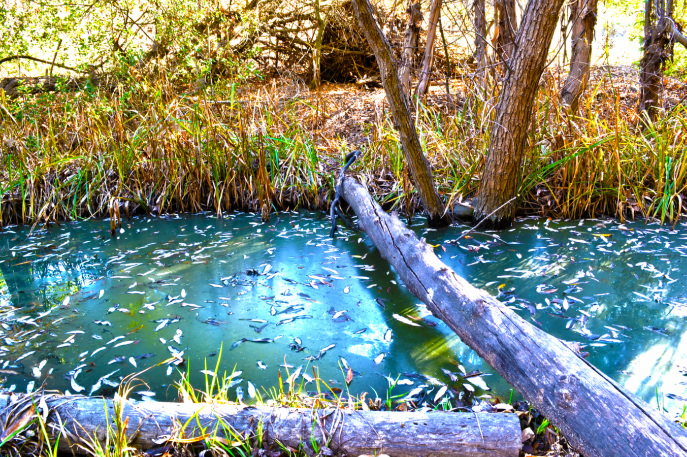
Mackenzie Sanchez, Class of 2014, Leading Line
 RSS Feed
