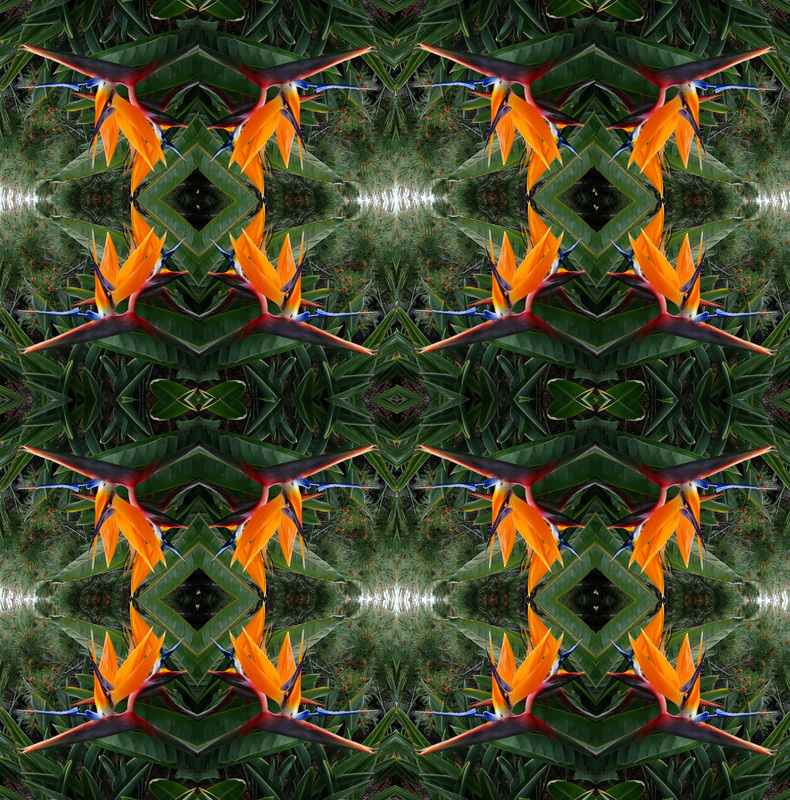
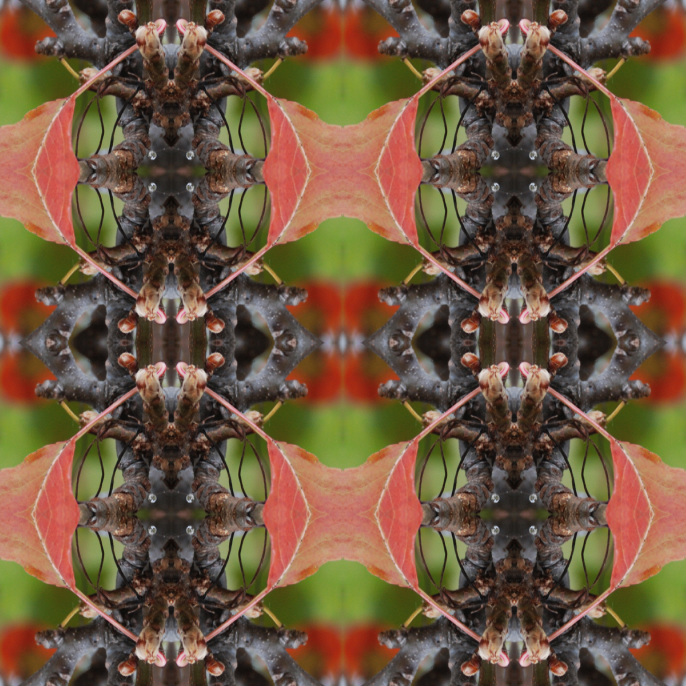
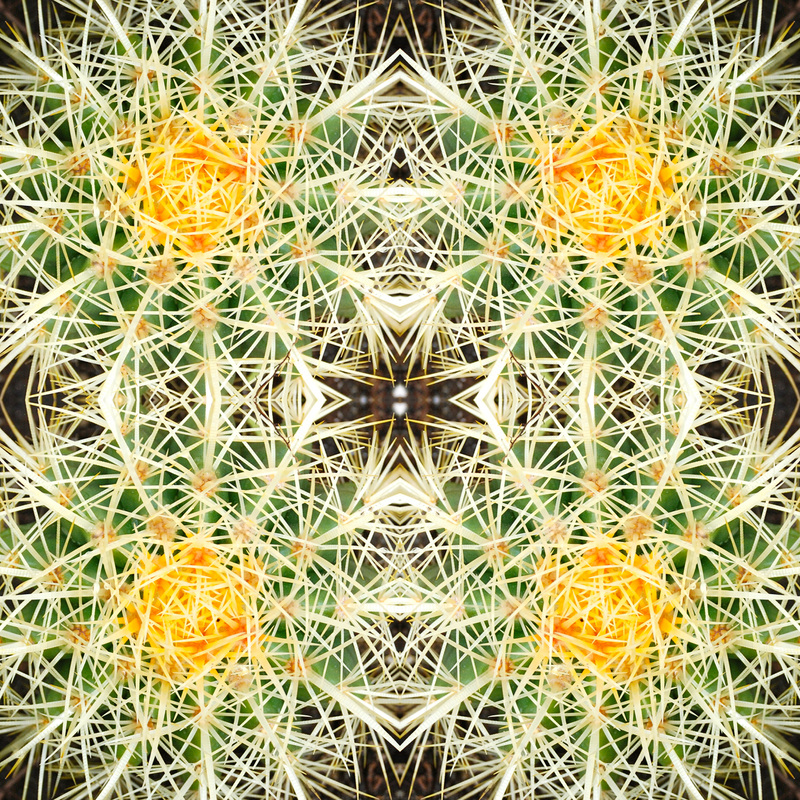
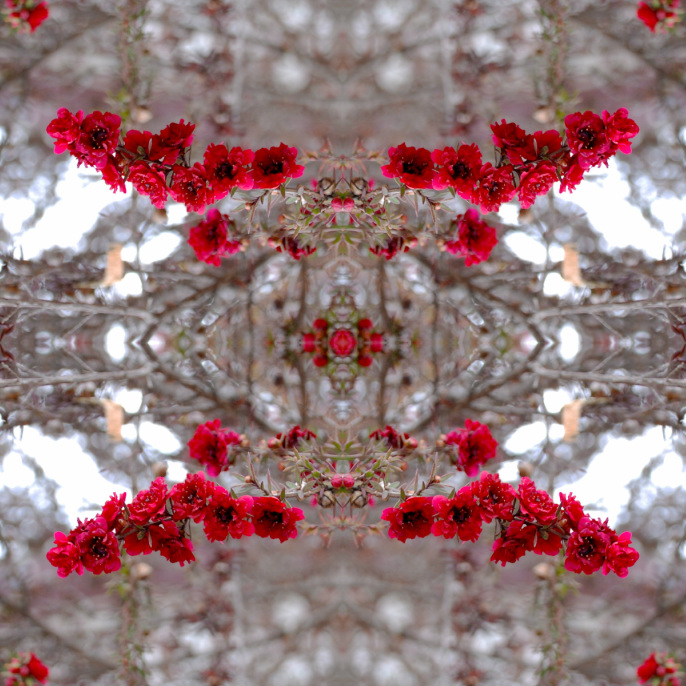
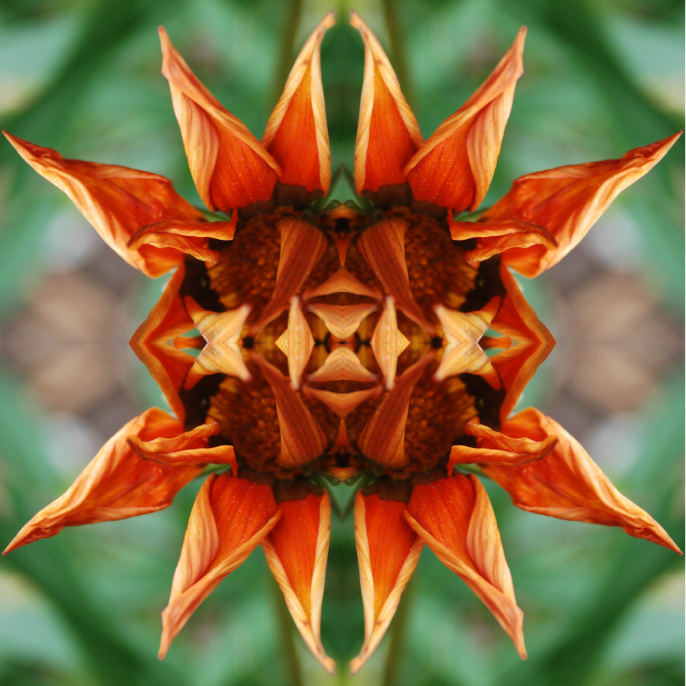
Kelly Moncure, 2013
To create a mandala, do these steps in order:
1. Go to file>new> custom from the drag down menu.
2. Create an 8" high x 8" wide document with 300 resolution.
3. Create grid line markers at the 4" wide and 4" tall area by dragging from the rulers.
4. Save as Mandala 8 inch template in your templates folder.
5. Choose a photograph that you think may look good as a mandala from iPhoto. Tree branches, flowers, etc work well.
6. Drag that photo into the icon for Photoshop as a new file.
7. Look at image size. If it is larger then 12" wide, change the dimensions to 8" x 12", 300 resolution.
8. Crop within the image to 4" square. Tip: once you select the crop tool, at the top there is an option to get
1 x 1 (square). Select that to make sure you can get a perfect square. Make sure it's 300 resolution!
9. Drag the image of the original crop to the blank canvas and position it in a corner.
10. Duplicate the layer by going layer> duplicate layer
11. Move the duplicate layer to the side and change how it's positioned by going edit> transform >rotate > flip horizontal, or flip vertical, etc.
12. Keep duplicating the original layer to make four separate layers of the same image and work with them to make sure they meet in a pleasing matter.
13. Move the guide to make sure there's no white areas. If there are, reposition the images so they overlap slightly.
14. When they look best, merge the layers and then adjust the brightness/contrast as needed.
15. Save as a jpeg and save as lastname.firstname.mandala1, 2, 3, 4, 5*** (do five total) in the Mandala shared folder and on My Big Campus.
16. ***For your fifth mandala, resize your image to 2" square and create a new document that is 8" square and grid it out into 2" squares. Put your images within that canvas (see my example above).
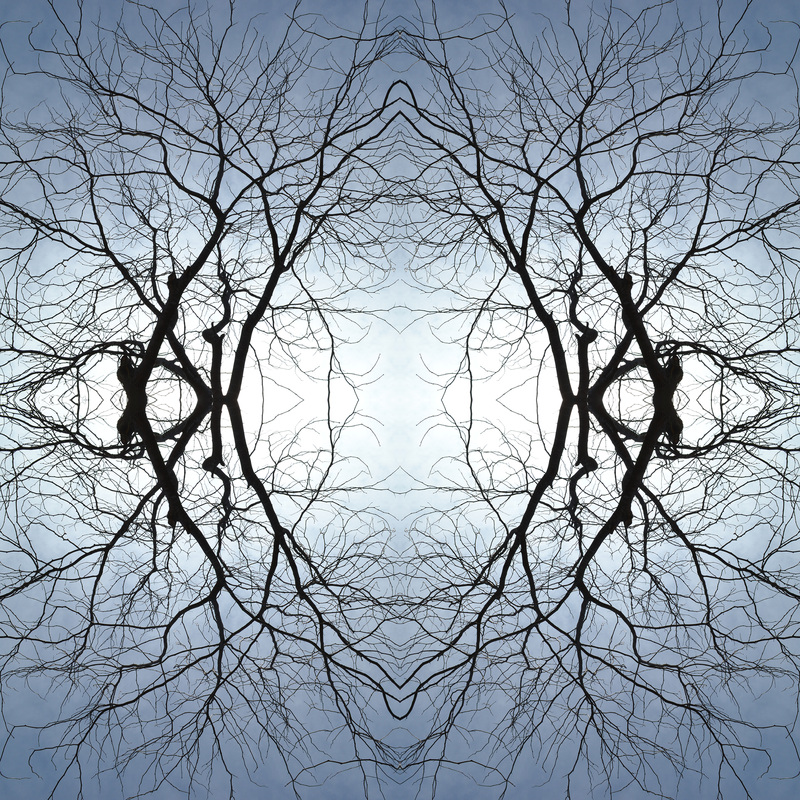
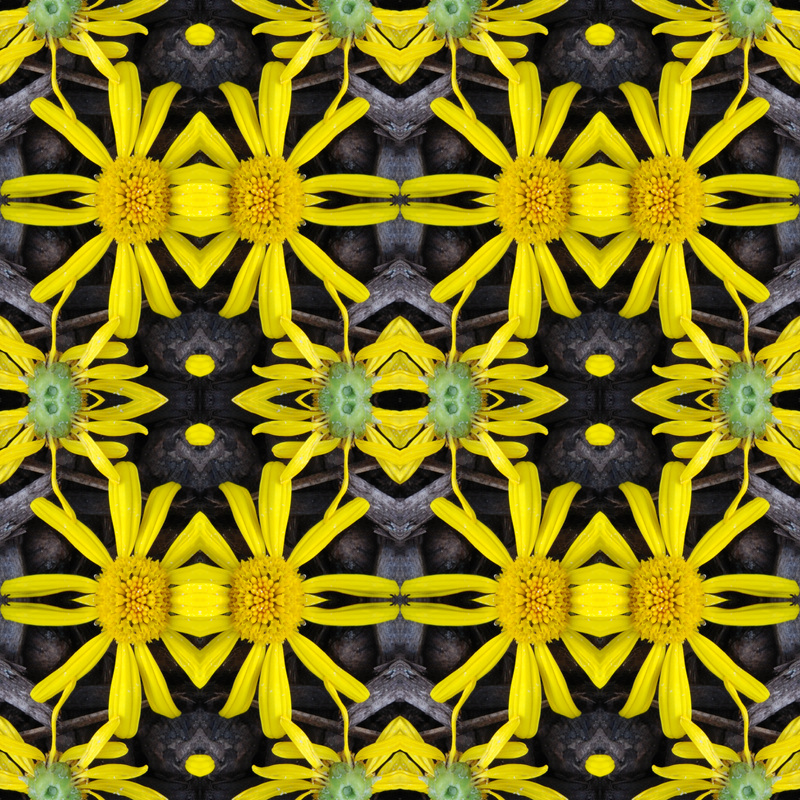
Carter Ross, Class of 2015
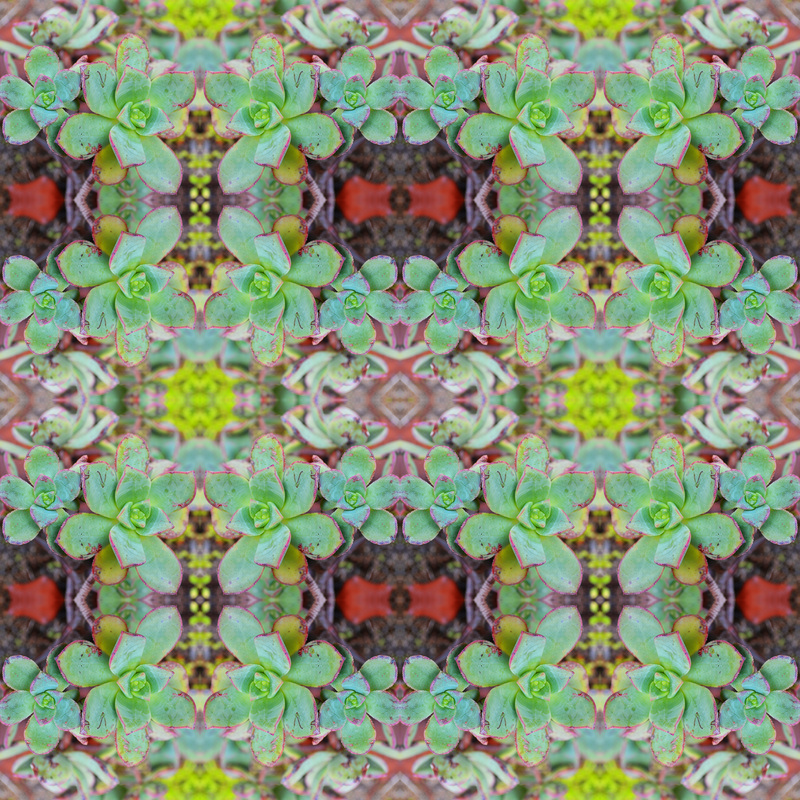
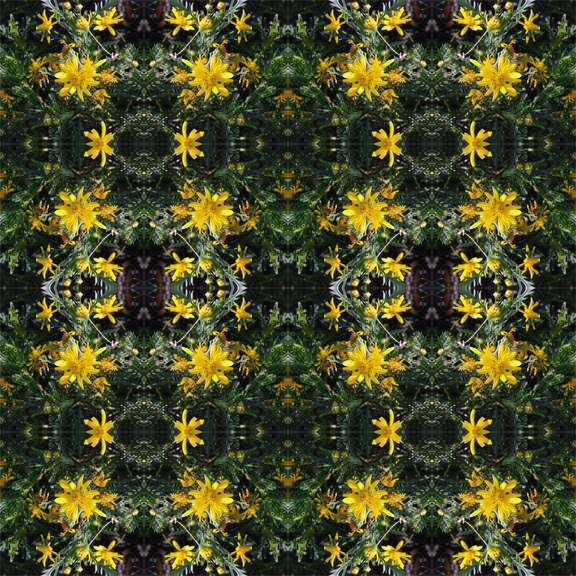
Camille Bassett, Class of 2015
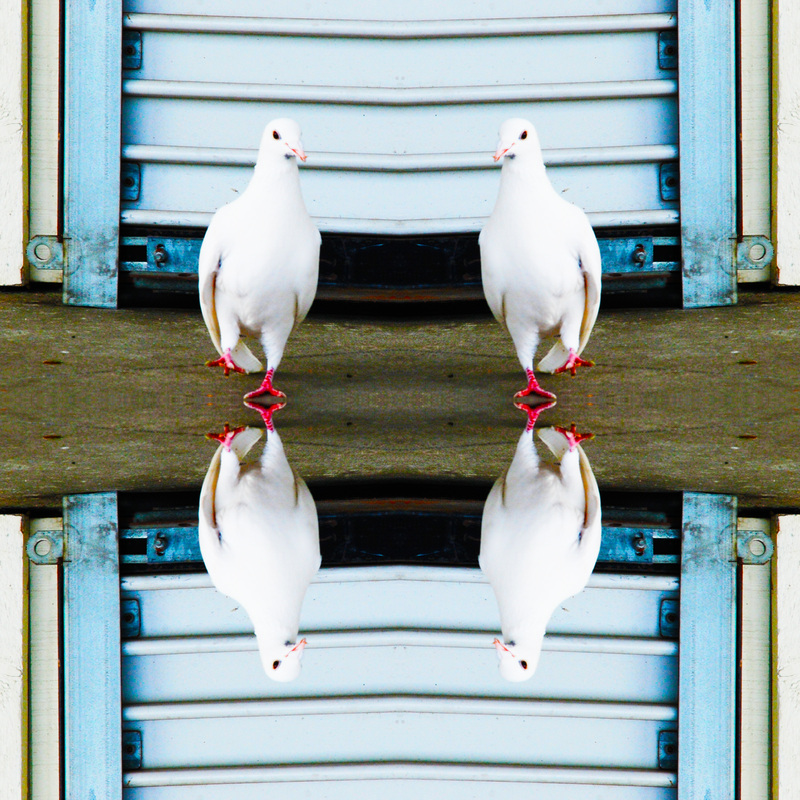
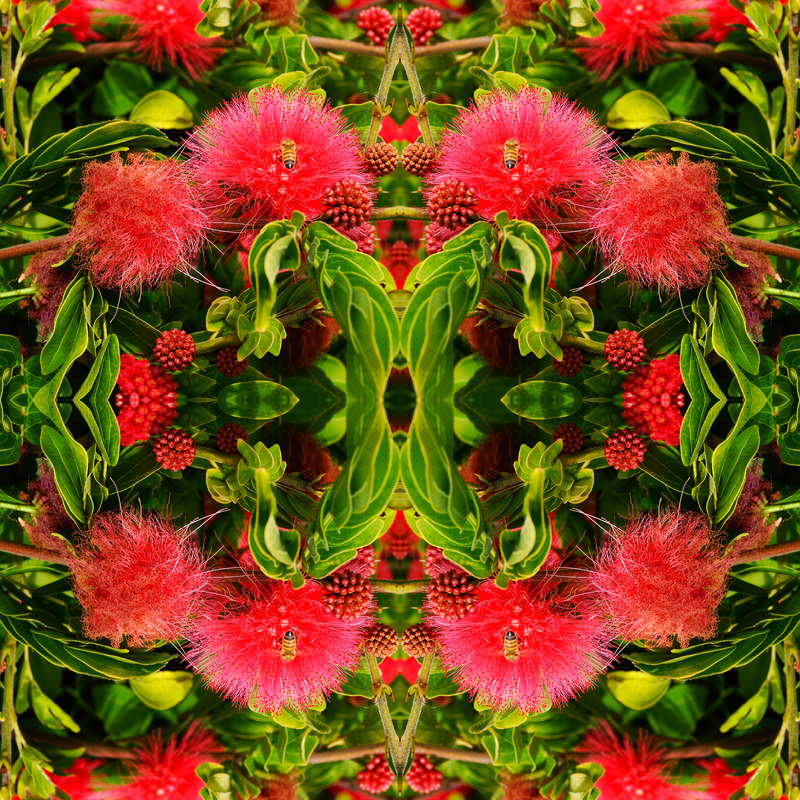
Kristina Dudich, Class of 2014
Brianna Cabrera, Class of 2014

Daisy Aguilar, Class of 2014
Clariza Honorato, Class of 2015
Eileen Jones, Class of 2014
Kendra Molano, class of 2014
Mariah Florence, Class of 2014
Elizabeth Reyes, Class of 2015
Victoria Mang, class of 2014
 RSS Feed
