


Please follow the tutorial here: www.youtube.com/watch?v=SBv6VqBafnU&t=11s
How to use guide layout for tessellation https://www.youtube.com/watch?v=fhTjZKhoGEc
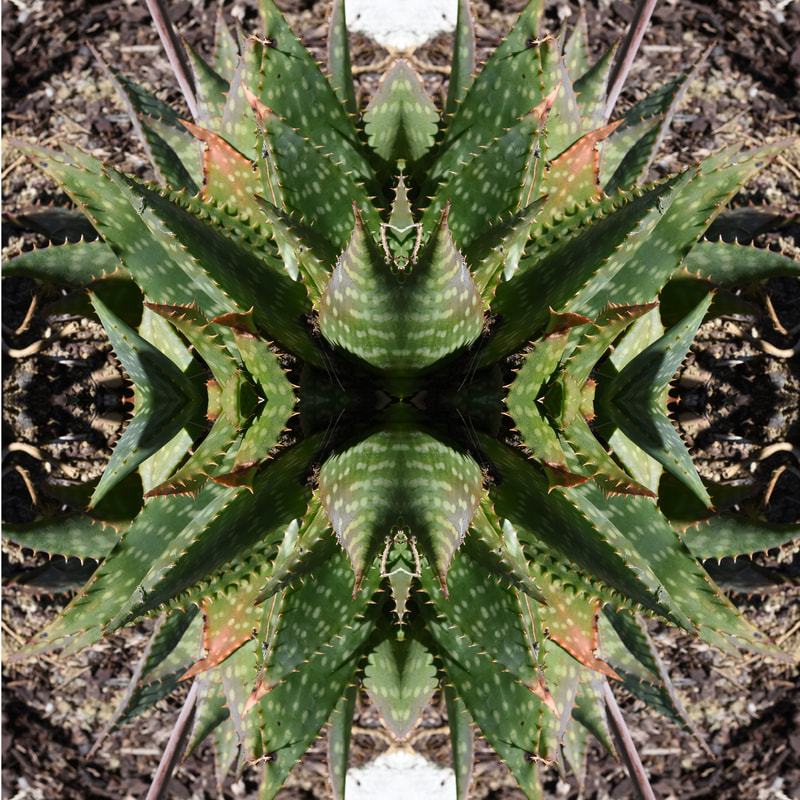
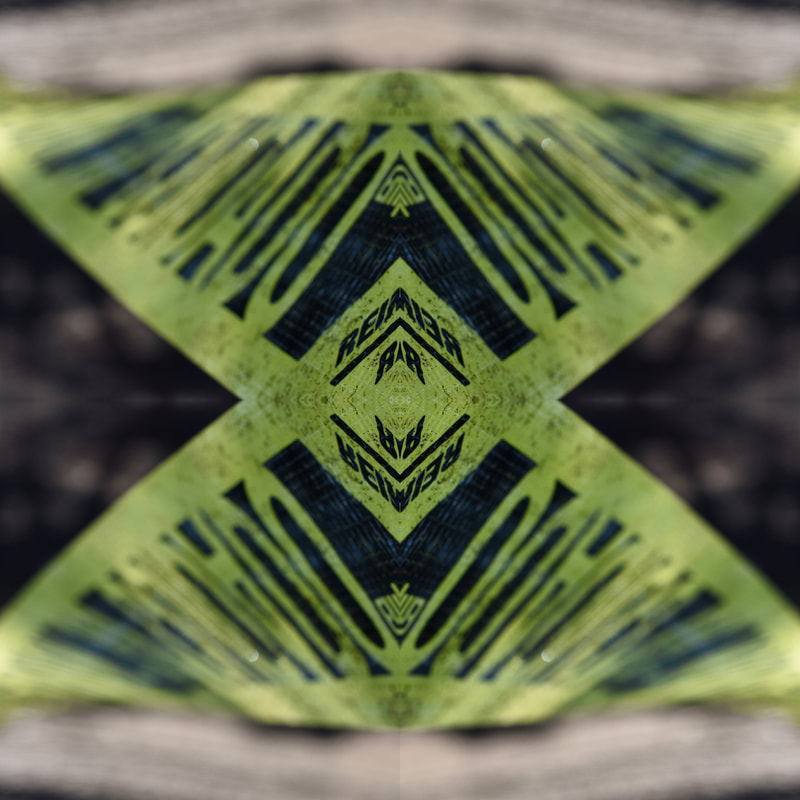
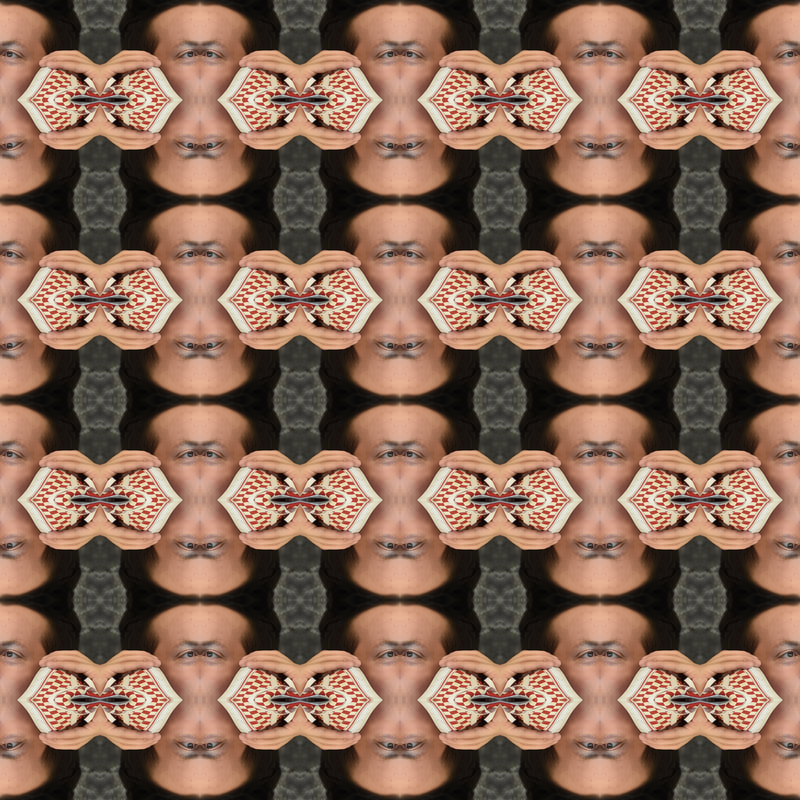
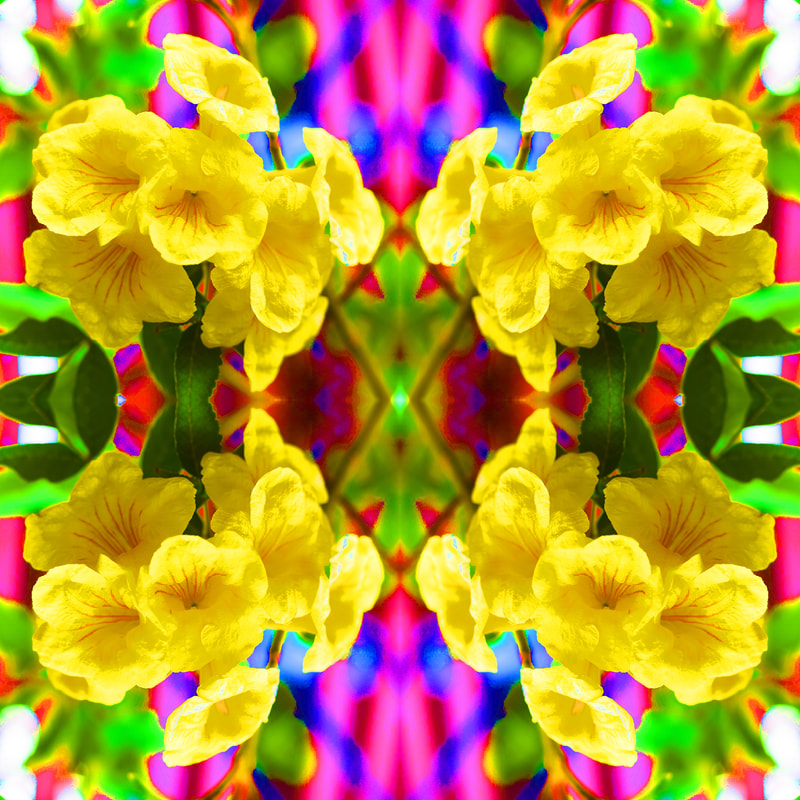
Examples here: moncurephoto.weebly.com/class-assignments-2016--2017/category/tessellations
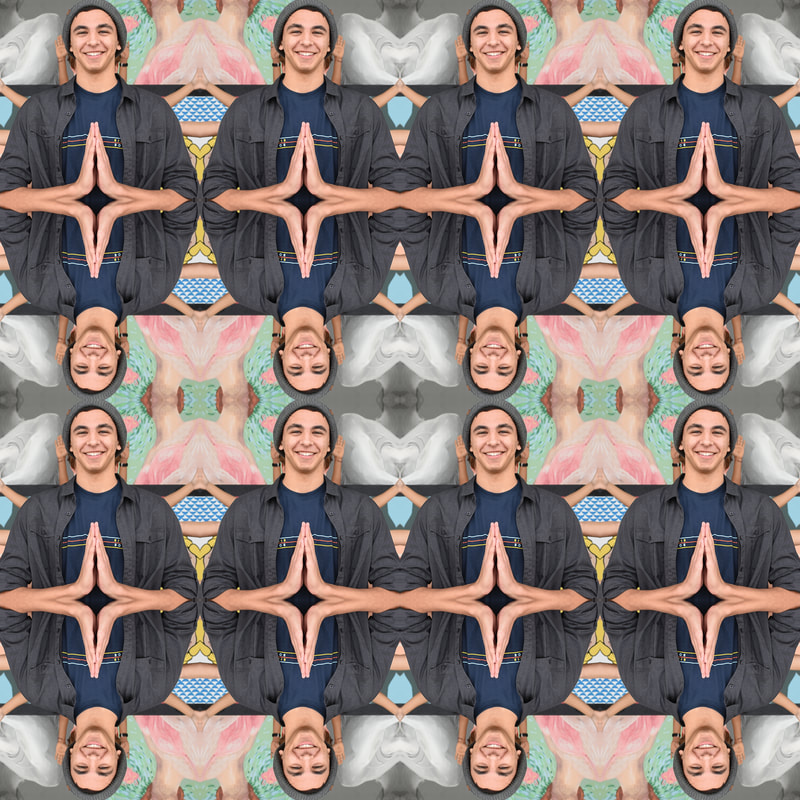
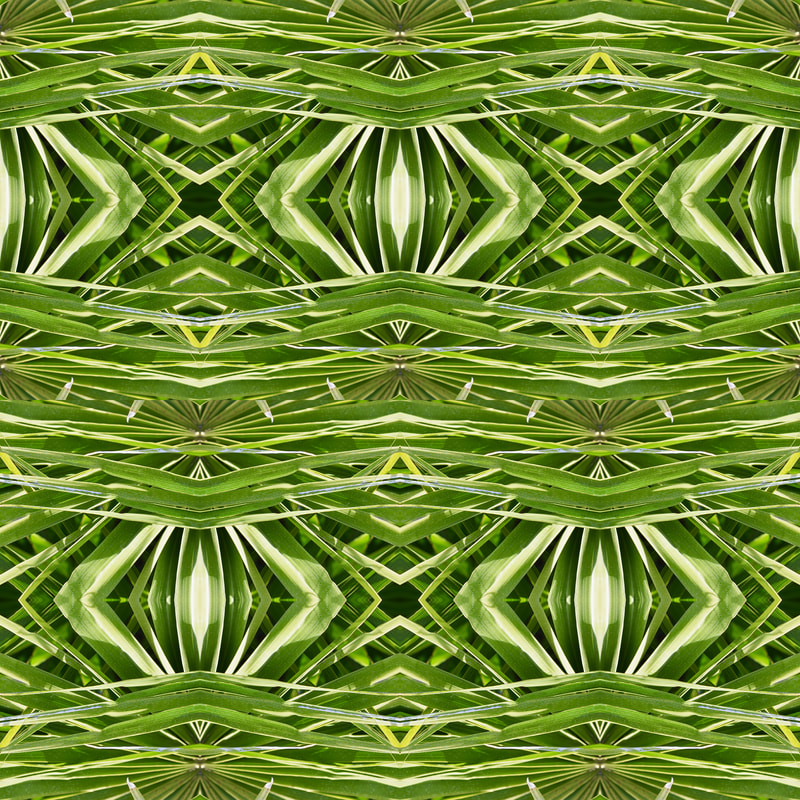
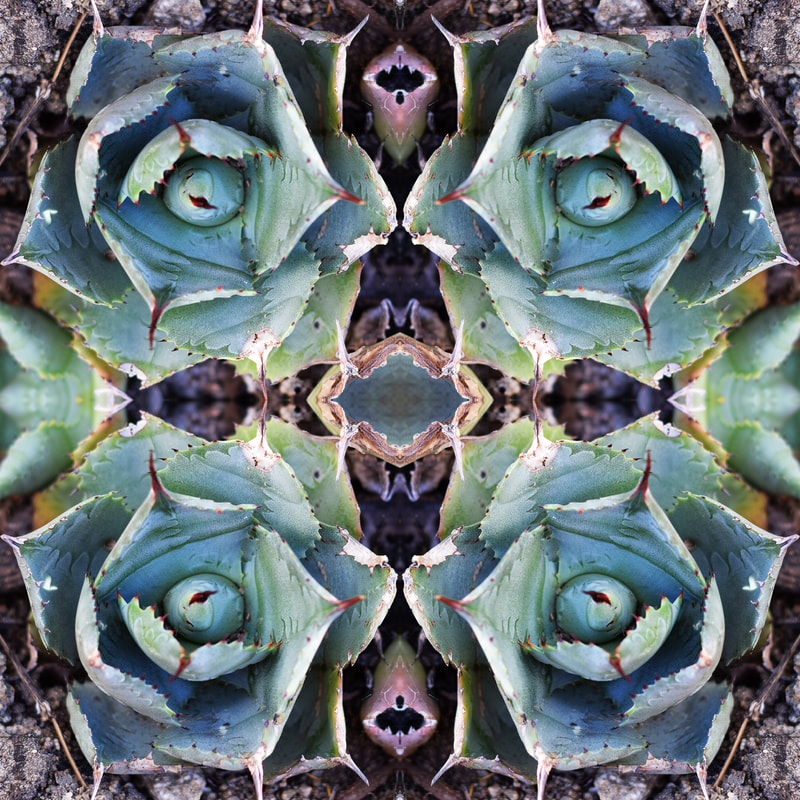
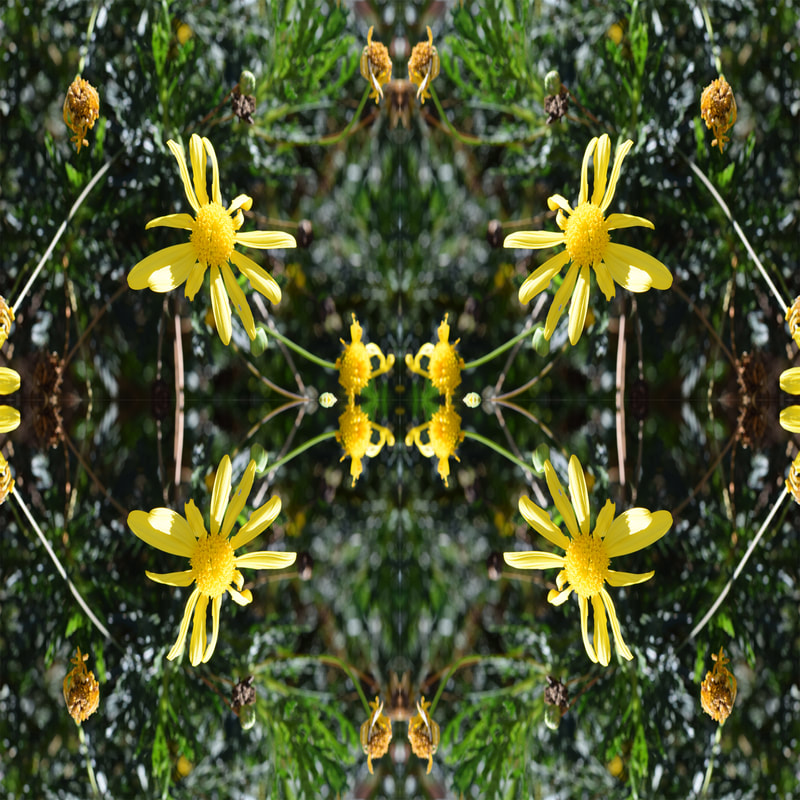
You will make five tessellations from different images broken out into the following:
two tessellations using four inch squares from two different photos
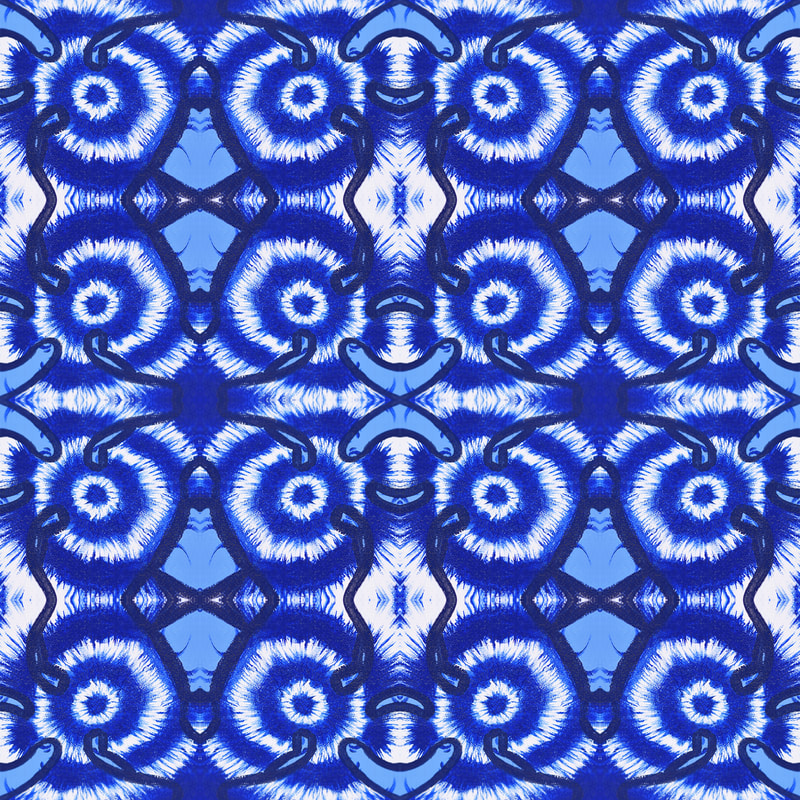
two tessellations using two inch squares from two different photos***
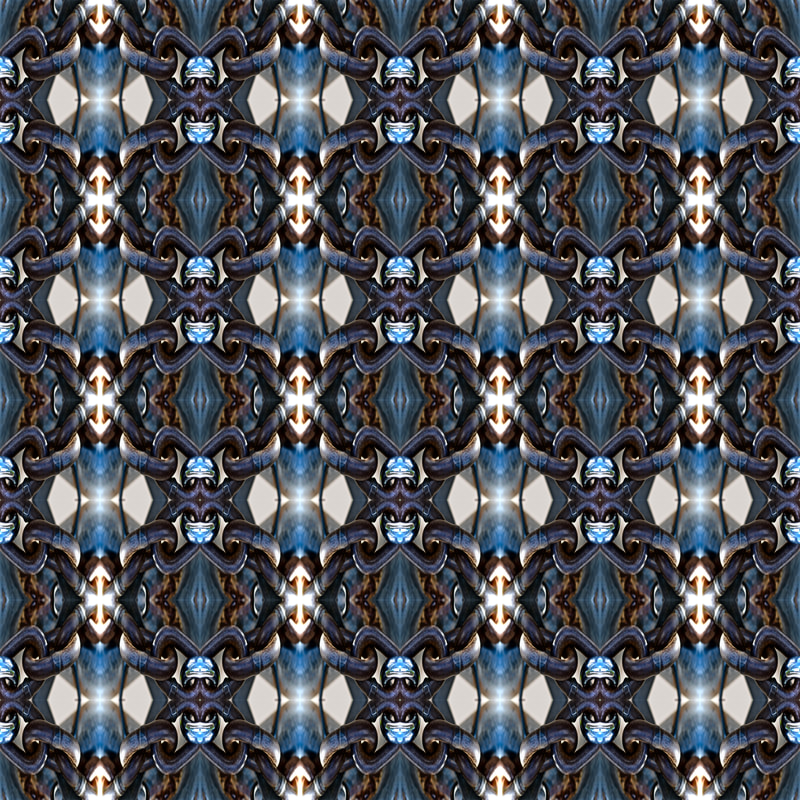
CHALLENGE- one tessellations using one inch squares from a different photo****
All images should be on an 8" square template that you'll make new each time and all images are unique
Move the guidelines after you complete each one to make sure there's no white space- if there is, you have to move a layer over a bit to cover it up.
Save them as lastname-firstname-tessellation1,2.3...5.jpg
To create a tessellation, do these steps in order:
1. Go to file>new> custom from the drag down menu.
2. Create an 8" high x 8" wide document with 300 resolution.
3. Create grid line markers at the 4" wide and 4" tall area by dragging from the rulers. If you are not able to view the rulers, press view > view ruler and check next to it.
** you may want to make a more precise one by going view- create new guide- 4" vertical and then create new guide- 4" horizontal.
4. Save as Tessellation 8 inch template in Photoshop or Jpeg on your desktop.
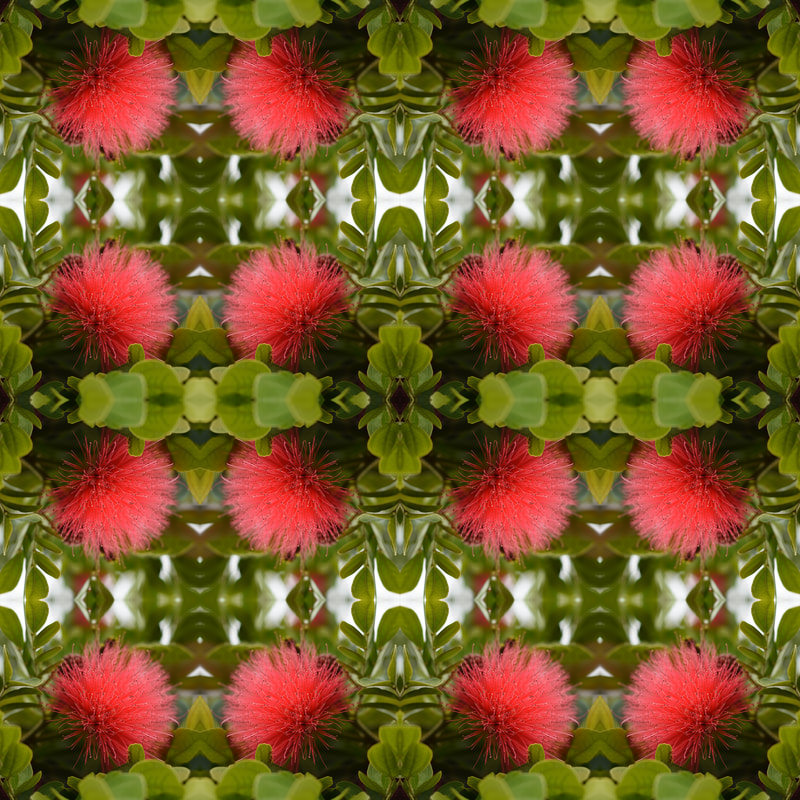
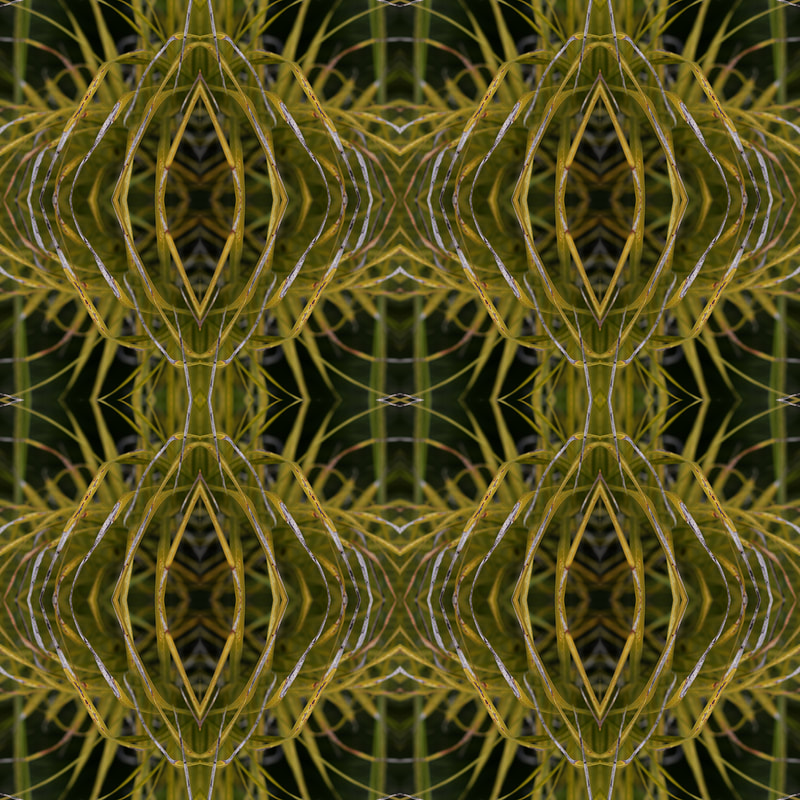
5. Choose a photograph that you think may look good as a tessellation from iPhoto. Tree branches, flowers, etc work well.
6. Drag that photo into the icon for Photoshop as a new file. (Do not drag it on top of the mandala until you've cropped it to the correct size using the steps below!)
7. Crop within the image to a square. Use the option on the top left side to change it from "unconstrained" to 1 x 1 square.
8. Edit the size of the image by pressing image > image size and change to 4" wide and 4" height, 300 resolution.
9. For the sample- drag the image of the original cropped photo using the move tool to the tessellation template and position it in the top left hand corner.
10. Duplicate the layer by going layer> duplicate layer.
11. Move the top duplicate layer to the right side and change how it's positioned by going edit> transform > flip horizontal.
12. Go back to layer one and layer >duplicate layer again.
13. Move the next duplicate layer from the top left hand side to the bottom left corner and press edit> transform> flip vertical.
14. Highlight layer one again and layer> duplicate layer for the third time.
15. Move the layer to the bottom right hand side and edit > transform > flip horizontal and then edit >transform > flip vertical. You may have to adjust it to make a geometric pattern in the center.
16. Move the guide using the move tool to make sure there's no white areas. If there are, reposition the images so they overlap slightly. Again, make sure that all the layers are copied from the original layer to make sure they're the same size.
17. When they look best, save your work as a Photoshop file to your desktop. DO NOT MERGE your desktop copy since it may need to be adjusted.
18. Merge the layers by pressing layer > merge visible and then adjust the brightness/contrast as needed. Save as lastname-firstname-tessellation1.jpg and put in the class folder 03-01-2017 Tessellation.
19. ***For your third and fourth tessellation, resize your image to 2" square and create a new document that is 8" square and grid it out into 2" squares.
for the 2" template, follow steps 1 & 2 and create grids at the 2", 4", and 6" markers.
You can make the guidelines exact by pressing
view- new guide- horizontal 2 inch, then view- new guide- horizontal 4 inch, view, new guide- horizontal 6 inch, then view- new guide- vertical 2 inches, view- new guide- vertical 4 inches, view- new guide- vertical 6 inches
You can also make the grid by view- new guide layout- 4 columns horizontal, 0" gutter, 4 columns vertical, 0" gutter.
20. **** For your fifth tessellation, resize your template to 1" square and create a new document that is 8" square and grid it out to 1" squares.
for the 1" template, follow steps 1 & 2 and create grids at the 1", 2,", 3", 4", 5", 6" and 7" markers.
You can make the guidelines exact by pressing
view- new guide- horizontal 1 inch, then view- new guide- horizontal 2 inch, view, new guide- horizontal 3 inch...
view- new guide- vertical 1 inch, then view- new guide- vertical 2 inch, view, new guide-vertical 3 inch...
You can also make the grid by view- new guide layout- 8 columns horizontal, 0" gutter, 8 columns vertical, 0" gutter.
Create a new Padlet post named "Tessellations"
Put your five tessellations there along with the original photograph next to or underneath it.
Explain the following in complete sentences not 1.2.3:
1. What does tessellation mean, in your own words?
2. How you created the tessellation- be specific, not just "I followed the instructions from Mrs. Moncure." I want you to be able to do this in five years, and use your own words! DO NOT COPY & PASTE FROM HERE!
3. What did you like about this? What was your favorite image?
4. What did you struggle with?
5. If you had to do it over again, what would you do differently?
Graded based on 20/20
5 points: time on task, citizenship, coming to class on time, no using cell phone, not disturbing others
5 points: photographs- images in focus, good image, not too bright or dark, no dust
5 points: craftsmanship- no white lines, good illusion, well composed, made geometric shapes
5 points: Padlet post- title, images, and write up complete and well thought out, complete sentences
Period 1 padlet.com/kclarkart/tessellation1
Period 2 padlet.com/kclarkart/tessellation2
Period 4 padlet.com/kclarkart/tessellations4
Period 5 padlet.com/kclarkart/tessellations5
Period 6 padlet.com/kclarkart/tessellations6
How to use guide layout for tessellation https://www.youtube.com/watch?v=fhTjZKhoGEc
Examples here: moncurephoto.weebly.com/class-assignments-2016--2017/category/tessellations
You will make five tessellations from different images broken out into the following:
two tessellations using four inch squares from two different photos
two tessellations using two inch squares from two different photos***
CHALLENGE- one tessellations using one inch squares from a different photo****
All images should be on an 8" square template that you'll make new each time and all images are unique
Move the guidelines after you complete each one to make sure there's no white space- if there is, you have to move a layer over a bit to cover it up.
Save them as lastname-firstname-tessellation1,2.3...5.jpg
To create a tessellation, do these steps in order:
1. Go to file>new> custom from the drag down menu.
2. Create an 8" high x 8" wide document with 300 resolution.
3. Create grid line markers at the 4" wide and 4" tall area by dragging from the rulers. If you are not able to view the rulers, press view > view ruler and check next to it.
** you may want to make a more precise one by going view- create new guide- 4" vertical and then create new guide- 4" horizontal.
4. Save as Tessellation 8 inch template in Photoshop or Jpeg on your desktop.
5. Choose a photograph that you think may look good as a tessellation from iPhoto. Tree branches, flowers, etc work well.
6. Drag that photo into the icon for Photoshop as a new file. (Do not drag it on top of the mandala until you've cropped it to the correct size using the steps below!)
7. Crop within the image to a square. Use the option on the top left side to change it from "unconstrained" to 1 x 1 square.
8. Edit the size of the image by pressing image > image size and change to 4" wide and 4" height, 300 resolution.
9. For the sample- drag the image of the original cropped photo using the move tool to the tessellation template and position it in the top left hand corner.
10. Duplicate the layer by going layer> duplicate layer.
11. Move the top duplicate layer to the right side and change how it's positioned by going edit> transform > flip horizontal.
12. Go back to layer one and layer >duplicate layer again.
13. Move the next duplicate layer from the top left hand side to the bottom left corner and press edit> transform> flip vertical.
14. Highlight layer one again and layer> duplicate layer for the third time.
15. Move the layer to the bottom right hand side and edit > transform > flip horizontal and then edit >transform > flip vertical. You may have to adjust it to make a geometric pattern in the center.
16. Move the guide using the move tool to make sure there's no white areas. If there are, reposition the images so they overlap slightly. Again, make sure that all the layers are copied from the original layer to make sure they're the same size.
17. When they look best, save your work as a Photoshop file to your desktop. DO NOT MERGE your desktop copy since it may need to be adjusted.
18. Merge the layers by pressing layer > merge visible and then adjust the brightness/contrast as needed. Save as lastname-firstname-tessellation1.jpg and put in the class folder 03-01-2017 Tessellation.
19. ***For your third and fourth tessellation, resize your image to 2" square and create a new document that is 8" square and grid it out into 2" squares.
for the 2" template, follow steps 1 & 2 and create grids at the 2", 4", and 6" markers.
You can make the guidelines exact by pressing
view- new guide- horizontal 2 inch, then view- new guide- horizontal 4 inch, view, new guide- horizontal 6 inch, then view- new guide- vertical 2 inches, view- new guide- vertical 4 inches, view- new guide- vertical 6 inches
You can also make the grid by view- new guide layout- 4 columns horizontal, 0" gutter, 4 columns vertical, 0" gutter.
20. **** For your fifth tessellation, resize your template to 1" square and create a new document that is 8" square and grid it out to 1" squares.
for the 1" template, follow steps 1 & 2 and create grids at the 1", 2,", 3", 4", 5", 6" and 7" markers.
You can make the guidelines exact by pressing
view- new guide- horizontal 1 inch, then view- new guide- horizontal 2 inch, view, new guide- horizontal 3 inch...
view- new guide- vertical 1 inch, then view- new guide- vertical 2 inch, view, new guide-vertical 3 inch...
You can also make the grid by view- new guide layout- 8 columns horizontal, 0" gutter, 8 columns vertical, 0" gutter.
Create a new Padlet post named "Tessellations"
Put your five tessellations there along with the original photograph next to or underneath it.
Explain the following in complete sentences not 1.2.3:
1. What does tessellation mean, in your own words?
2. How you created the tessellation- be specific, not just "I followed the instructions from Mrs. Moncure." I want you to be able to do this in five years, and use your own words! DO NOT COPY & PASTE FROM HERE!
3. What did you like about this? What was your favorite image?
4. What did you struggle with?
5. If you had to do it over again, what would you do differently?
Graded based on 20/20
5 points: time on task, citizenship, coming to class on time, no using cell phone, not disturbing others
5 points: photographs- images in focus, good image, not too bright or dark, no dust
5 points: craftsmanship- no white lines, good illusion, well composed, made geometric shapes
5 points: Padlet post- title, images, and write up complete and well thought out, complete sentences
Period 1 padlet.com/kclarkart/tessellation1
Period 2 padlet.com/kclarkart/tessellation2
Period 4 padlet.com/kclarkart/tessellations4
Period 5 padlet.com/kclarkart/tessellations5
Period 6 padlet.com/kclarkart/tessellations6
 RSS Feed
