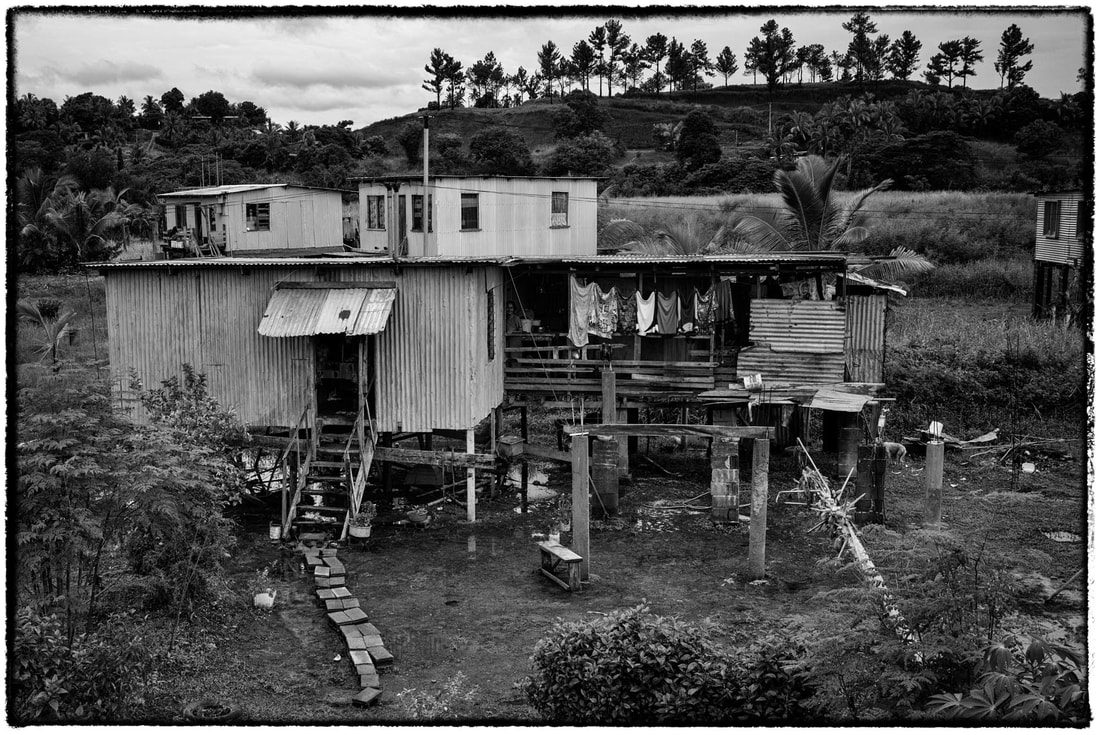
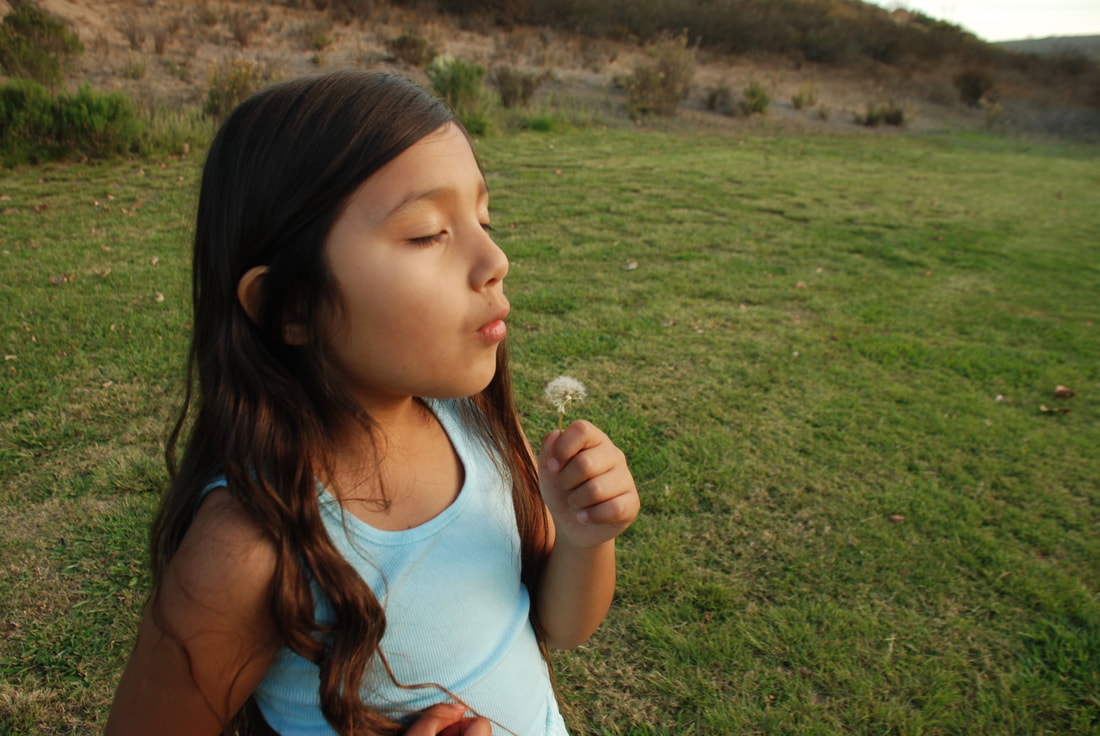
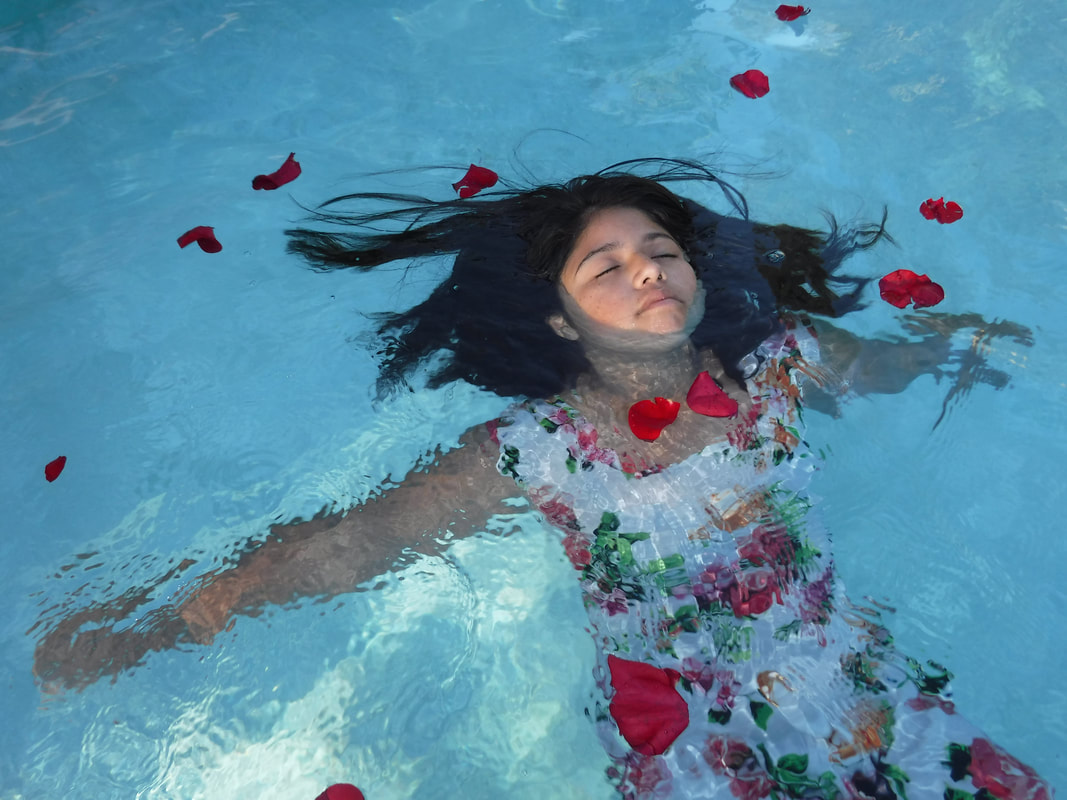
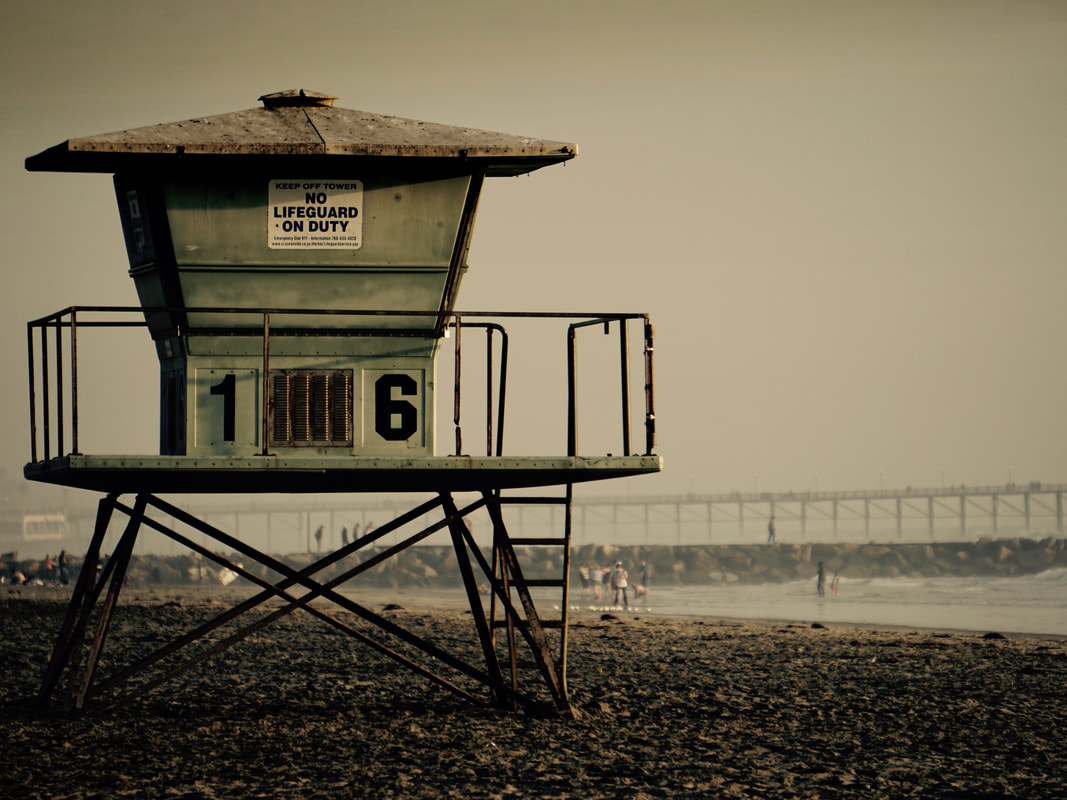
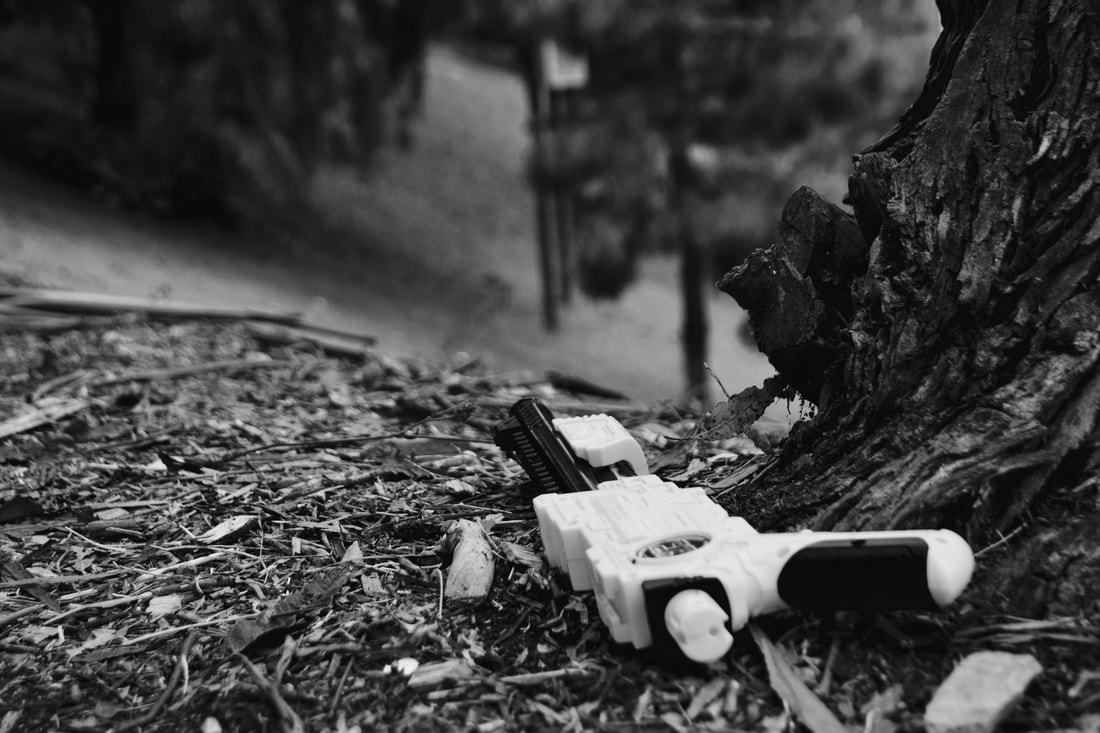
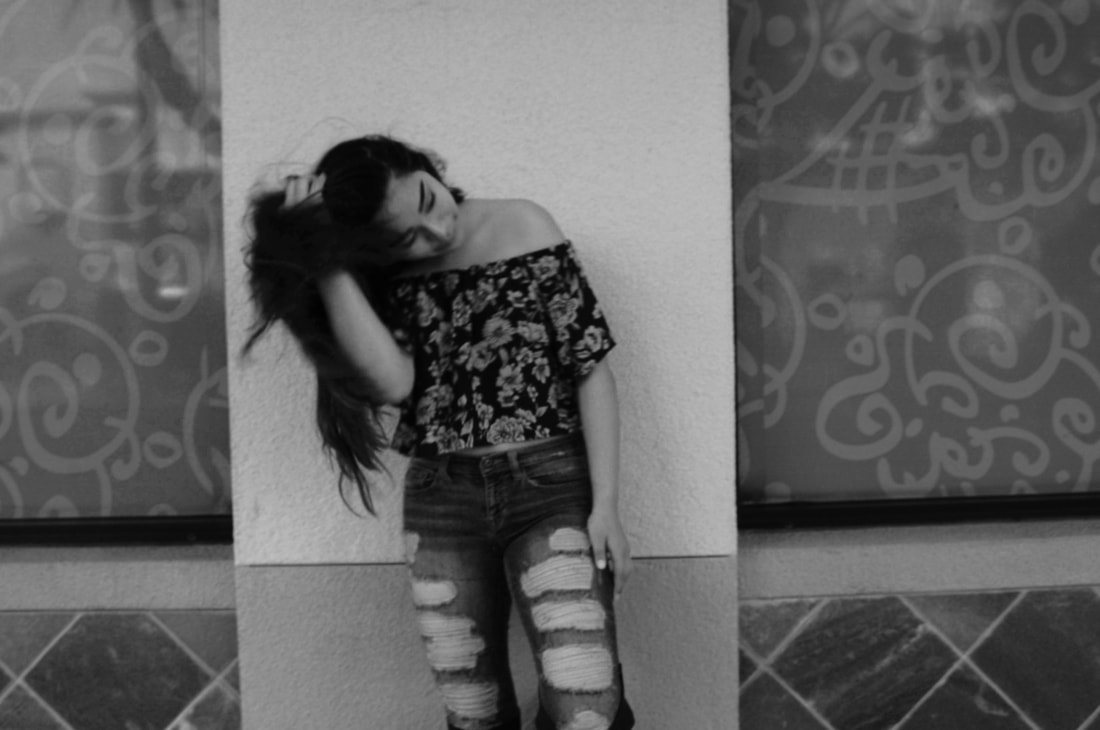
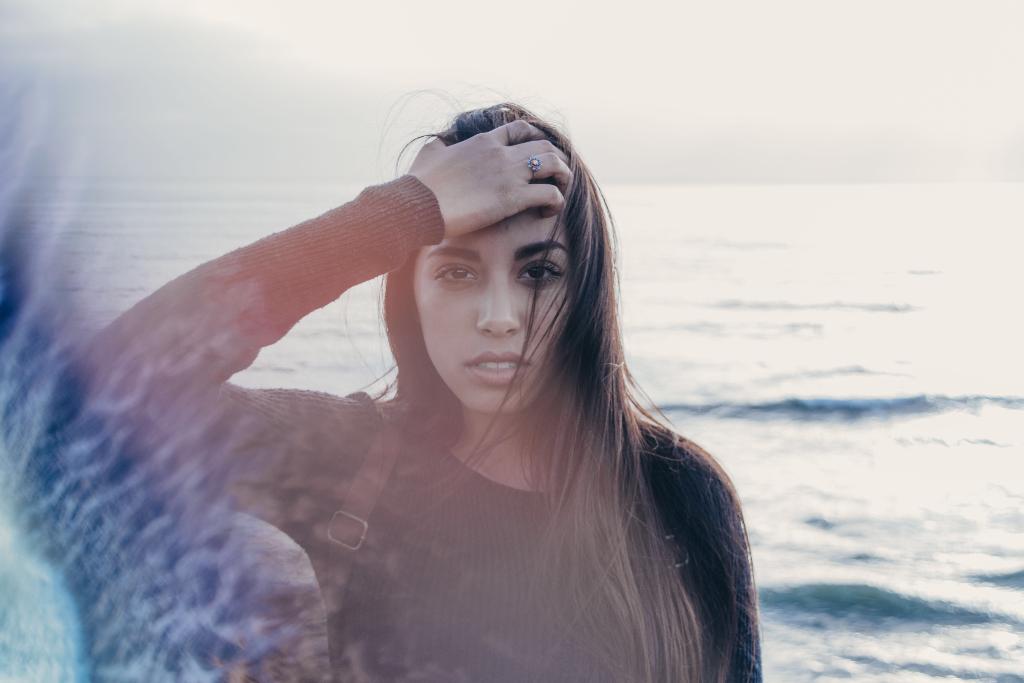
 "Squatters Village, Fiji...April 2017" Peter Politanoff Answer the following questions about the photo in complete sentences, now on view at "New Work 2017" photography show at the Vista Civic Gallery.
1. What's going on in the photo? What makes you say that? 2. What else do you see? 3. What do you think the artist was trying to portray? For this project, you will be researching one of the photographers on the list below. You are to then create a Google Presentation (under your school email) about them to share with your classmates with 8 photographs of theirs and twelve photos of yours (three will be recreating their photo). Share the presentation with me at [email protected] as lastname-firstname-artistlastname-period#
The presention must include the following information: Slide 1. Title Page- artist name and your name Slide 2. Artist name, date and place of birth and/or death, as well as a photograph of them. Slide 3. What they are known for- commercial, fine art, documentary, war photography? Explain what that career is (what does it mean to be a commercial photographer/ fine art photographer/ documentary?) Slide 4. Interesting details about them, such as, where they went to school, what they are best known for, characteristics of their work…what makes them unique? What made them famous? What makes them different then the other photographers out there? Slides 5- 9. Five images of their work, with the title and date. Try and get as high resolution images as possible, and be sure it is definitely by that artist and not “in the style of”. Make sure you include their most well known photograph!! Include within your speech any information you can find about the photographs, specifically what it is of, where were they made, was this part of a photo series, who was the client, where was it published- you will be discussing it within your presentation. Make sure these are high resolution images. Slides 10- 22 Your twelve photographs emulating the style of the photographer. You must include three where you have recreated the specific composition of three of their photographs- make sure they are different then the previous five that you showed already (so that you show eight total of your photographer's work), and the other nine in their style. Think about using appropriate props/ clothing. Discuss in your presentation how you were emulating their photographic style. Slide 23. Your personal opinion of the artist- what made you choose that person? What is it that you like about their style? What did you learn about your own photography versus their photography? (must be in complete sentences and in paragraph form) Slide 24. Sources listed- no wikipedia! Must have three or more sources with the website's proper name and url. If the photographer has their own personal website, it must be included within your sources! Slide design should emulate the style of the photographer- for example, a presentation on Sandy Skoglund might be playful and colorful. Extra kudos if you find anything on video about them that you can share a short clip (~ 2 minutes) of within your presentation. Be sure that the slide design background doesn't distract from the photographs that you are presenting- only use a colored background (not a photograph) when presenting a photograph by yourself or your photographer. Your twelve edited photographs should go in the 11-14-17 Photographer Research folder within the shared folder, saved as lastname-firstname-photographerlastname1, 2, 3, 4, 5.jpg Please note: if your photograph isn't going onto Google Slides, it may be because of two reasons: A. It's saved as a photoshop file- so merge the layers and save as a jpeg. B. It's larger then 10 MB- so open up in Photoshop, go to image size, and change the resolution to 200 and decrease the size to get it less then 10 MB (not much further though- say, 9 mb). Save it as lastname-firstname-artistname-smaller.jpg so that you can differentiate that it's smaller and still keep the original file. Graded based on: 4 points: presentation- not speaking directly from slides, have notes, passionate about photographer 8 points: photographs- photographs emulate the style of the photographer, focused, good craftsmanship 4 points: time on task, citizenship, work to best of ability, all slides complete and on time, images in shared folder 4 points: research accurate, high resolution of the images of the photographer, presentation in the style of the photographer The photographers to choose from are: 1. Annie Leibovitz- celebrity and editorial photographer 2. Richard Avedon- fashion photographer 3. Brandon Stanton- Humans of New York 4. Brooke Shaden- fine art photographer 5. Ansel Adams- landscape photographer 6. Henry Cartier-Bresson- “the decisive moment” 7. Trey Ratcliff- vivid travel and landscape photographs 8. Aaron Chang- Solana Beach beach photographer 9. Mary Ellen Mark- documentary photography 10.Dorothea Lange- documentary photography- the dust bowl 11.Steve McCurry- National Geographic “The Afghan Girl” 12.Lyndsey Adler- fashion photographer 13.Robert Capa- war photographer during WWII 14. Lynsey Addario- combat photographer working today 15.Sandy Skoglund- fine art photographer, colorful 16.Manuel Alvarez Bravo- street photographer of Mexico during 1920-1950s 17.Duane Michals- fine art conceptual photographer 18.David Hockney- fine art photographer 19.Yousuf Karsh- portrait photographer, Winston Churchill 20.Eve Arnold- portrait photographer, movie stars of 50s 21.Josef Koudelka- documentary photographer, gypsies 22. Sebastiao Salgado- Brazilian documentary photographer and photojournalist 23.Neil Leifer- sports photographer 24.Ben Von Wong- fantasy style fine art photographer 25. Jimmy Chin- adventure photographer 26. Clark Little- surf photography (contingent on if you are able to go to the ocean and use your own GoPro) 27. Matt Black- contemporary documentary photographer who focuses on S. CA and Mexico 28. Peter Lindbergh- fashion photography 29. Joyce Tenneson- ethereal portraiture 30. Lynn Goldsmith- concert photographer 31. J. Grant Brittain- skateboard photographer 32. Olivia Bee- young urban photographer 33. Elliot Erwitt, street photography 34. Travis Burke- nature and night photography (also good if you have a camera/tripod to take night shots) 35. Jerry Uelsman- photo collages 36. Alice Gao- still life photographs 37. Chris Buckard- surf photography 38. Graciela Iturbide- Mexican street photographer Example of Eddie Adams' slideshow by Ryan Bautista Examples of students work from last year PLEASE NOTE you may choose a photographer on your own but it MUST be approved by me, they must have exhibited in newspapers, magazines, galleries or museums nationally and there must be more information about their work in three or more places (more then just their website). 0 Comments 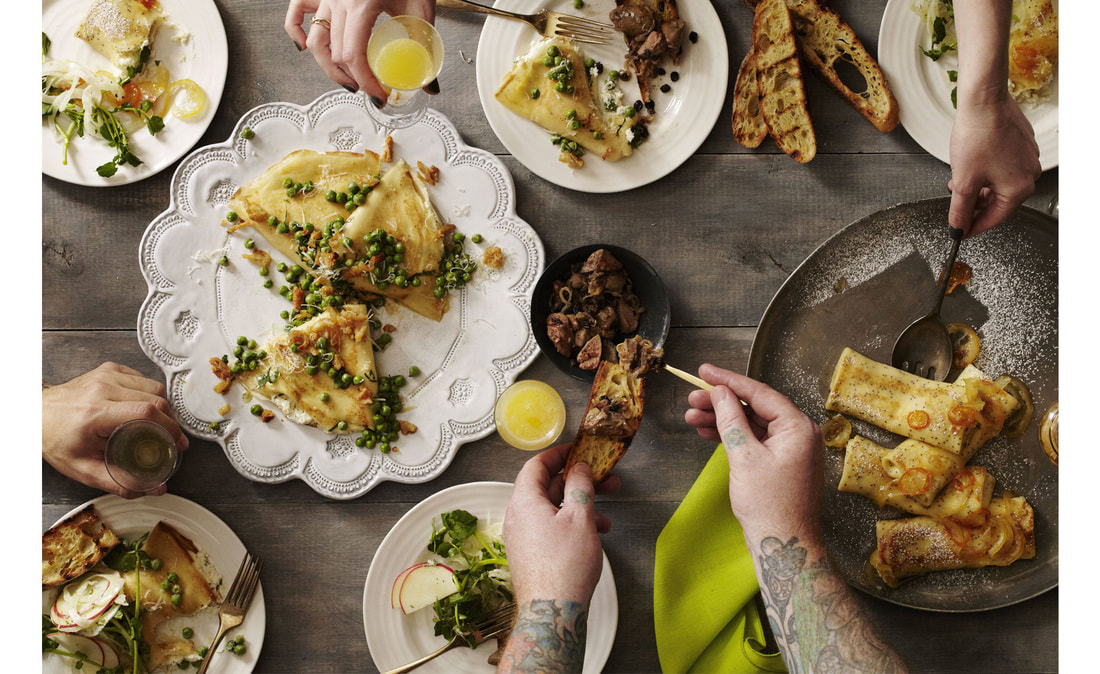 Matt Armendariz, Food Photographer- click on photo to link to his website. From Bill Robbins at Brooks Photography-
Here are some links that might be helpful and inspirational for food photography. Great examples of creating a spontaneous look with propping and styling http://francesjanisch.com/#/Food/Savoury/3 Donna Hay magazine, a subscription is needed to see all but you can go to recipe link and see some great images of food in the style of the magazine. http://www.donnahay.com.au/recipes/desserts-and-baking/ Nice resource for propping and set styling http://www.cookyourdream.com/ A portal of work from various photographers, stylists, and viewers, lots of great inspiration. http://www.tastespotting.com/login Has some good resources http://www.learnfoodphotography.com/category/food-styling/ Food Photography Assignment Edit your photographs, making sure there's no random junk in the background, the horizons are straight, not too dark or bright, and in focus. Choose your top six images that have shallow DOF (f/1.8) and medium DOF (f/8) and save them as lastname-firstname-food1-shallowDOF.jpg and lastname-firstname-food1-mediumDOF.jpg up to six. Make sure there is a variety and you are not using the same images as your partner! You will be submitting twelve images total. Save in the 10-27-2017 Food Photography folder. 1. Create a padlet named "Food" 2. Title your padlet with your first and last name and call it "Food Photography" 3. Put your top six images (twelve total images- one at shallow, the other medium dof) in your padlet- make sure you have one at f/1.8 and one at f/8 for comparison. Make sure there's a variety of angles and poses- not just six of mainly the same picture. Title each photo "Cupcake Side Angle Medium Depth of Field" (or whatever the food item is). 4. Put the technical information of each photograph in the description (aperture, shutter speed and ISO), as well as two sentences saying why you specifically like that photograph. 5. Answer the following questions as a separate post on your padlet at least two paragraphs long in complete sentences: 1. What did you use to light up your photographs? 2. What do you see as a difference between the f/1.8 and the f/8 photographs? Which one do you prefer for food photography, and why? 3. What are some key points that you learned about food photography, based on your notes and taking pictures? (in one paragraph or more) 4. If you were to do this again, what would you do differently? Period 1: https://padlet.com/kclarkart/foodphoto1 Period 2: https://padlet.com/kclarkart/foodphoto2 Period 4: https://padlet.com/kclarkart/foodphoto4 Period 5: padlet.com/kclarkart/foodphoto5 Period 6: padlet.com/kclarkart/foodphoto6 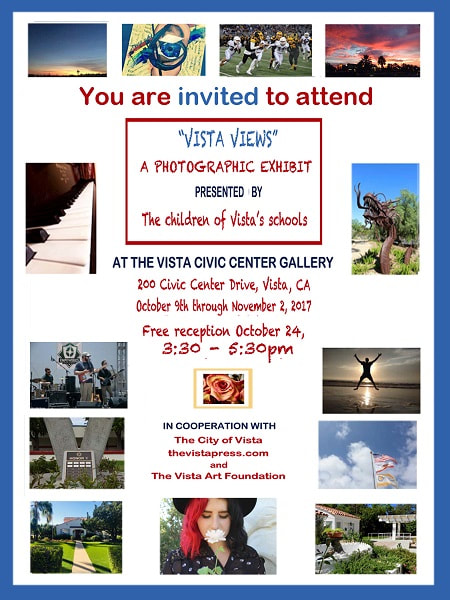 There's still time to see the student show at the Civic Center!
The reception is Tuesday, October 24th from 3:30- 5:30 which is free, open to the public and with food! The art show is up until November 2nd at the Civic Center, 200 Civic Center Drive, 2nd Floor, Vista, CA. Please congratulate these Rancho students for being in the show!
You will choose your best photograph from each compositional technique to change into black and white in Photoshop. You will then rename put them onto a Padlet, along with the technical information (ISO, aperture and shutter speed) and a sentence or two explaining why the photograph is that compositional technique. Steps: 1. Open up your photograph in Photoshop by going to File >Open. 2. Scroll down using the left sliding bar to your photos. 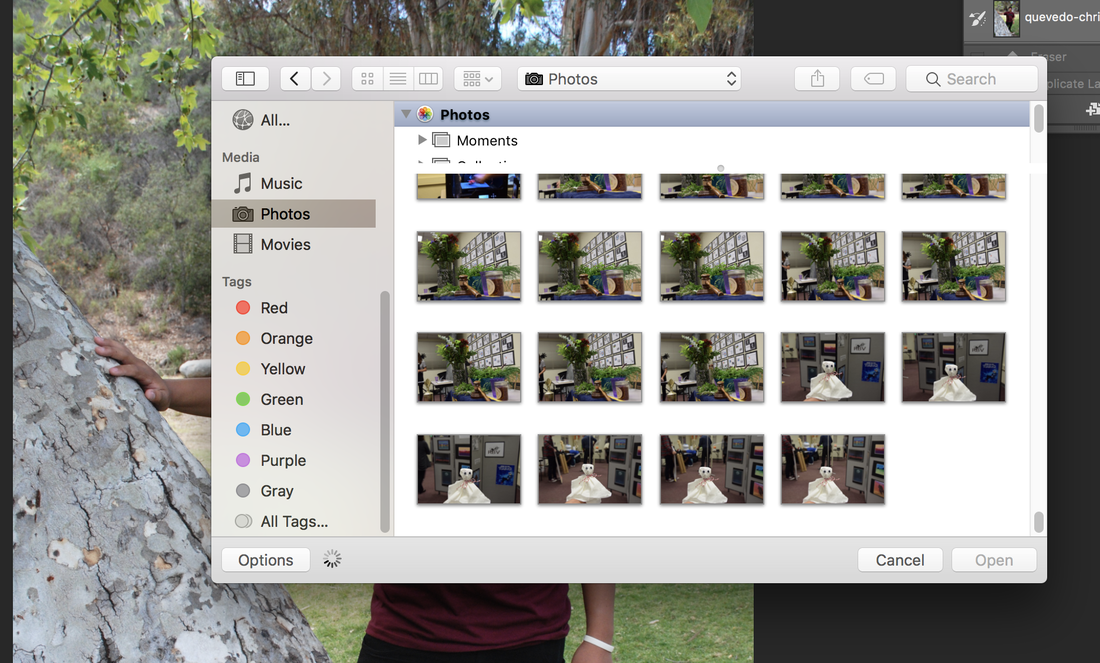 3. Go to Image > Adjustments > Black and white 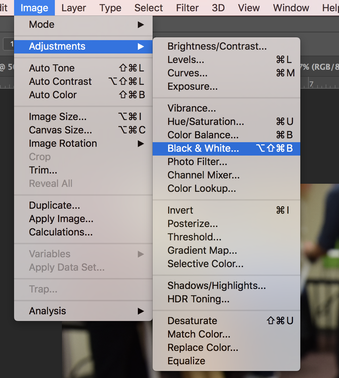 4. Choose from the black and white Presets drop down menu which one looks best for each photograph. You can also use the sliders underneath each preset to adjust it to your personal preference. 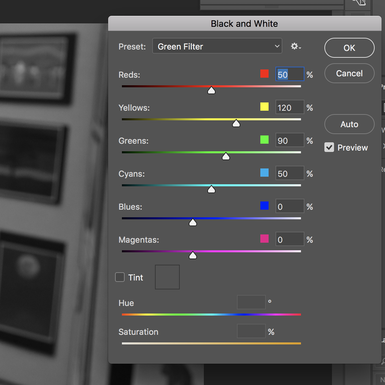 5. Adjust the brightness and contrast of the image to your preference by going image> adjustments > brightness/contrast and changing the photograph accordingly. Don't make it too dark or too light! 6. Save each photograph as it's compositional rule- ie lastname-firstname-leadingline.jpg by pressing Save as- rename- keep the format as jpeg- and put in the Rbv-Class1- 231Common- Period # >10-19-2017 Compositional Rules folder. Make sure the quality is "12" as compared to the default of "8".  7. After you're done saving each image in the common drive, create a Padlet of your own named "Compositional Rules." 8. Make sure you have the best photograph of each compositional rule- leading line, framing, symmetry, rule of thirds and crop. 9. Each photograph will have the title of what the compositional rule is, with the description having the technical information (ISO, Aperture and Shutter Speed) and a sentence or two of why it's that compositional rule. 10. Once you are done, share your padlet with the main class padlet by going to share- make sure it's public- then just highlighting the web address. Go to the main padlet and add yourself by first and last name and add your padlet address. Period 1: https://padlet.com/kclarkart/composition1 Period 2: padlet.com/kclarkart/composition2 Period 4: padlet.com/kclarkart/composition4 Period 5: padlet.com/kclarkart/composition5 Period 6: padlet.com/kclarkart/composition6 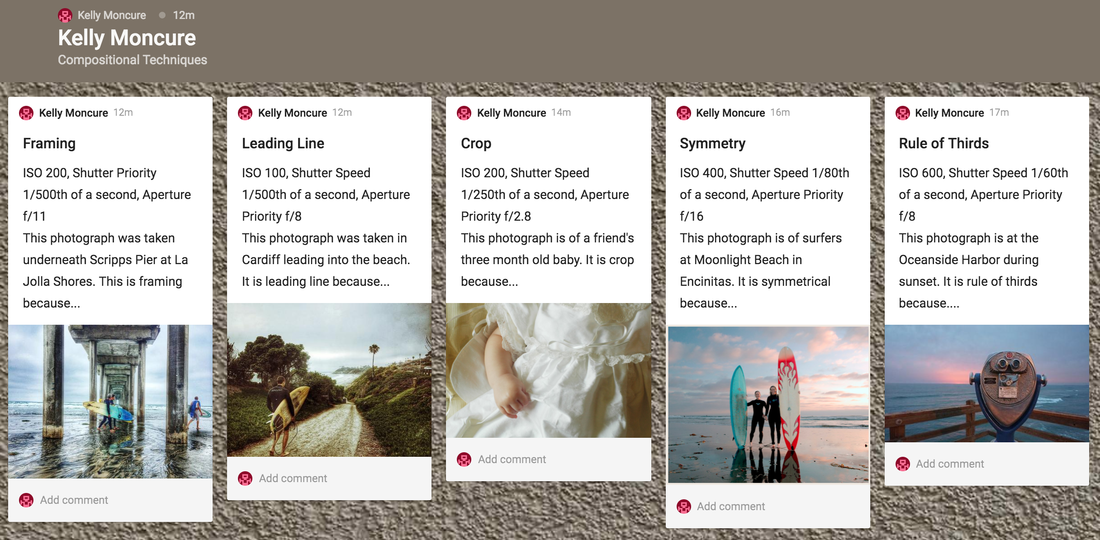 Graded 20/20 based on:
Classwork- 5 points Time on task (not goofing off or distracting others) 0/1 point __________ Participated in class with a good attitude 0/1 point __________ Respectful to teacher 0/1 point __________ Not on cell phones while should be working 0/1 point __________ Not late to class on any day 0/1 point _________ Photographs – 10 points One photo for leading line 0/1 point _________ One photo for framing 0/1 point _________ One photo for symmetry 0/1 point _________ One photo for rule of thirds 0/1 point _________ One photograph for crop 0/1 point _________ Horizon lines are straight 0/1 point __________ No random junk or cars in the background 0/1 point __________ Each photograph in focus 0/1 point __________ Each photograph not too dark or light 0/1 point __________ Each photograph changed to black and white 0/1 point __________ Padlet- 4 points Title of Padlet First & Last Name and Compositional Rules 0/1 point ___________ Each photograph has a title of which compositional rule it is 0/1 point ___________ Each photo has technical information of Aperture, Shutter Speed, and ISO 0/1 point ___________ Each photograph has a sentence or more describing it 0/1 point ___________ Common Drive- 1 point Each photograph is named as the compositional rule ie 0/1 point ___________ lastname-firstname-leading line.jpg and placed in common drive RBV-Class1 >231Common > Period# > 10-19-2017 Compositional Rules Compositional Techniques through the work of Ansel Adams (1902- 1984) Shot list for Landscape photography
Take three photos each of the following composition techniques- at eye level, kneeling down, and worm’s eye view. ISO: 400 Aperture: f/16 If you’re in a shady spot and the shutter speed goes down to 1/30th of a second or slower, either find something to put the camera on to stabilize it (like a bench), or bring the aperture to f/11.
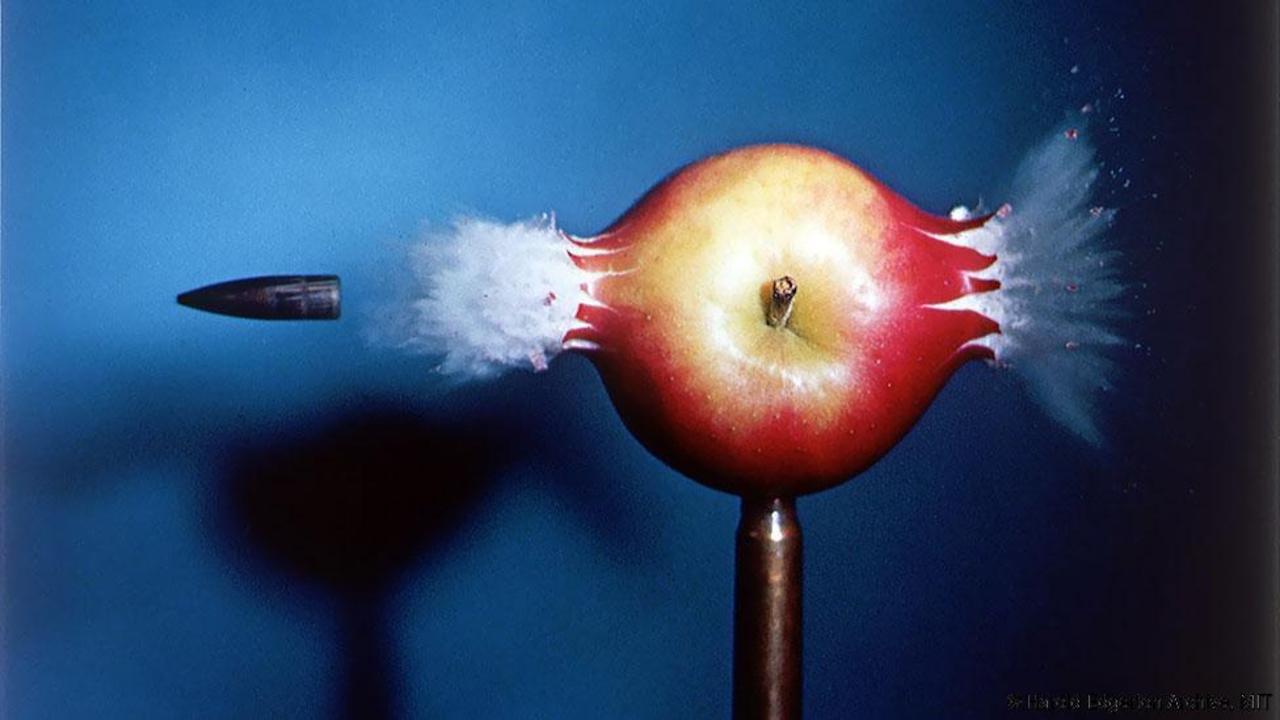
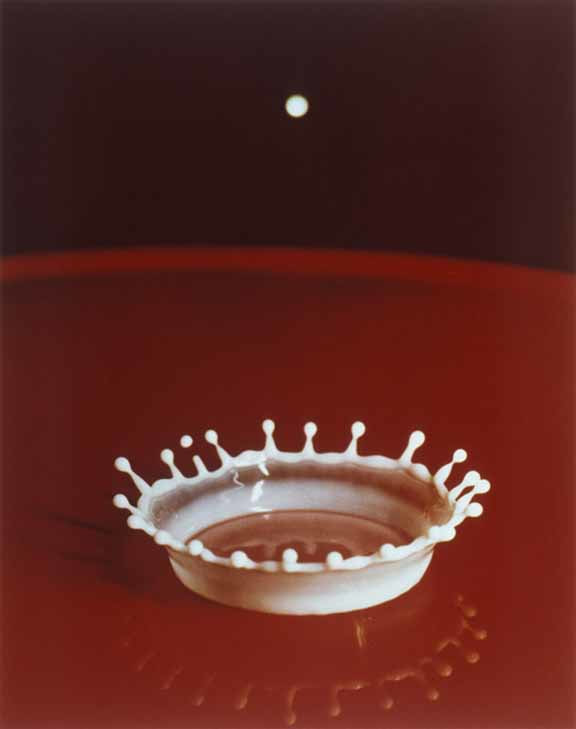
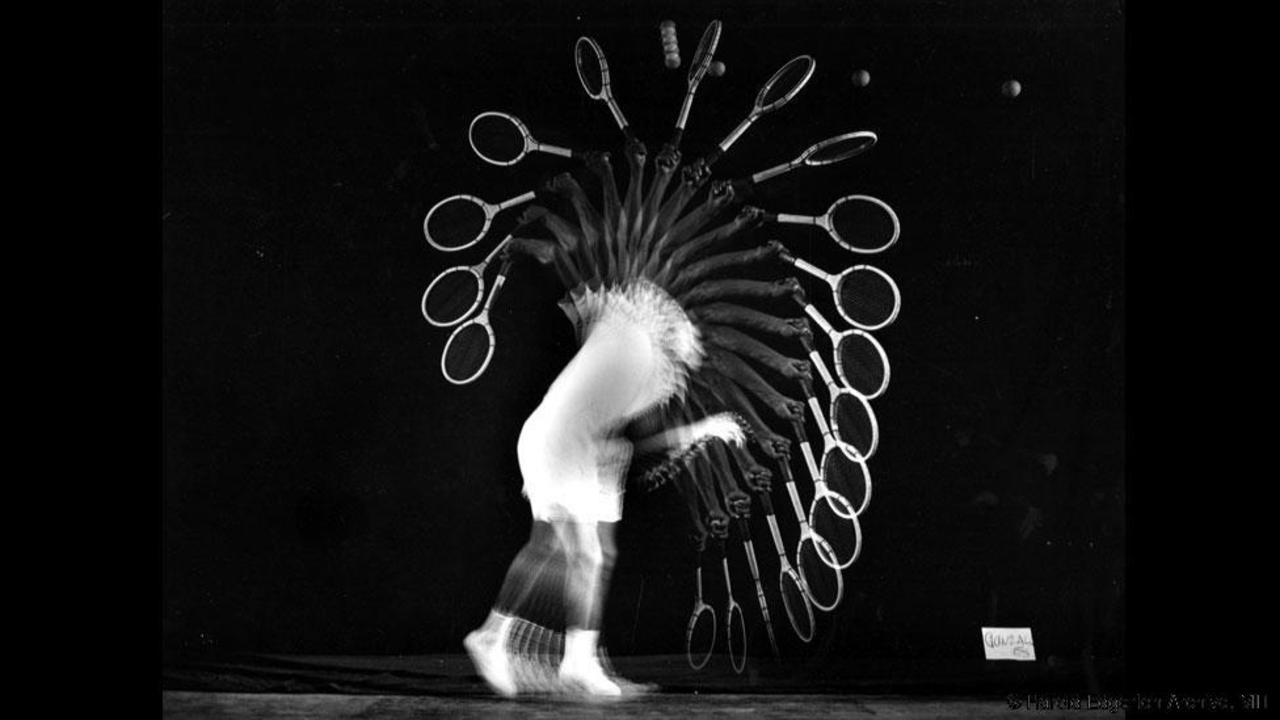
BE SURE with all photographs you are taking, that you are looking at all edges of the frame within the viewfinder before taking the shot. Make sure you’re not getting extemporaneous objects within the background (like, a car or garbage can etc) and really take the time to compose your photographs. Make sure there’s a variety of places you are taking your photographs and that the composition is very clear! Milk drop- the story behind Harold "Doc" Edgerton
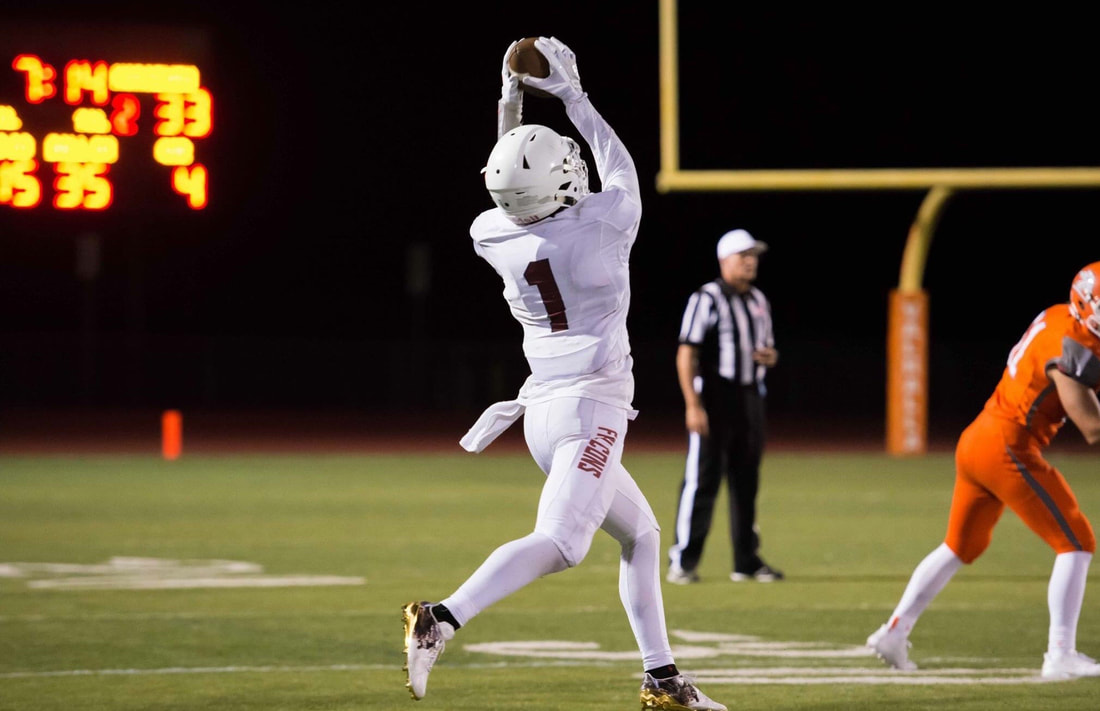
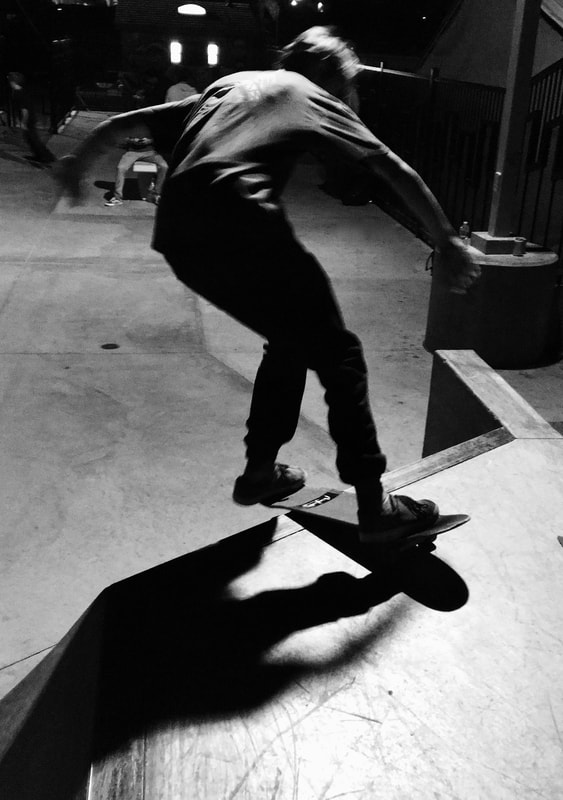
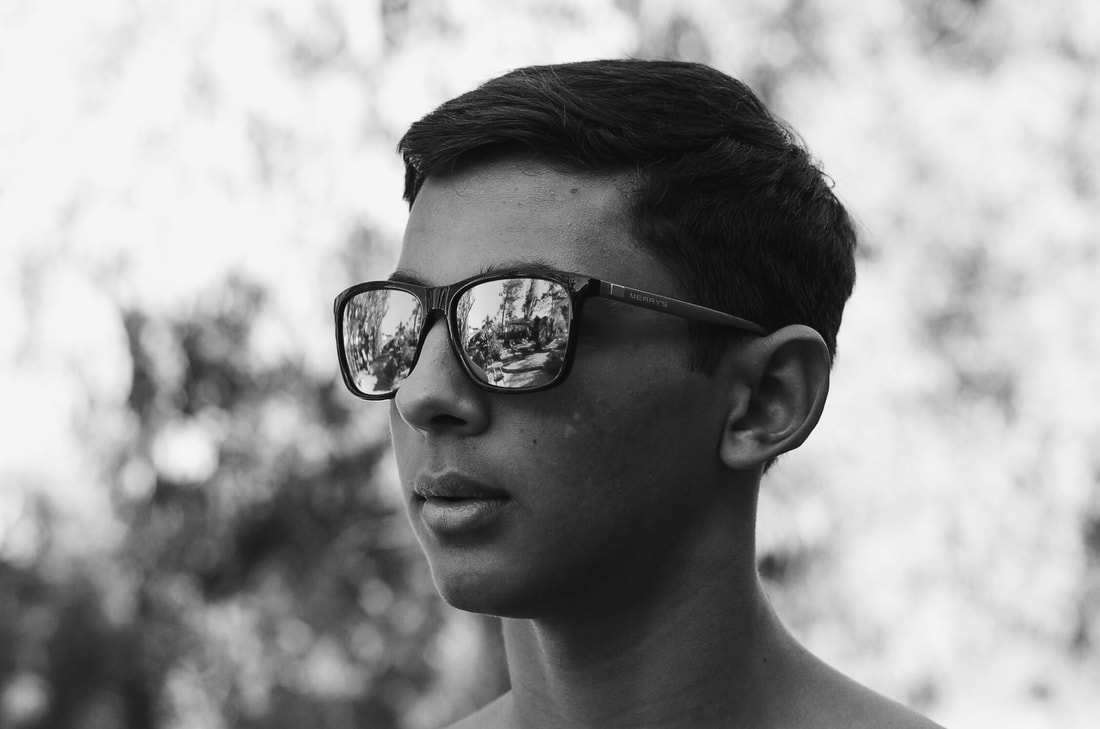
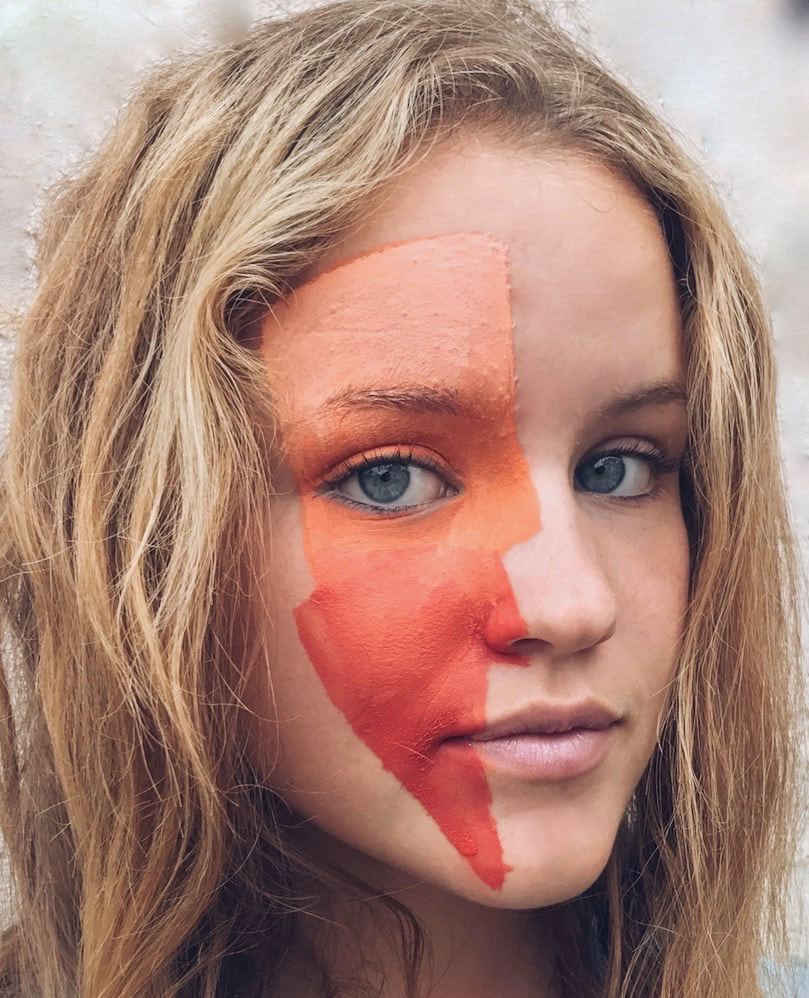
https://www.youtube.com/watch?v=zOGmwd7kauE How Harold "Doc" Edgerton took his photographs https://www.youtube.com/watch?v=2rqad0feX6M BBC story on Doc Edgerton http://www.bbc.com/future/story/20140722-the-man-who-froze-the-world?scrlybrkr=0cc13c4d# Rename your top six photos (do cropping as necessary) as lastname-firstname-fastshutter1.jpg, fastshutter2... Make sure there's variety of people and do any editing of your choice. Put them in the 10-14-2017 Fast Shutter Speed folder and in the Padlet along with technical information (ISO, shutter speed and aperture). Period 1 https://padlet.com/kclarkart/fastshutter1 Period 2 padlet.com/kclarkart/fastshutterspeed2 Period 4 padlet.com/kclarkart/fastshutter4 Period 5 padlet.com/kclarkart/fastshutter5 Period 6 padlet.com/kclarkart/fastshutter6 file:///Volumes/231common/Period%204/10-14-2017%20Fast%20Shutter/Naotunna-Ranusha-gif.JPG.gif 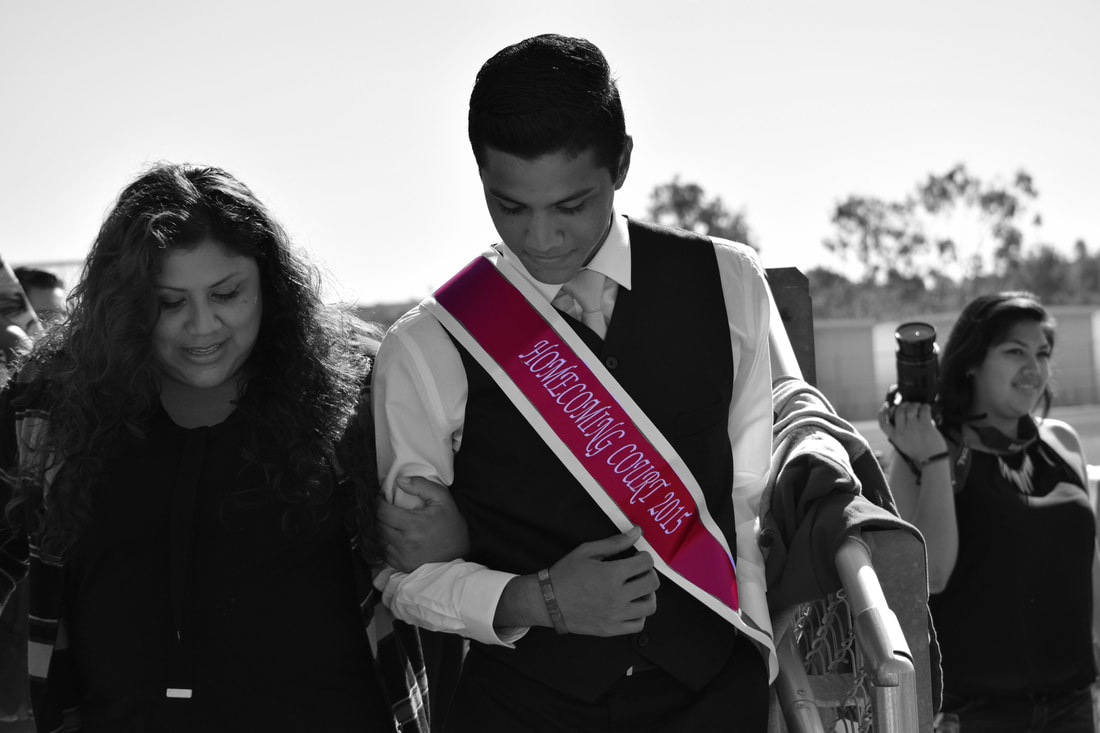 How to make your photograph black and white with red in Adobe Photoshop- video tutorial
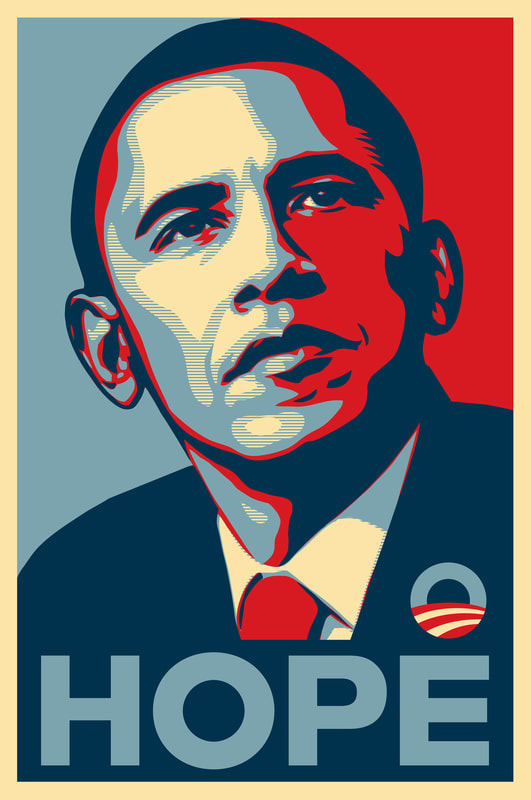 Copyright is not always black and white:
Shepard Fairey vs the Associated Press The outcome of the case Richard Prince and Instagram American family and advertisement Read through one of the articles below and write down ten questions and answers based on the information given. http://www.whatiscopyright.org Frequently asked questions about copyright |
AuthorMs. Clark, photography teacher of smart and creative students! [email protected] Archives
June 2018
Categories
All
|
| Ms. Clark CTE Photo Imaging I |
|


 RSS Feed
