|
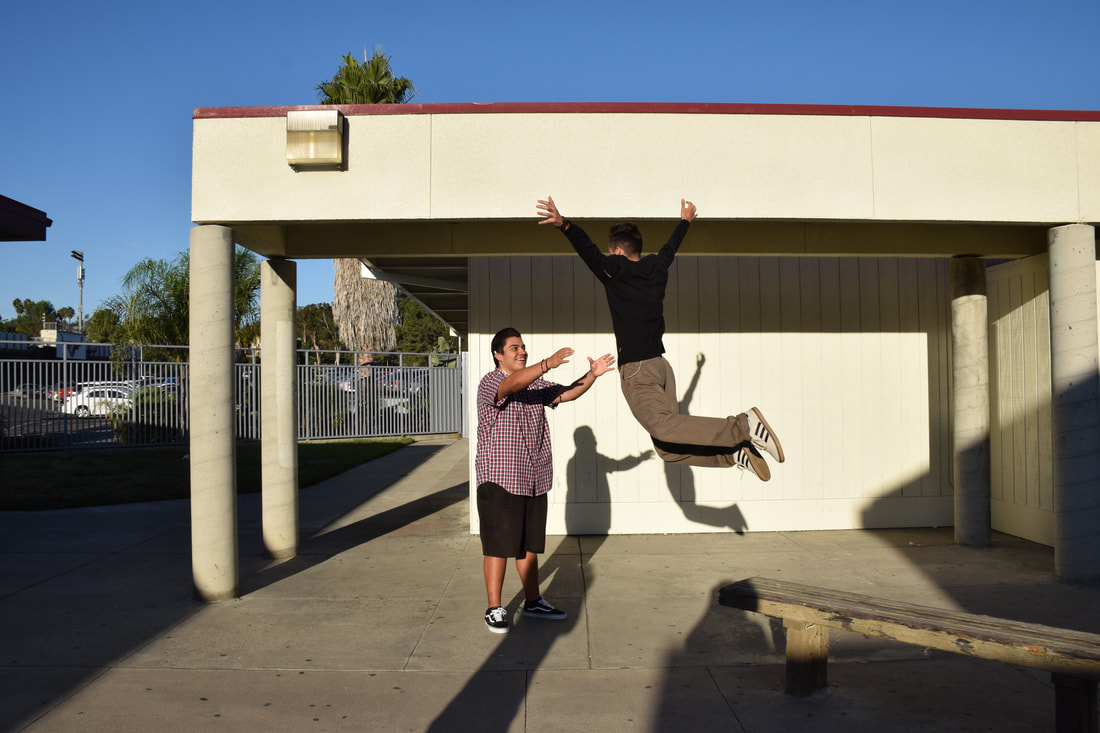
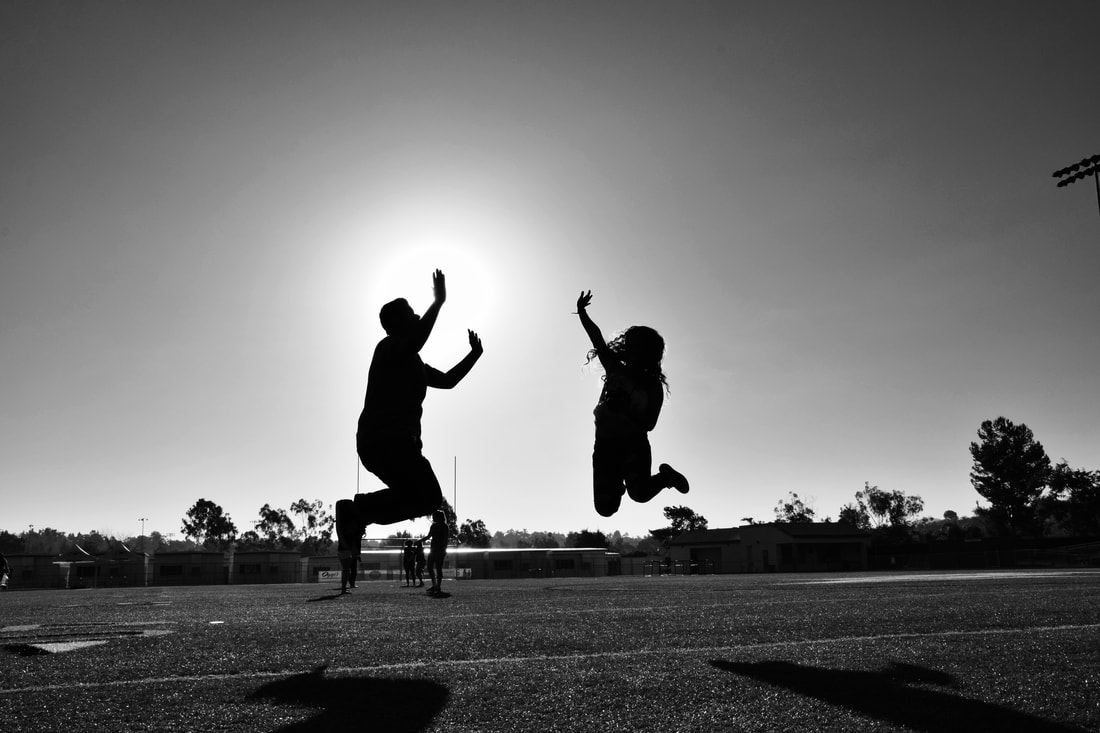
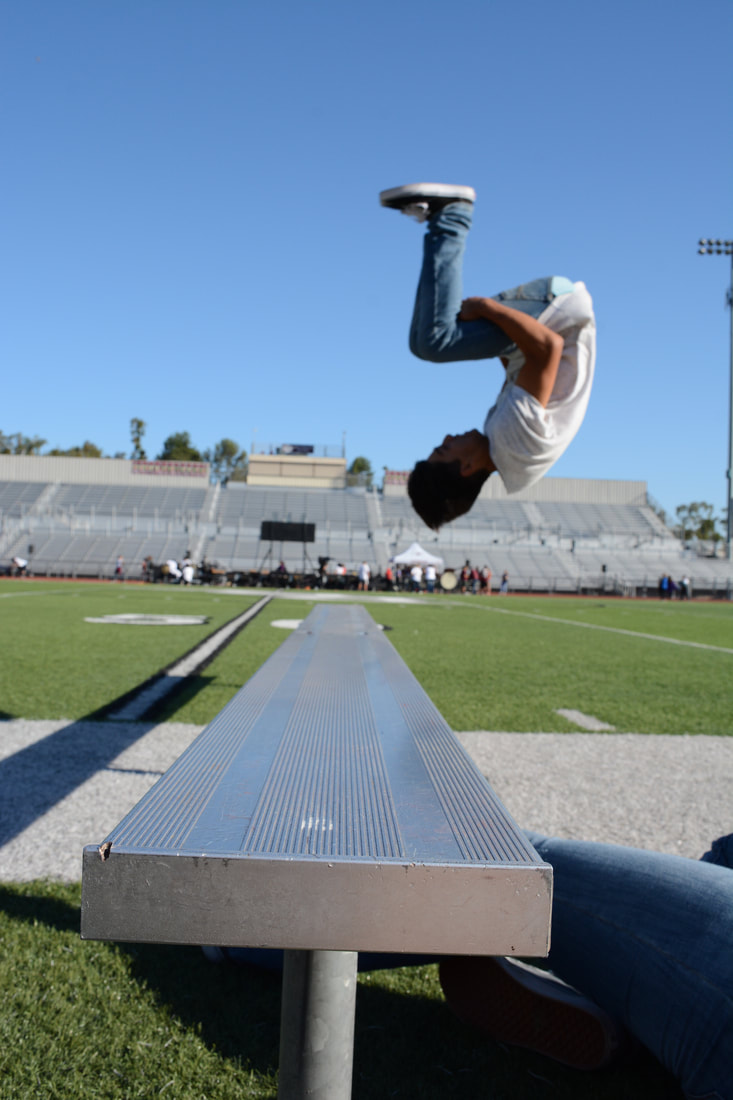
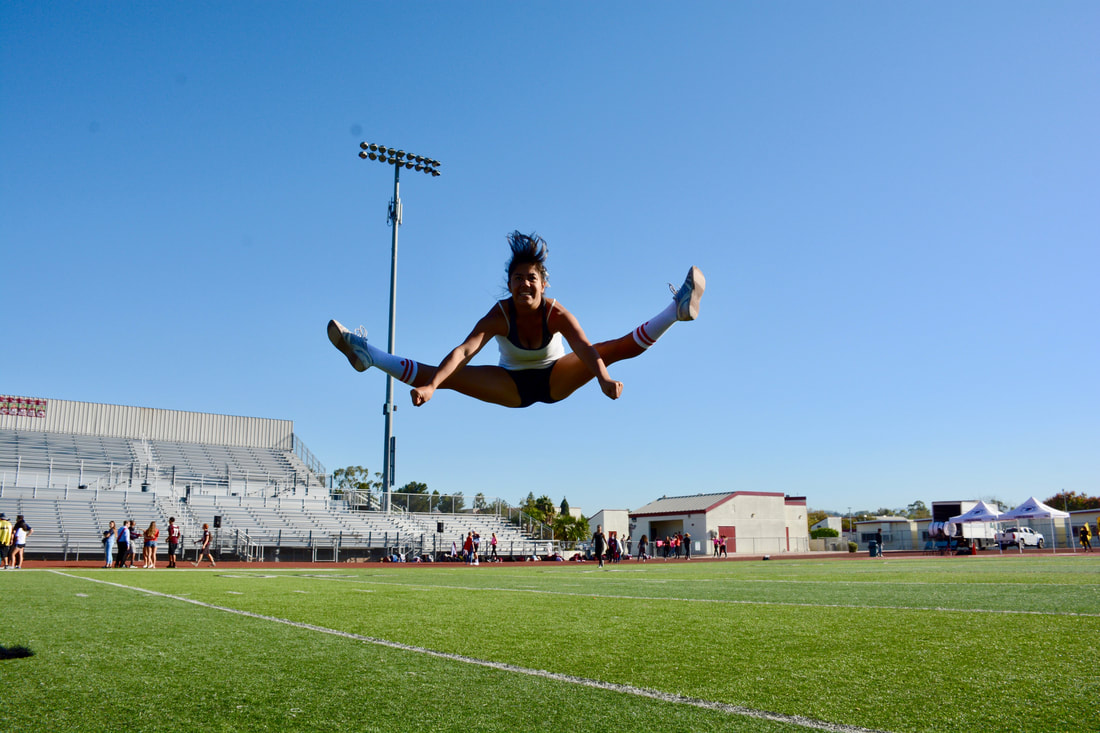
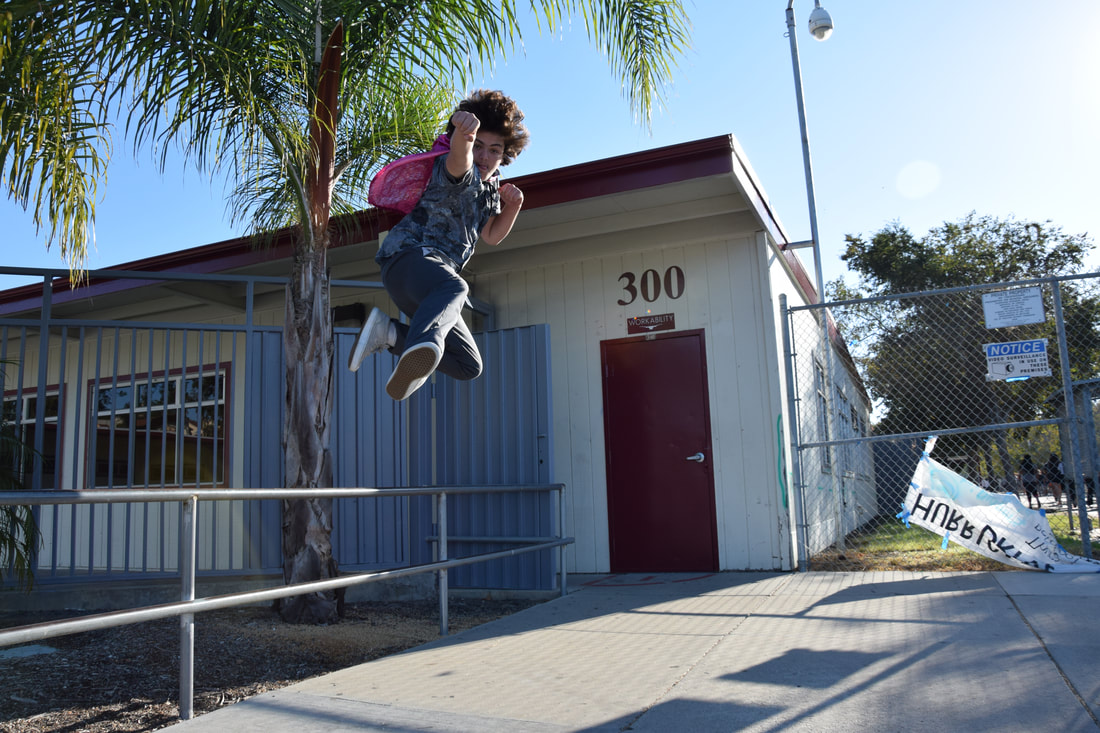
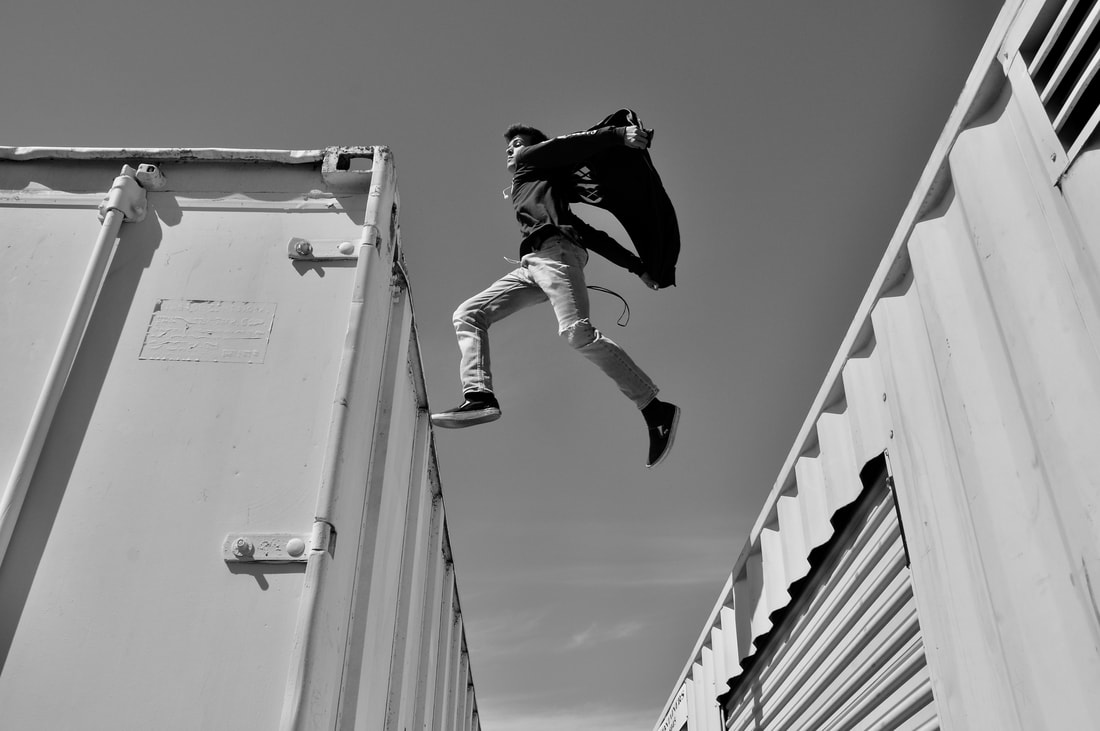
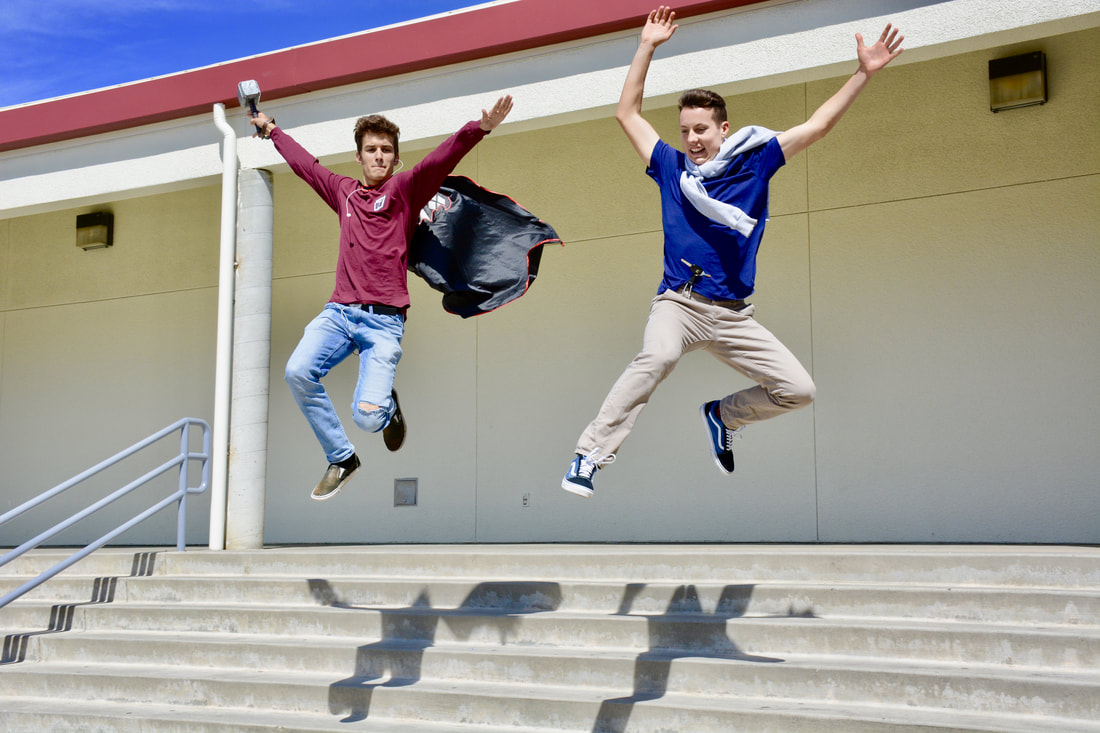
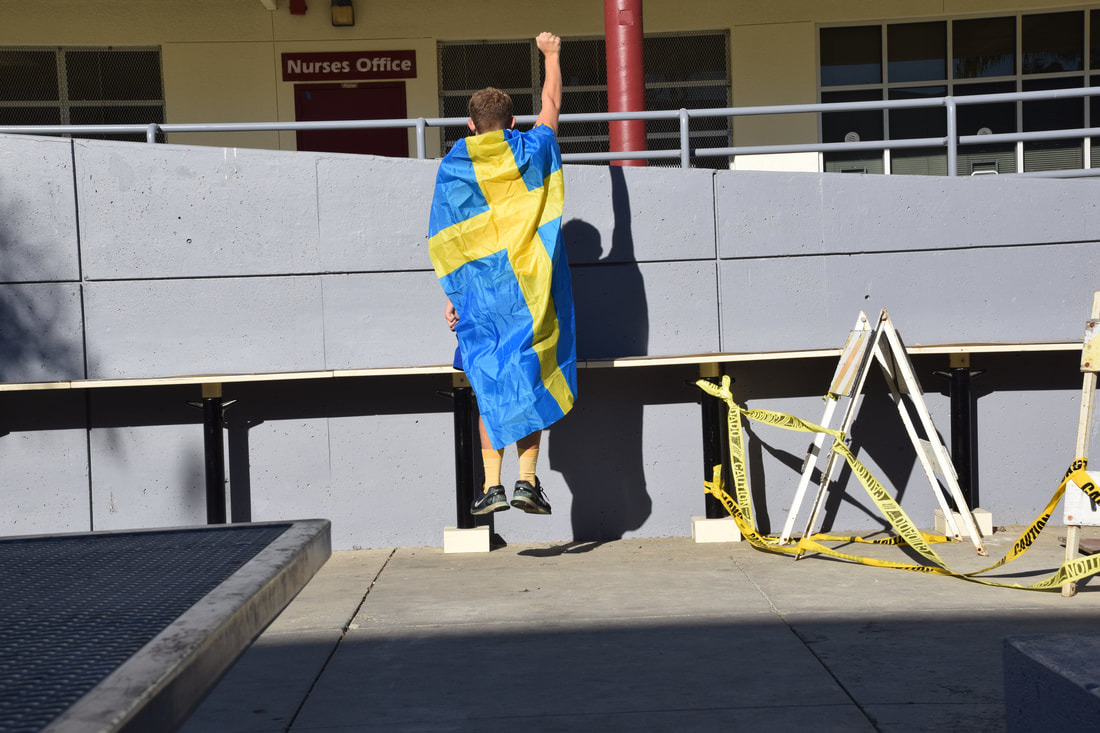
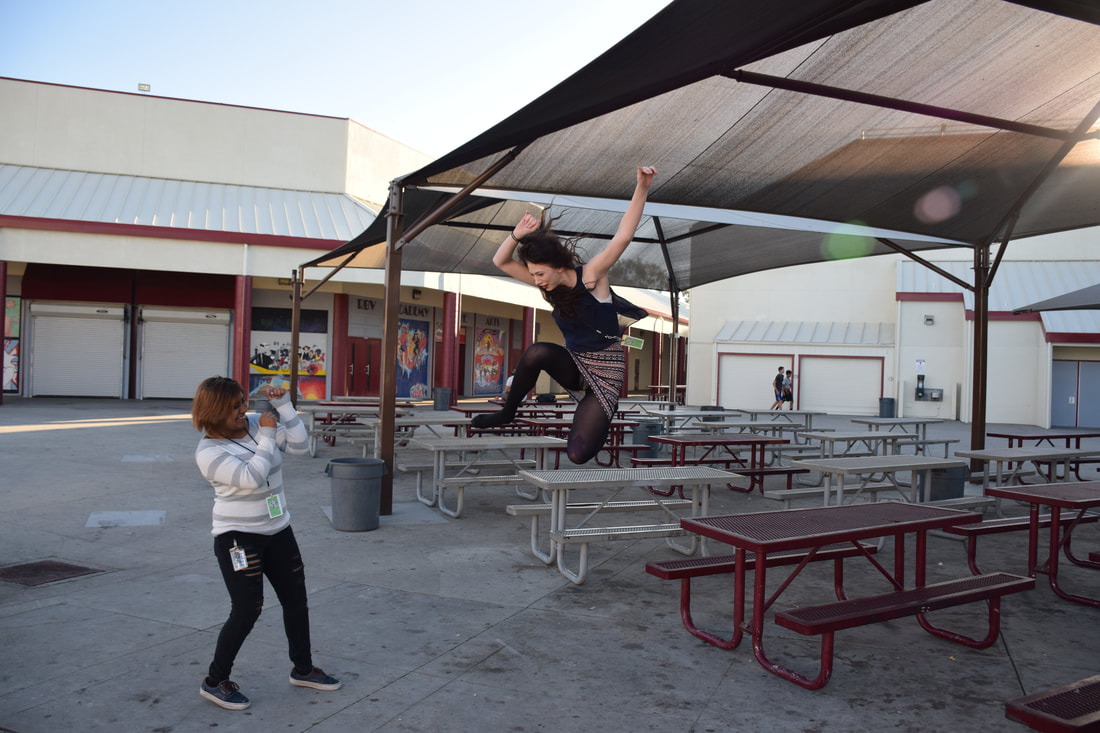
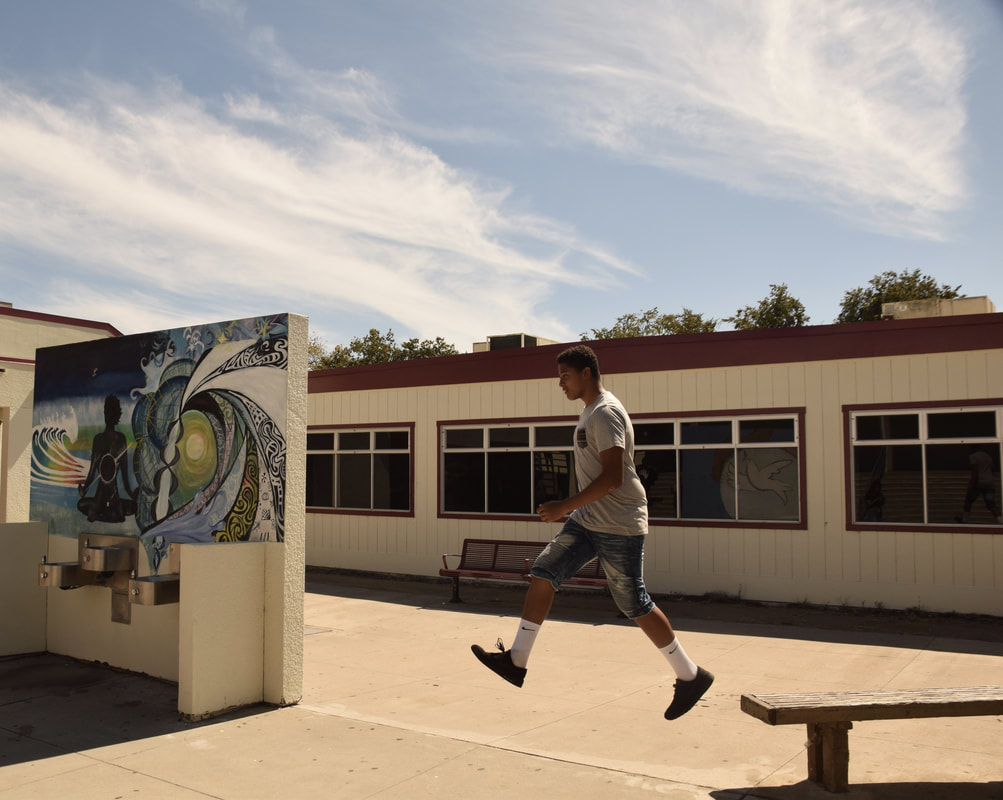
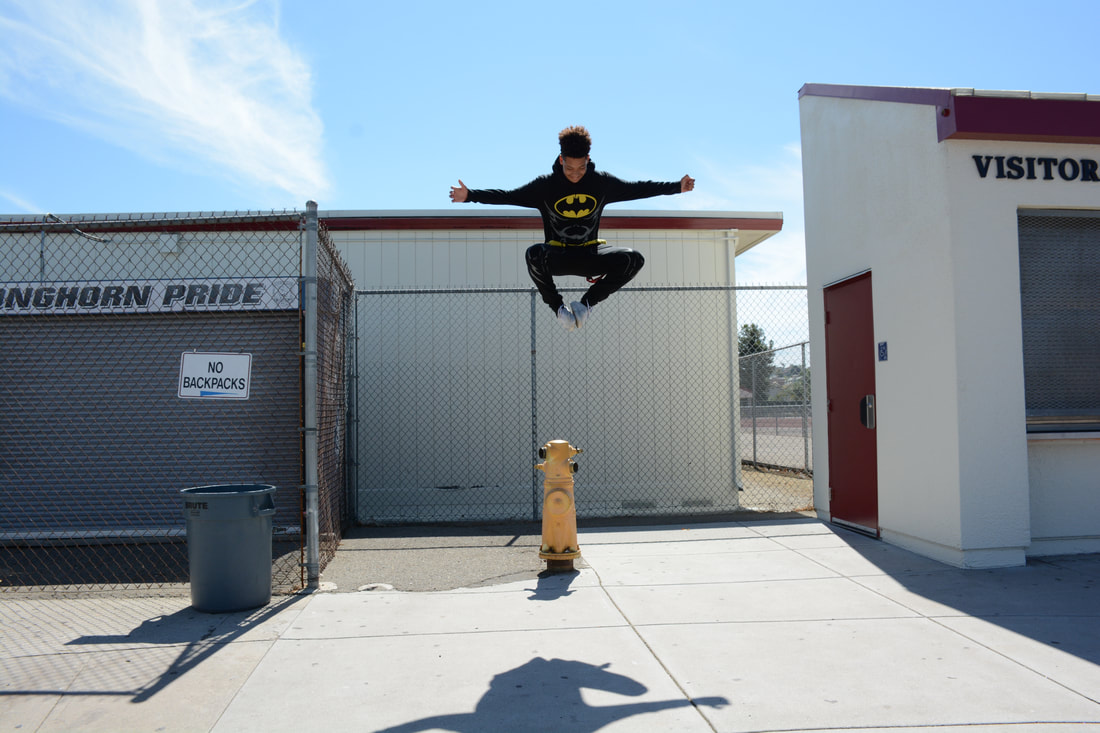
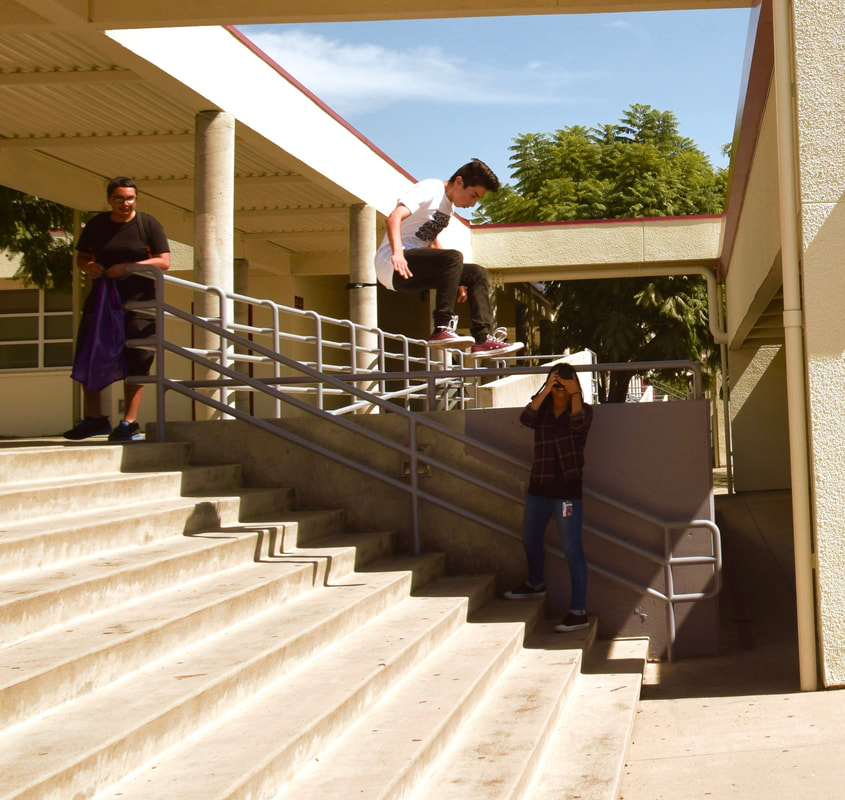
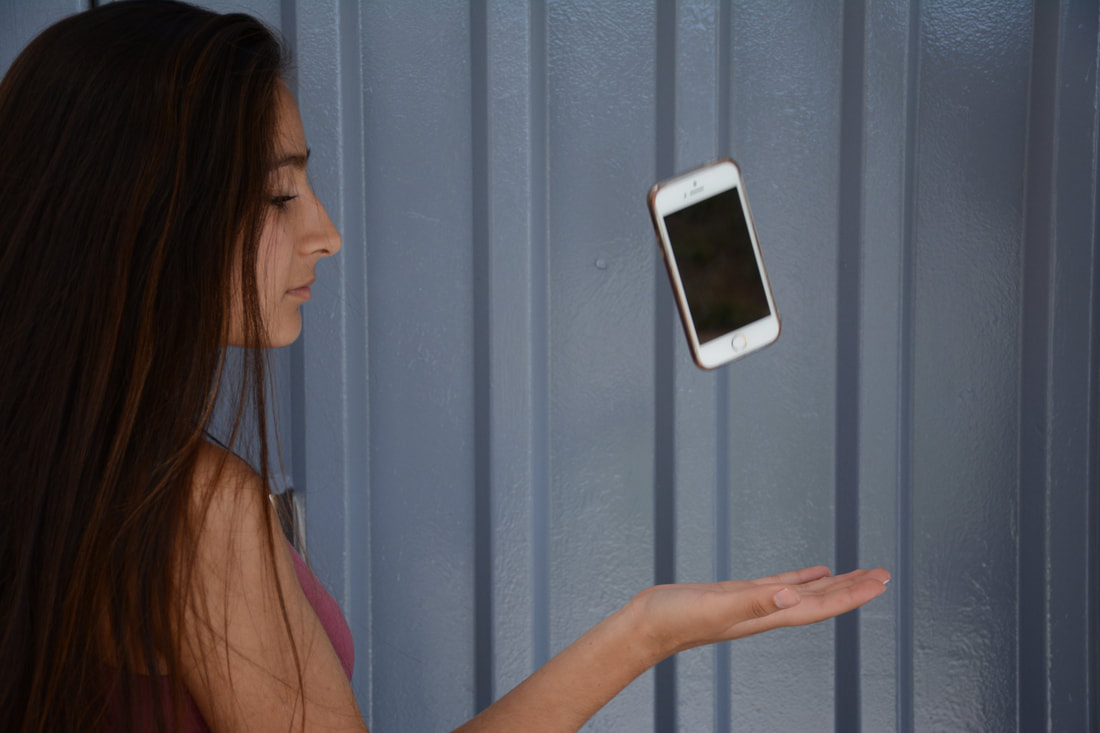
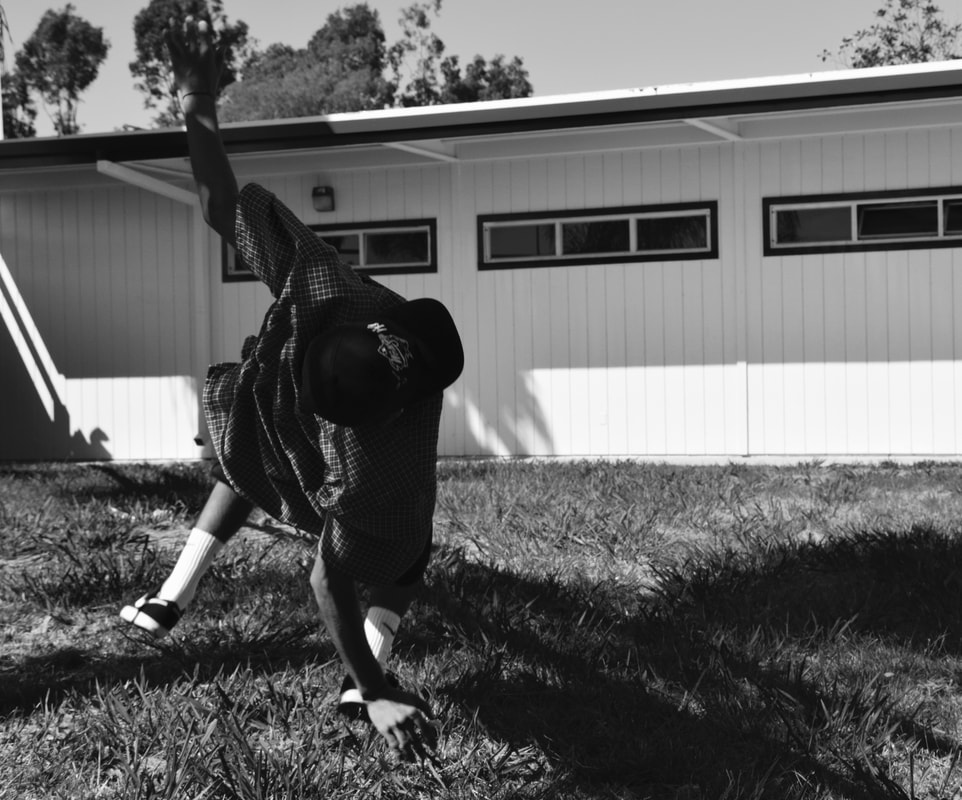
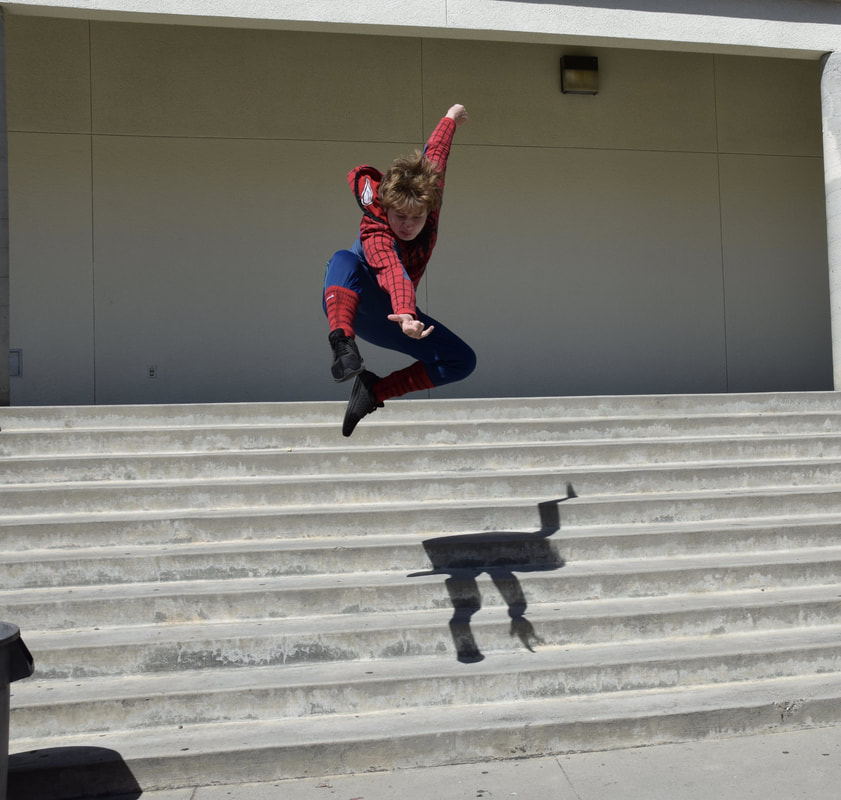
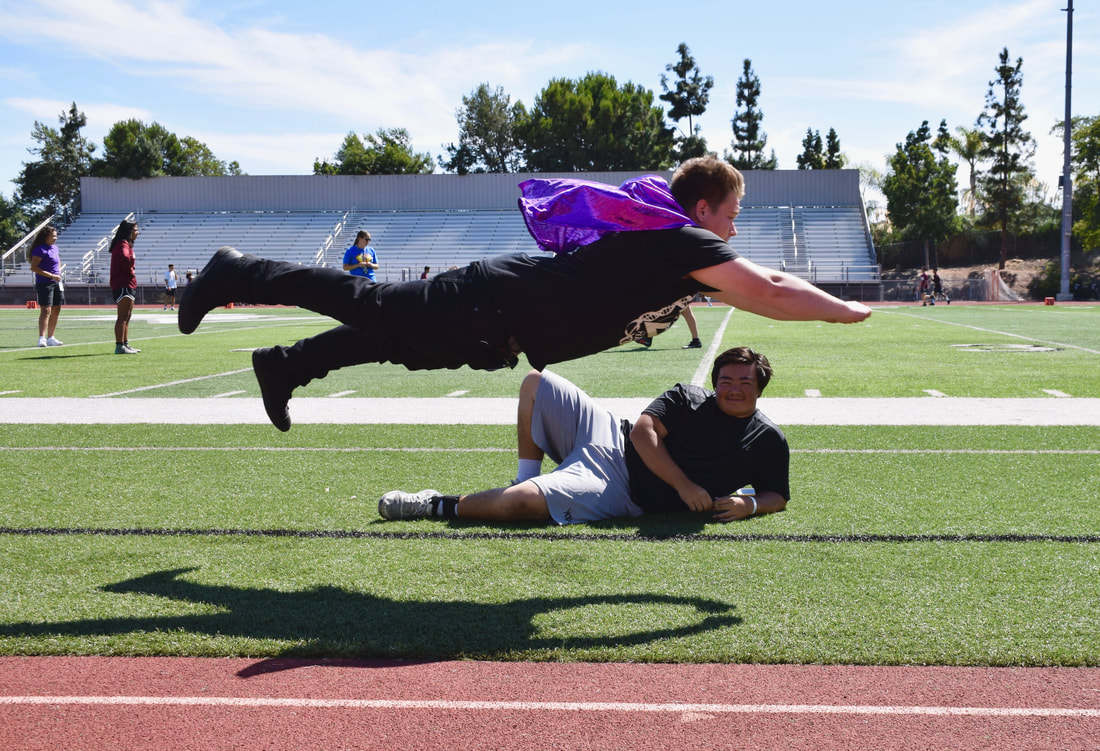
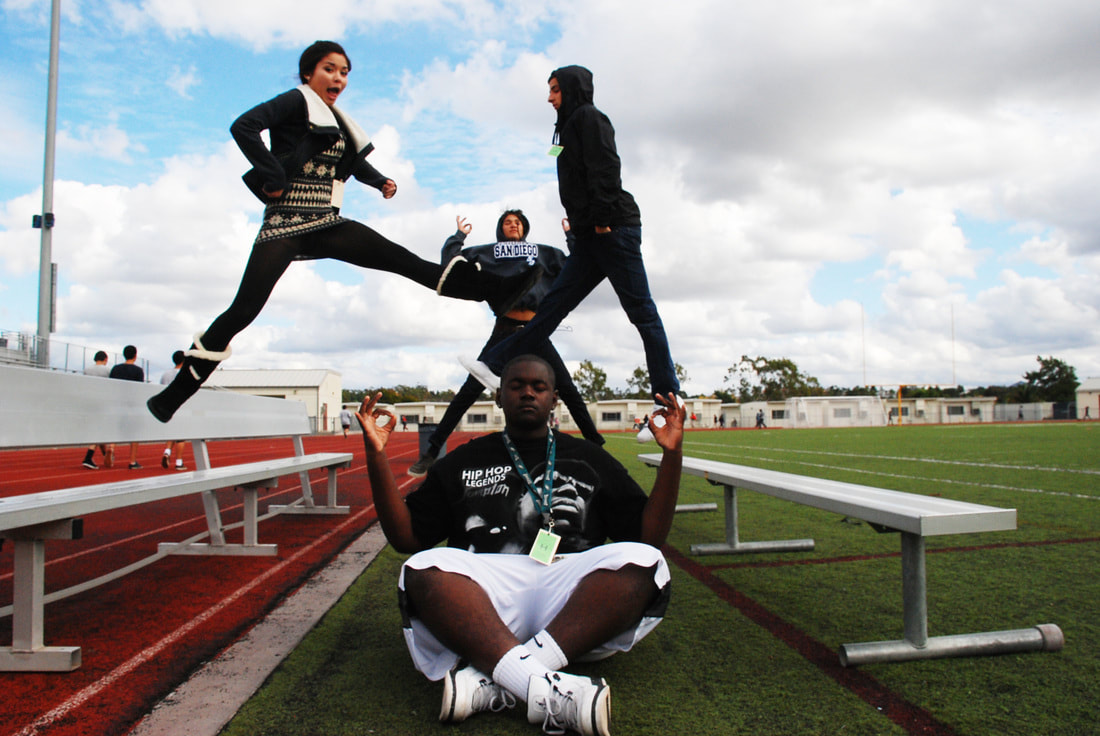
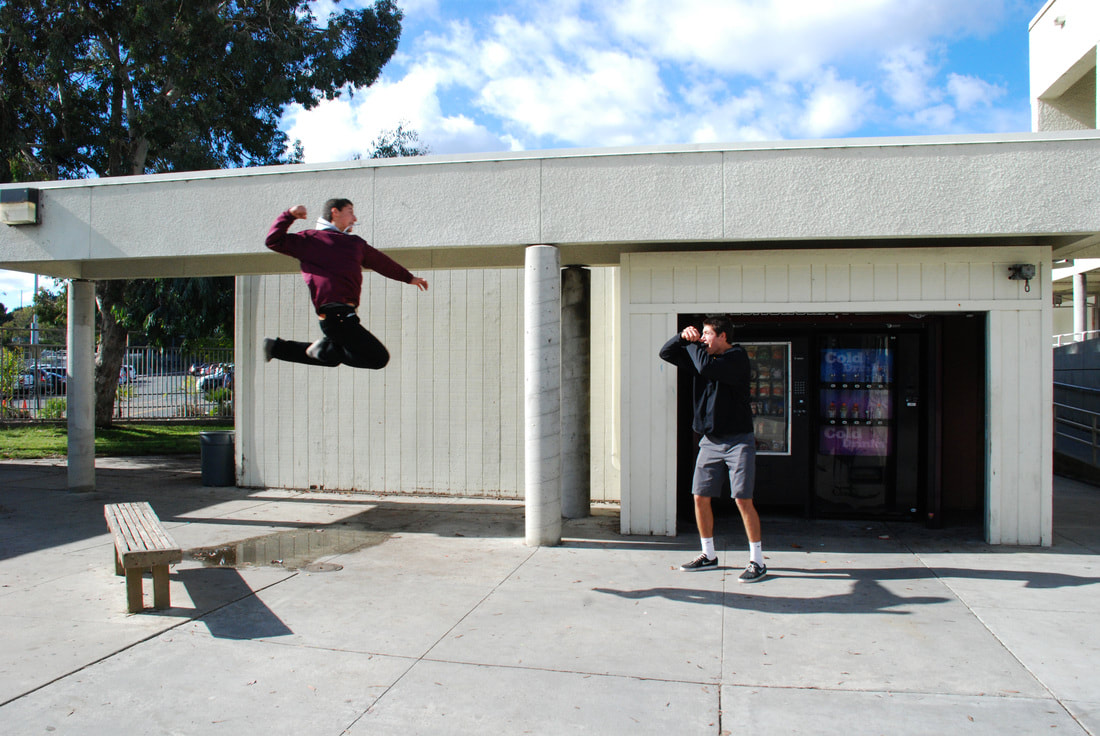
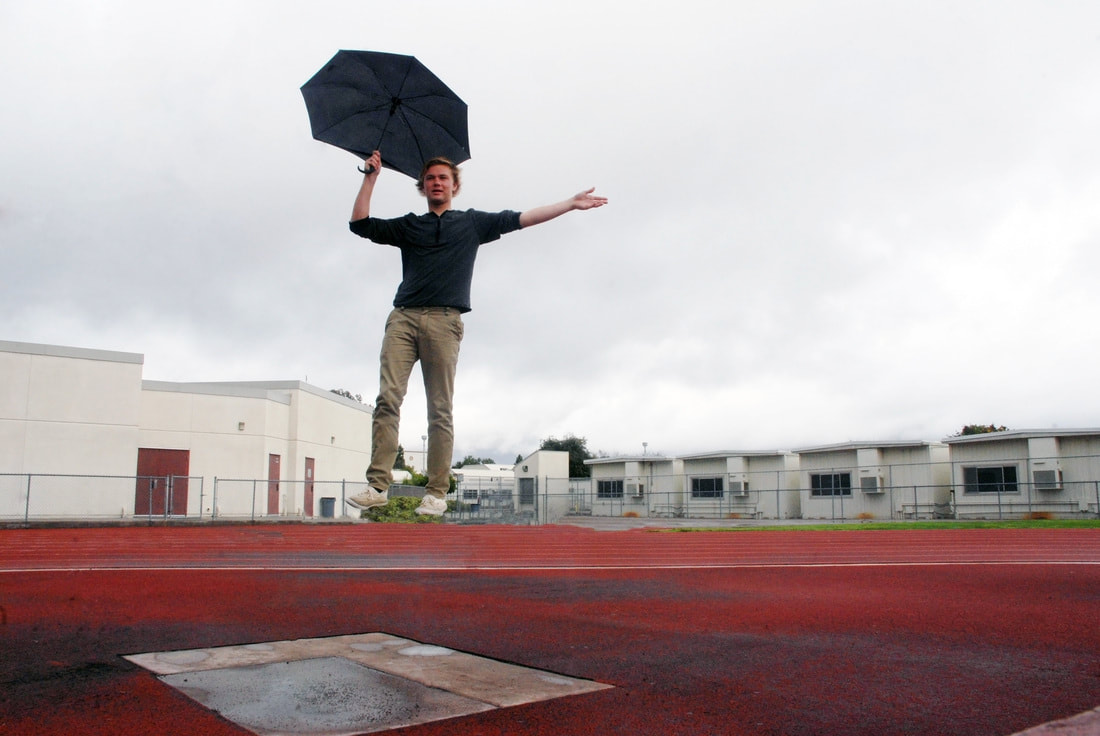
You are going to work with your teammates to each create a unique work of art using the theme of "float" as originated by Salvador Dali. You will look at galleries here and here for inspiration. Have your shutter speed set at shutter priority of 1/750th of a second or faster and the ISO at 400. Be creative! WOW me! Put your top three images in the Padlet with the title as your name(s). Put your images in the common drive under the 09-29-2017 Float folder, as lastname-firstname-float1.jpg, lastname-firstname-float2.jpg, lastname-firstname-float3.jpg. Period 1 https://padlet.com/kclarkart/acmmqc745w07 Period 2 padlet.com/kclarkart/om7b7m9sjzi2 Period 4 padlet.com/kclarkart/3te95s4zef90 Period 5 padlet.com/kclarkart/z58hv0q822qh Period 6 padlet.com/kclarkart/91thuh5ngsh1 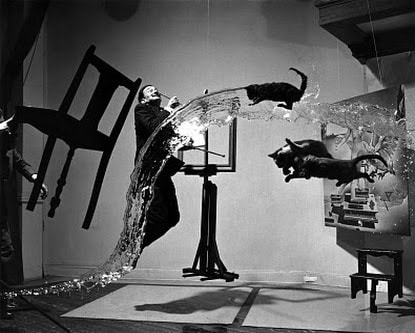 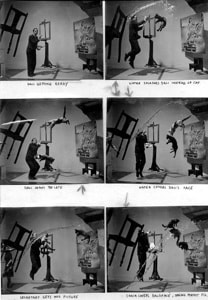 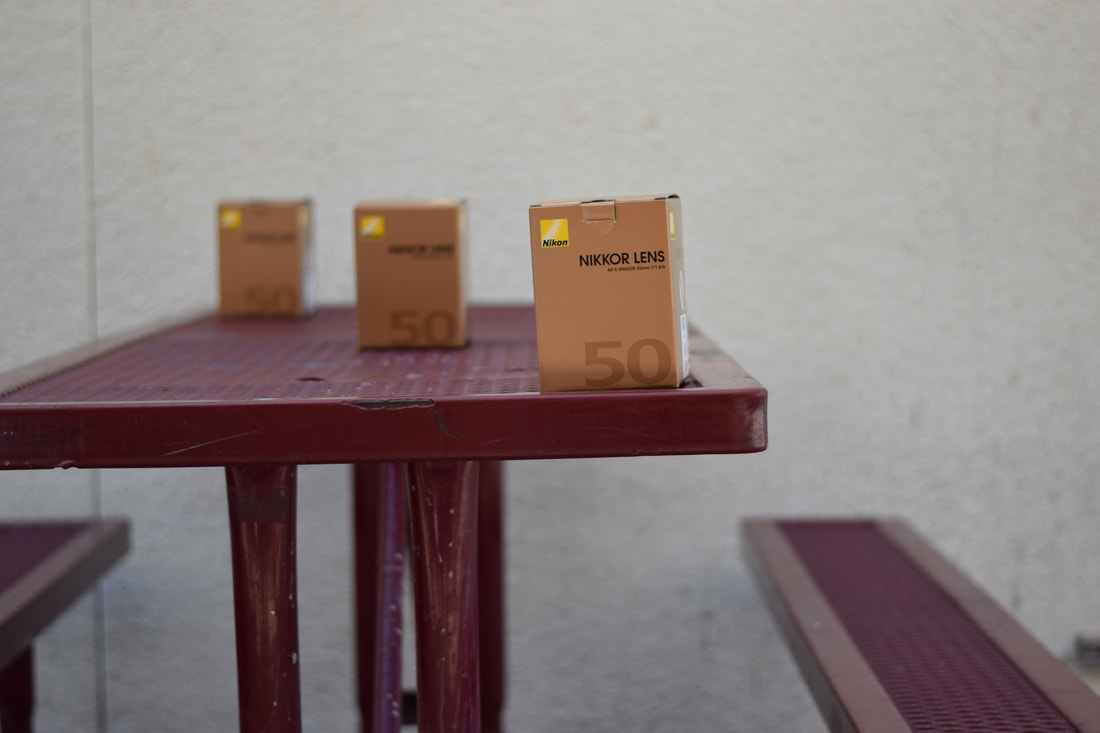 Shallow Depth of Field. Aperture f/1.8, Shutter Speed 1/2000 of a second, ISO 200 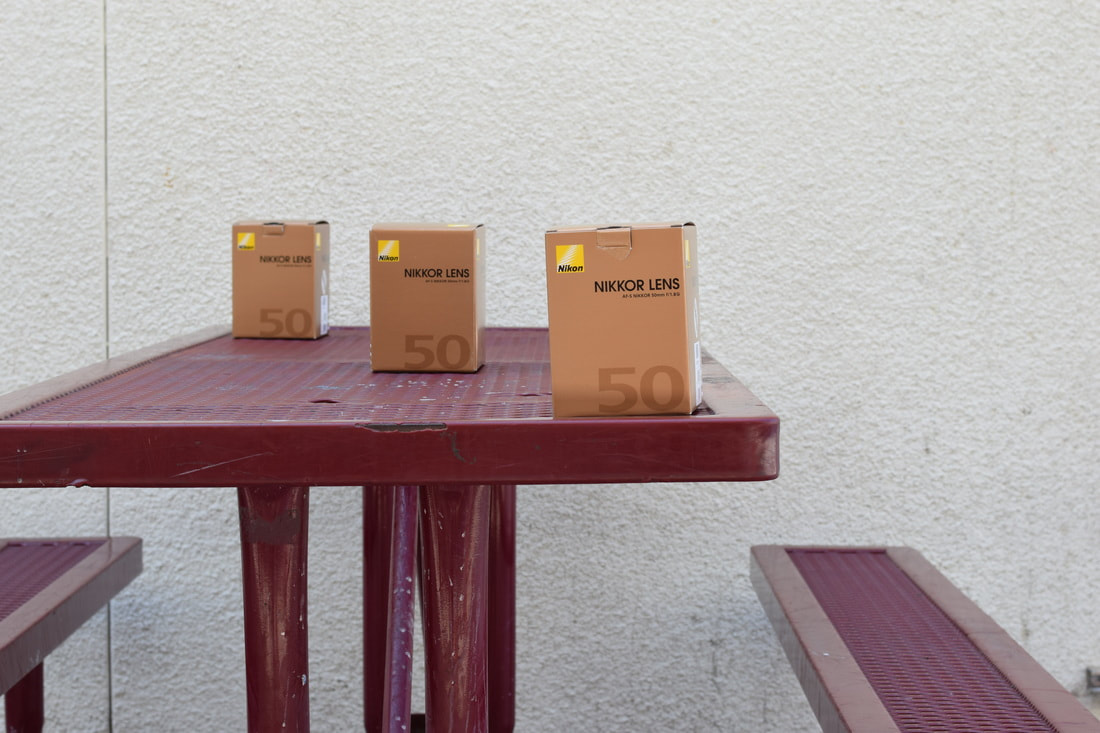 Medium Depth of Field. Aperture f/8, Shutter Speed 1/500th of a second, ISO 200 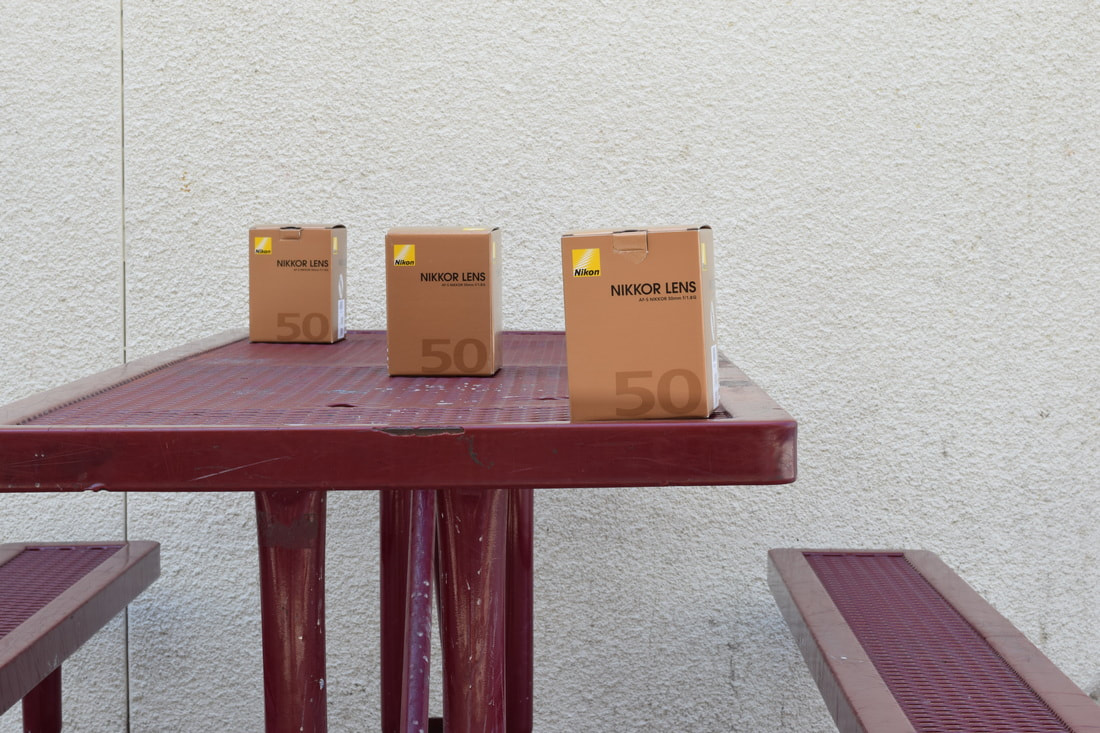 Deep Depth of Field. Aperture f/22, Shutter Speed 1/200th of a second, ISO 200 For this assignment, you will be shooting images of the same still life at three different apertures, uploading
them onto a Padlet along with technical information and a brief description of how each differs, and including an example from the web of a deep depth of field photo and a shallow depth of field photo with what you think the technical information should be, based on your notes and what you are learning. Here are the steps: 1. Download your photos into the Mac’s Photo application 2. Create a new folder on your desktop called “Aperture” 3. Dragging that folder into your Google drive in the “Photos” folder as backup 4. Do any editing of your choice of the best photo of f/stop (f/1.8, f/8 and f/16). Artist's choice on editing, can be black and white, very colorful, etc. Please be sure all the horizons are straight by going to the "crop" tool in Photos and straightening it out. 5. Rename each edited one of the boxes as lastname-firstname-shallowdepthoffield1.jpg for the f/1.8 image lastname-firstname-medium-depthoffield1.jpg for the f/8 image lastname-firstname-deep-depthoffield1.jpg for the f/16 image. For the second group of photos you did (the choice ones) rename as lastname-firstname-shallow-depth-of-field2.jpg lastname-firstname-medium-depth-of-field2.jpg lastname-firstname-deep-depth-of-field2.jpg 6. Drag your renamed photos into the shared drive- RBV-Class1 231Common Period# 10-04-2017 Aperture folder (*if you can't get to the shared folder, click on the desktop and make sure "finder" is on the top left of computer. Press "Go". Click "Connect to server." Type exactly smb://rbv-class1 Select 231Common) 7. Create a Padlet using the "grid" format. You will each make your own individual one. 8. Title your Padlet as "Aperture" 9. Under Padlet's description, write your first and last name. 10. Your padlet will have one best example of each boxes aperture (f/1.8, f/8 and f/16) with the technical information (what the aperture, shutter speed and ISO is) and a sentence or two describing what you see in the photograph and how each photograph is unique to one another. The title for each will be what the depth of field is (shallow depth of field, medium depth of field, deep depth of field). Do the same for the choice photos of f/1.8, f/8 and f/16. 11. You will do further research on the web to find a photo example of shallow depth of field, and write why that image is shallow depth of field and what aperture you think it might be, based on the photograph. 12. You will do research on the web to find an example of a deep depth of field, and write why that image is deep depth of field and what aperture you think it might be, based on the photograph. 13. On a separate post within your padlet, answer the following questions in complete sentences: 1. How did you change the camera setting to Aperture Priority 2. What happens to photographs when the aperture changes 3. Why would you use Aperture priority and when is it best to use it 14. Share your padlet to this main padlet according to your period number. Under "Title" put your first and last name and under "description" put "Aperture" Period 1: https://padlet.com/kclarkart/o87npj0zf1ut Period 2: https://padlet.com/kclarkart/1a1ts6v9cs7t Period 4: https://padlet.com/kclarkart/y7cwayuyp6j5 Period 5: https://padlet.com/kclarkart/9x3zej2thd7v Period 6: https://padlet.com/kclarkart/lcra2fp2at7x Graded 20/20 Classwork- 5 points Time on task (not goofing off or distracting others) Participated in class with a good attitude Respectful to teacher Not on cell phones while should be working Not late to class on any day (all one point each) Photographs – 5 points One photo per aperture and all have subject in focus- 3 points Horizon lines are straight- 1 point No junk in the background- 1 point Padlet- 5 points Each photograph has technical information of Aperture, Shutter Speed, and ISO Each photograph has a sentence or more describing it Answered how changed camera to Aperture Priority Answered what happens to photo when aperture changes Answered why use Aperture priority and when best to use it (all one point each) Written Work – 5 points Title of Padlet Name and Aperture Has image for shallow depth of field from web Has write up about shallow depth of field photo chosen Has image for deep depth of field from web Has write up about deep depth of field photo from web (all one point each) Send your favorite photographs of Vista to be considered for the Photo Contest for extra credit! To be able to get extra credit, you need to share the email that you send to the Vista Press to me. PLEASE show me the photographs you are thinking of submitting before you do so, only send your best work! It's okay for cell phone photographs as long as the resolution is high enough.  Shot list- Elements & Principles of Art You and your partner are going to work together to shoot the Elements and Principles of Art around campus. You will split up the E&P where you each will be taking seven of the E&Ps. Have a couple different options for each E&P and take THREE photos of the E&P you are doing, varying the positions- worms eye view, kneeling down, and at eye level. Make sure there is a variety of places you are taking the photos- the campus is your canvas! Aperture Priority, F8 ISO 400= if you go inside, change to 1600 and then if go outside again, 400 Partner 1: Shoot the following: Line, color, shape, form, balance, proportion, rhythm Partner 2: Shoot the following: Texture, space, value, emphasis, harmony, variety and unity. Use your notes/ presentation on Moncurephoto.com or go online to help with identifying what each element/ principle is. 1. Download your photos into the Mac’s Photo application 2. Create a new folder on your desktop called “Elements and Principles” 3. Dragging that folder into your Google drive in the “Photos” folder as backup 4. Do any editing of your choice of the best photo of each element/principle you were assigned. Artist's choice on editing, can be black and white, very colorful, etc. Please be sure all the horizons are straight by going to the "crop" tool in Photos and straightening it out. 5. Rename each edited one as lastname-firstname-whattheelementorprincipleis.jpg such as Moncure-Kelly-Line.jpg, Moncure-Kelly-Space.jpg etc etc. 6. Drag your renamed photos into the shared drive- RBV-Class1 231Common Period# 09-21-2017 Elements and Principles folder (*if you can't get to the shared folder, click on the desktop and make sure "finder" is on the top left of computer. Press "Go". Click "Connect to server." Type exactly smb://rbv-class1 Select 231Common) 7. Create a Padlet with your partner (one will start a Padlet in Grid pattern and share it with the other partner by pressing share- add contributors and type partner's email) 8. Title your Padlet as "Elements and Principles of Art" 9. Under Padlet's description, write both of your first and last names. 8. Your padlet will have one best example of each element and principle along with the technical information (what the aperture, shutter speed and ISO is) and a sentence or two describing why the photograph is that element or principle. The title for each will be what the element or principle is. 9. Share your padlet to this main padlet according to your period number. Under "Title" put your names and under "description" put "Elements and Principles of Art." Period 1 https://padlet.com/kclarkart/9lelku2hatmc Period 2 https://padlet.com/kclarkart/2z1l7wjm8r9l Period 4 https://padlet.com/kclarkart/1s8iu4uo0r7p Period 5 https://padlet.com/kclarkart/mvkbgwkbbwgq Period 6 https://padlet.com/kclarkart/nbf3rmhiq75i 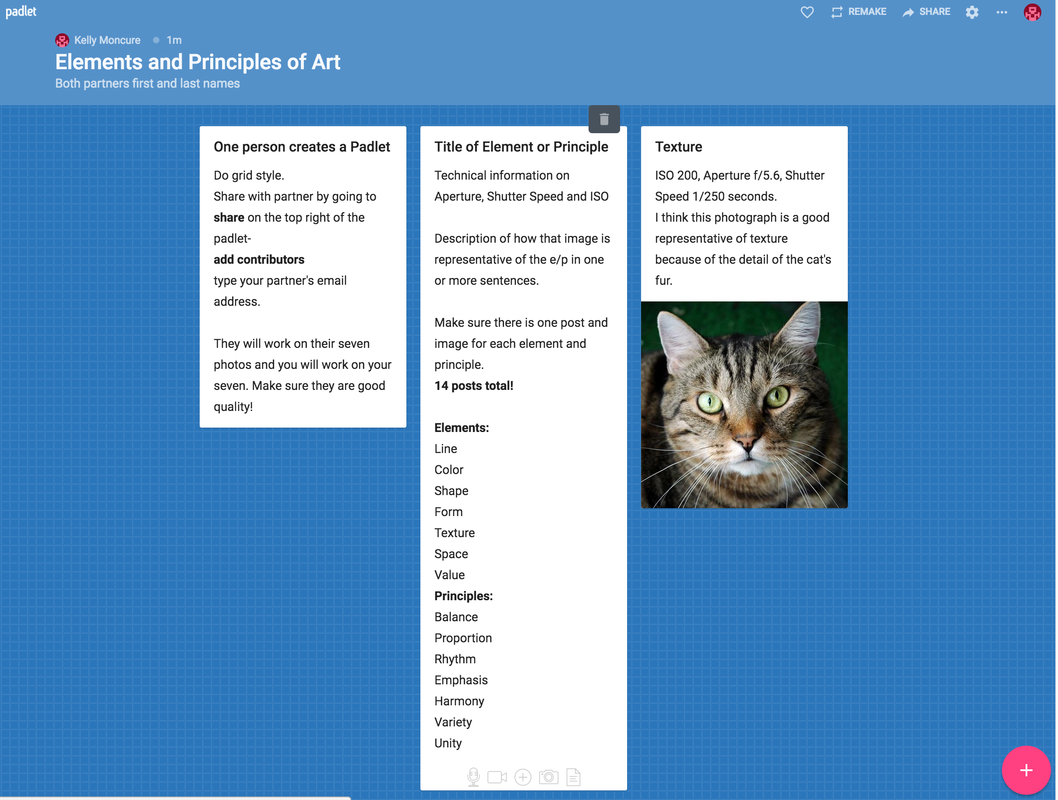 1. Create a folder on your desktop.
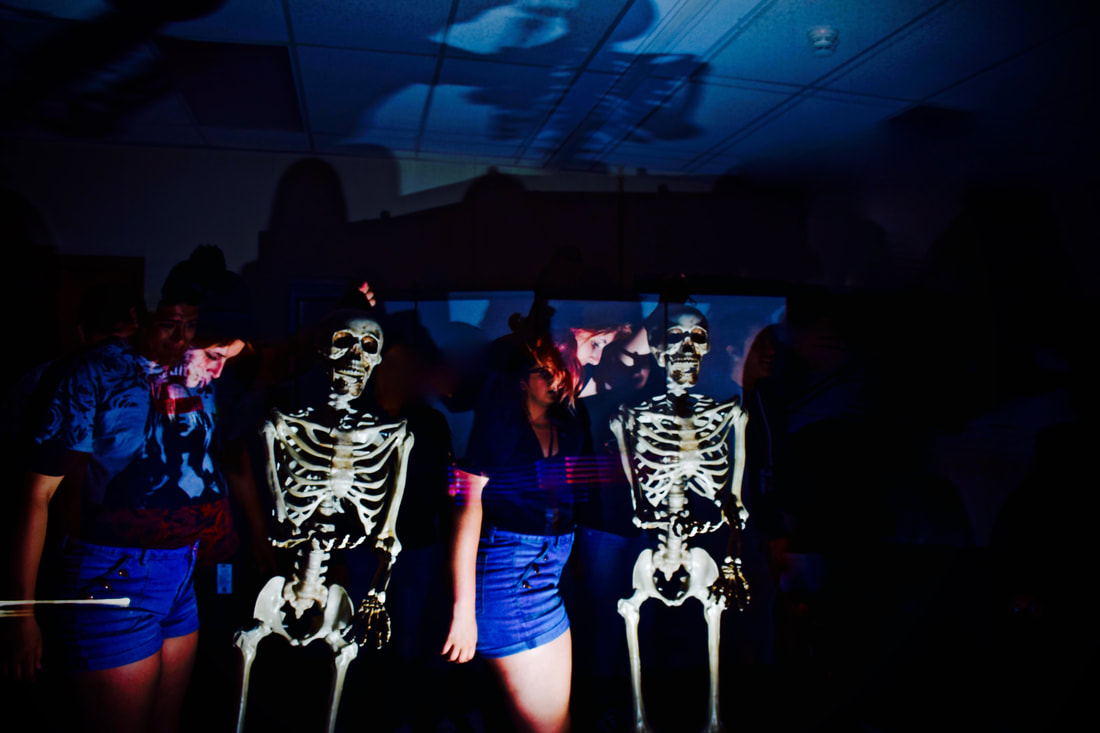
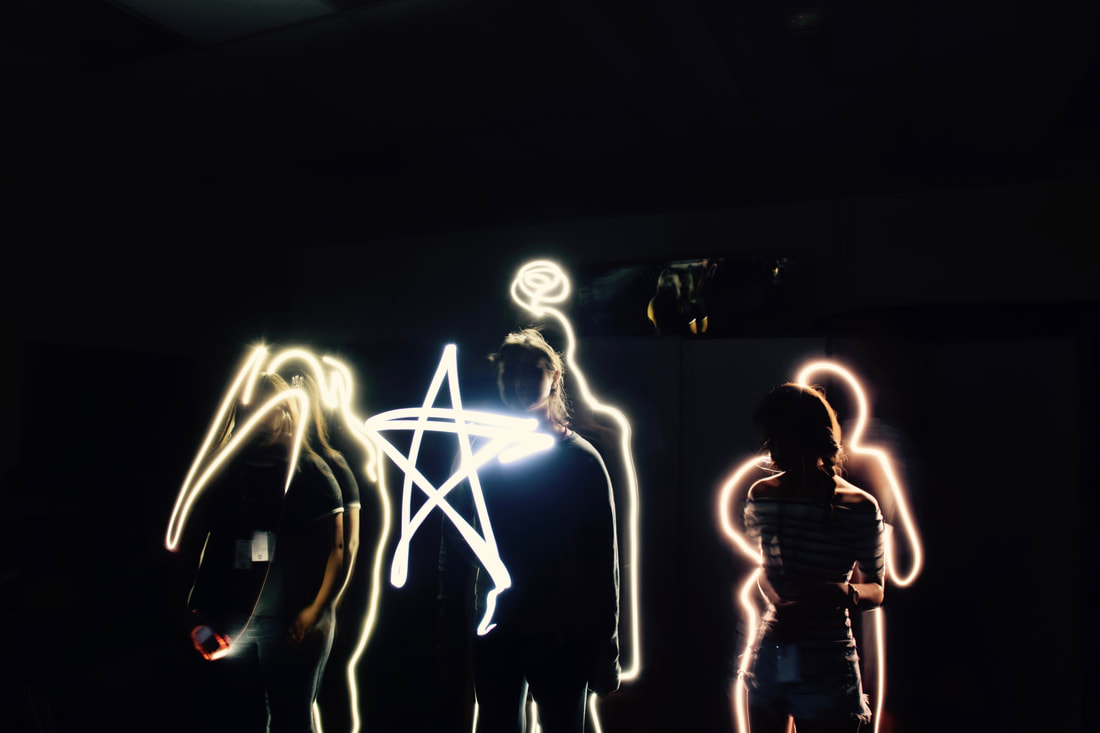
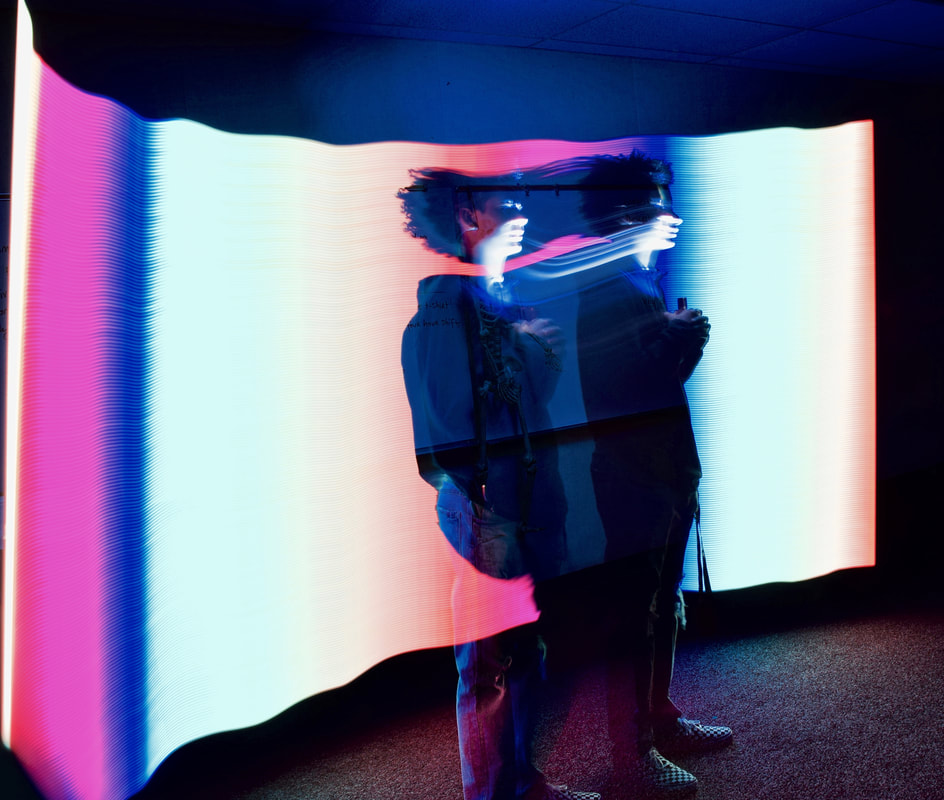
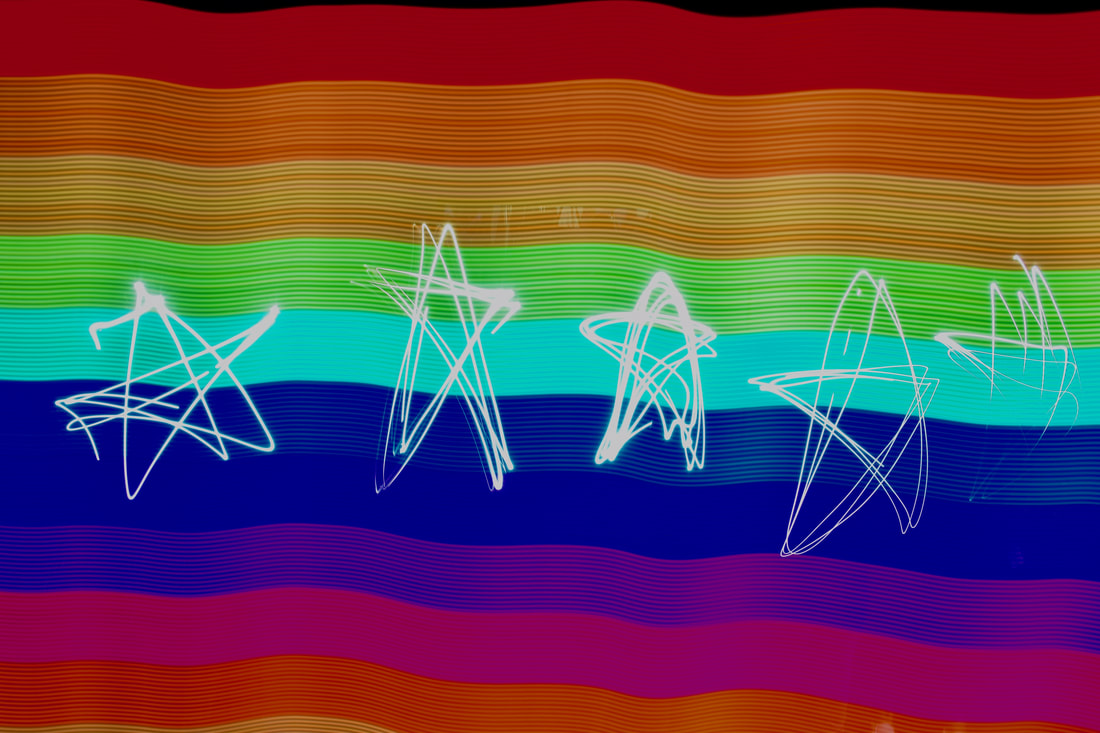
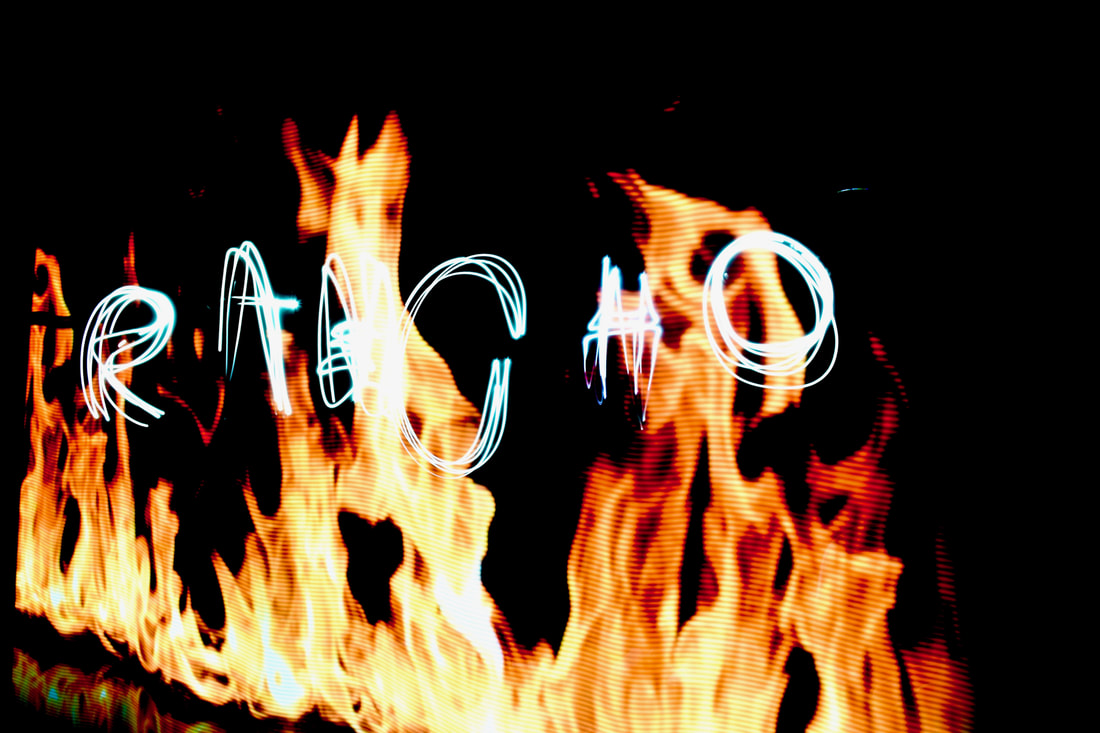
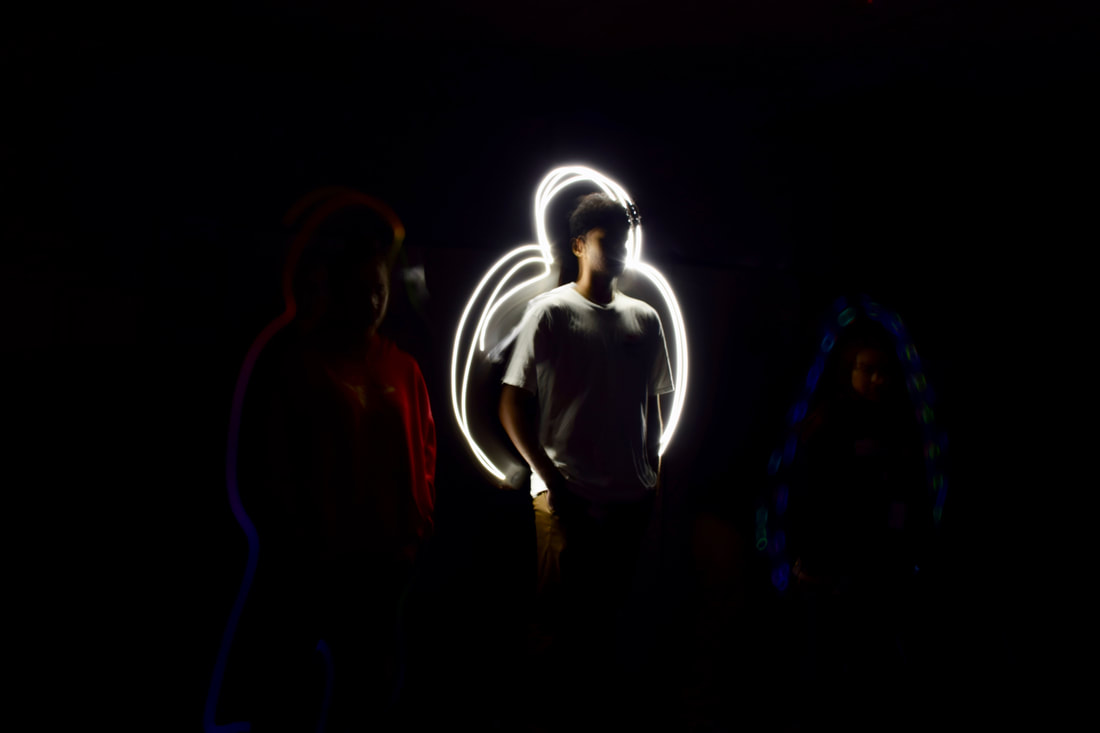
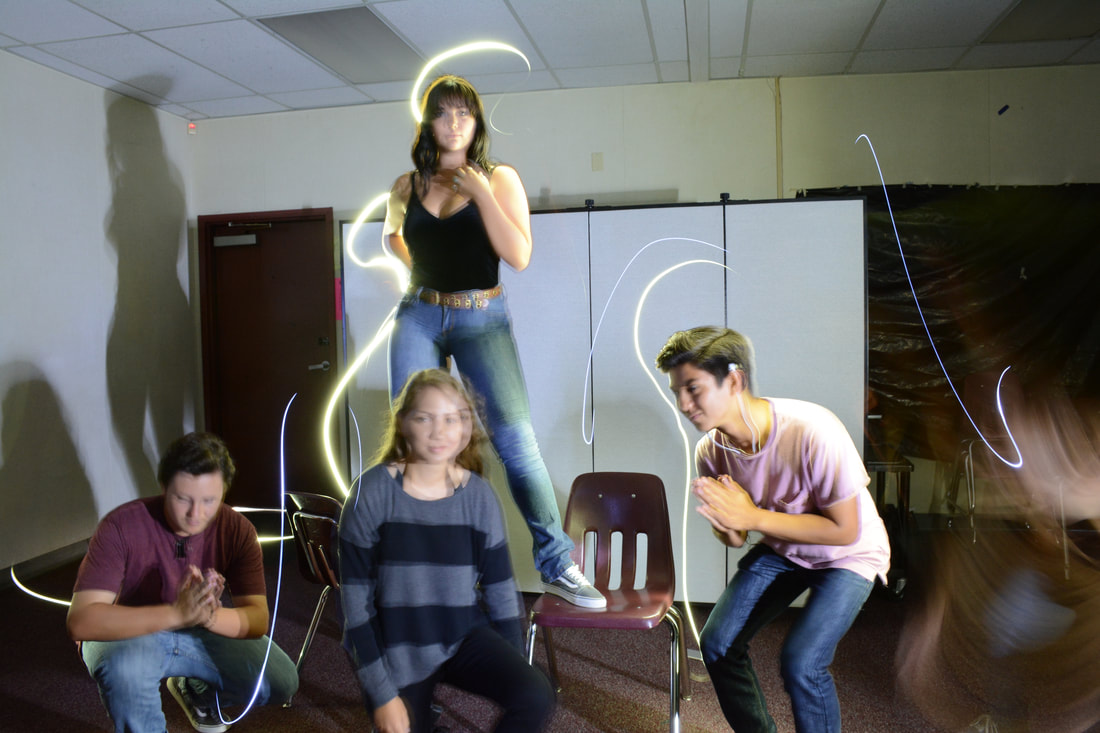
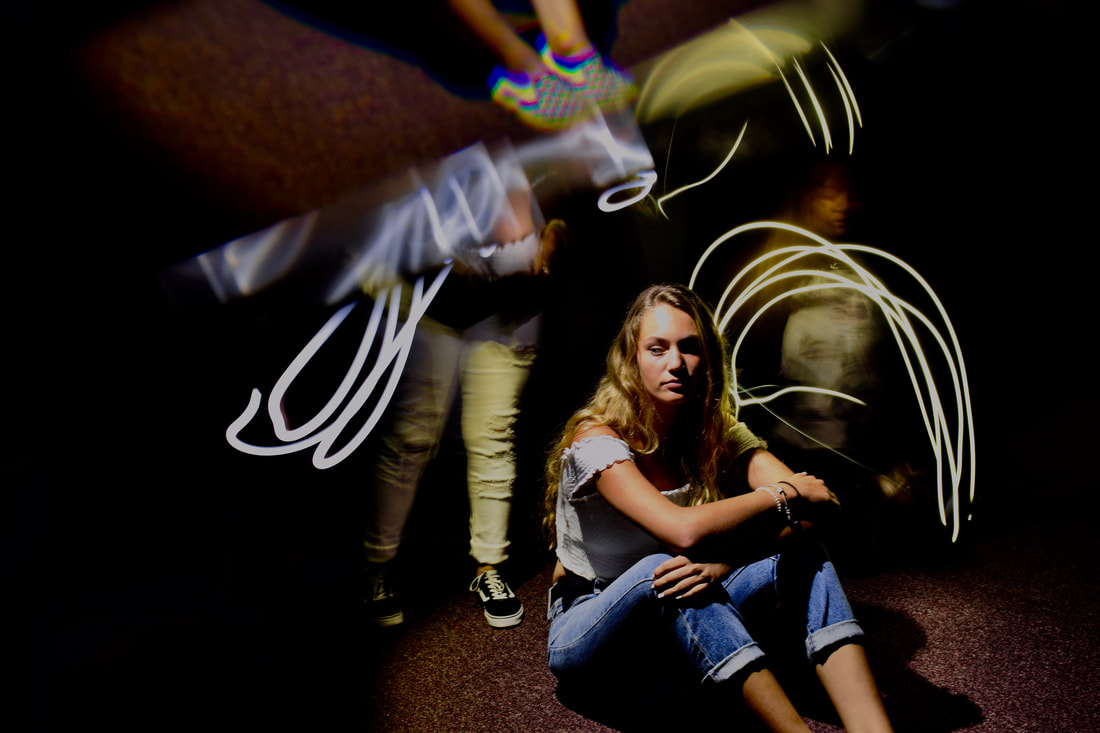
To create a folder- click on your desktop until it says "Finder" on the top of the computer. Click on Control + click to right click. Create new folder. Change the name to "Light Painting." Double click the folder to show the contents (it will be empty- but it's larger to be able to put photos in there without getting it on your desktop). 2. Open up your light painting photographs. Select all by pressing one of the photographs and click Command + A. Drag the photographs to the Light Painting folder. 3. Open up Google Drive- make sure you're in Google Chrome. If you do not have Google Chrome installed- go to "Finder" on the bottom left (happy blue face) Go to "applications." Double click on Google Chrome- it will ask you if it's okay to open- yes. Use this as your default browser. Create a new folder called "Photography." Upload your folder of Light Painting in there. - We will be doing this process for all the projects so that you will have a copy of the photographs in your Google Drive, in case you ever need to access them at home, or if your computer crashes, etc etc. 4. Edit your top five light painting photographs however you would like in your Photos application- crop as you want, make them brighter or darker, etc. Be creative! To edit in photos, use the edit button on the top right hand side. 5. Save the images as lastname-firstname-lightpainting1.jpg, lastname-firstname-lightpainting2.jpg all the way to 5. To save your image, highlight the name (DSC_000etc.jpg) BEFORE the .jpg. It takes some practice! Make sure you do NOT erase the .jpg otherwise the photo will be unreadable and corrupt. ONLY use the - character between the words with NO SPACE. 6. Once you saved your top five photographs, you will put them in the class drive- Go to finder- RBV-Class1- 231common- Period # - 09-18-2017 Light Painting Make sure you are dragging them to the correct folder! *if you can't get to the shared folder, click on the desktop and make sure "finder" is on the top left of computer. Press "Go". Click "Connect to server." Type exactly smb://rbv-class1 Select 231Common
|
AuthorMs. Clark, photography teacher of smart and creative students! [email protected] Archives
June 2018
Categories
All
|
||
| Ms. Clark CTE Photo Imaging I |
|


 RSS Feed
