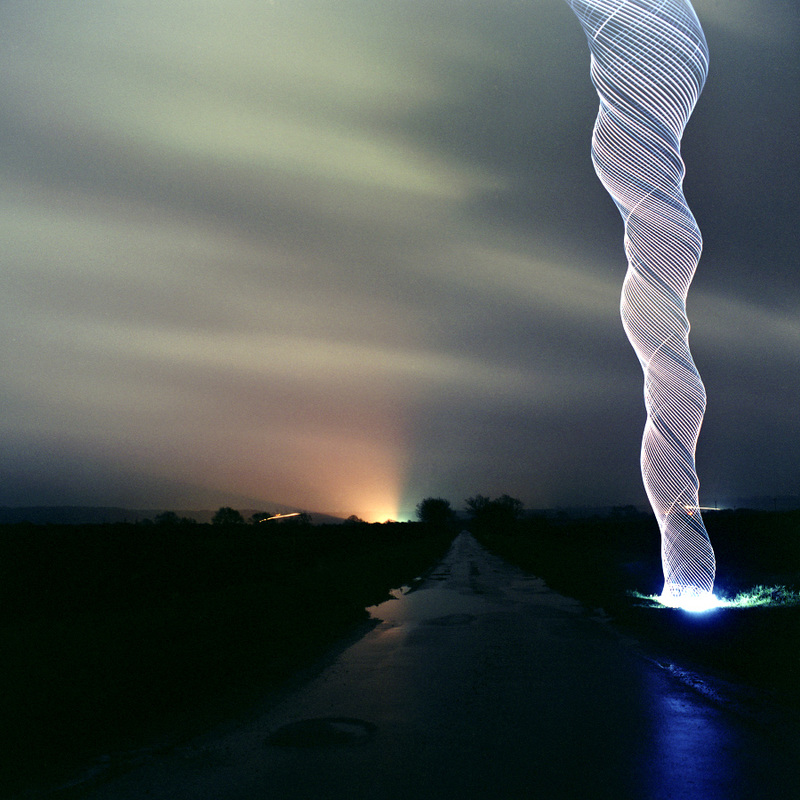
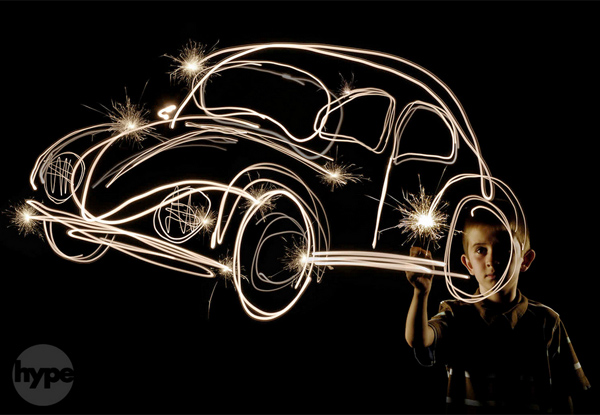
You will be working in teams of four to get twelve good quality images (3- 4 each) using light painting and slow shutter speeds. You will be experimenting with the amount of time you will need to get a quality image, materials, and models (all four of you need to be a model and all of you will need to be a photographer).
Set your camera on MANUAL mode and bring the aperture to f/5.6 by using the front dial and the shutter speed to 30 seconds by using the back dial. Put your lens in MANUAL focus and focus on the model before the lights go off, otherwise the camera will have a hard time focusing and won't take a photo.
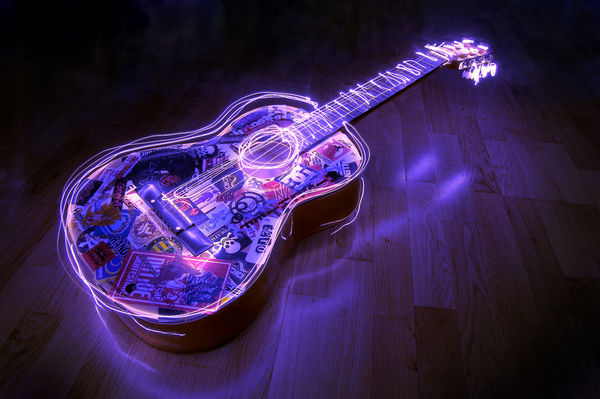
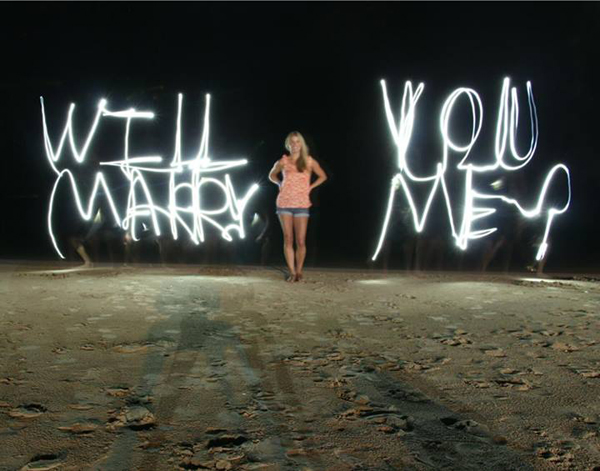
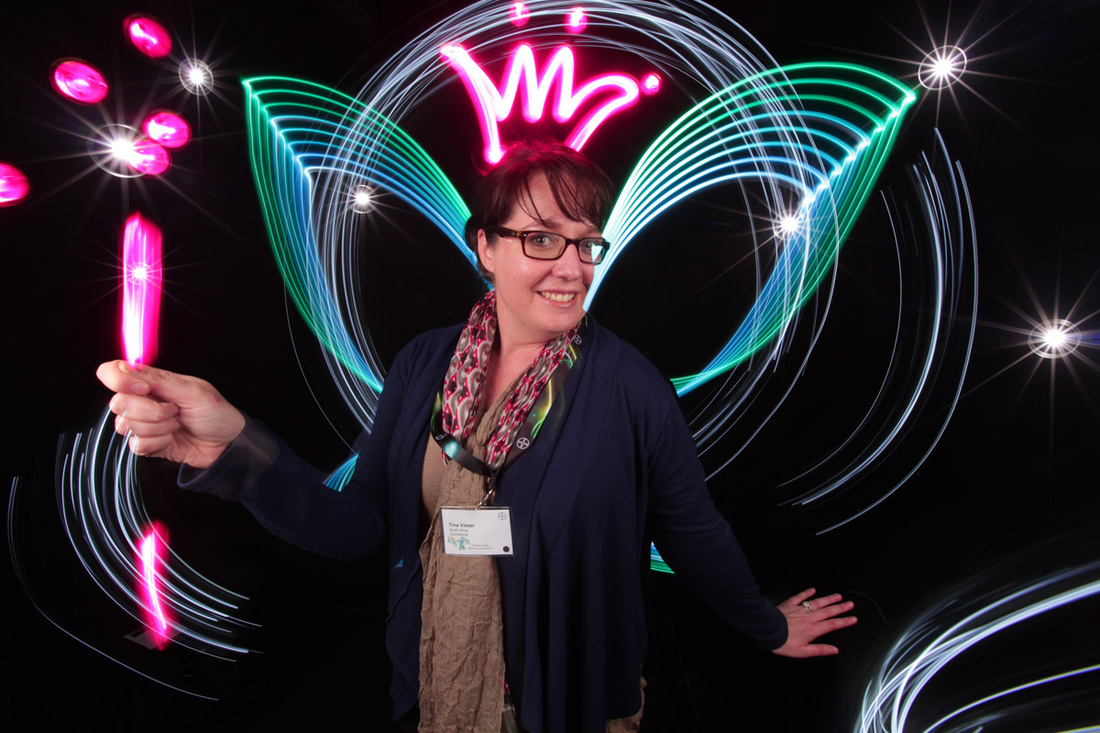
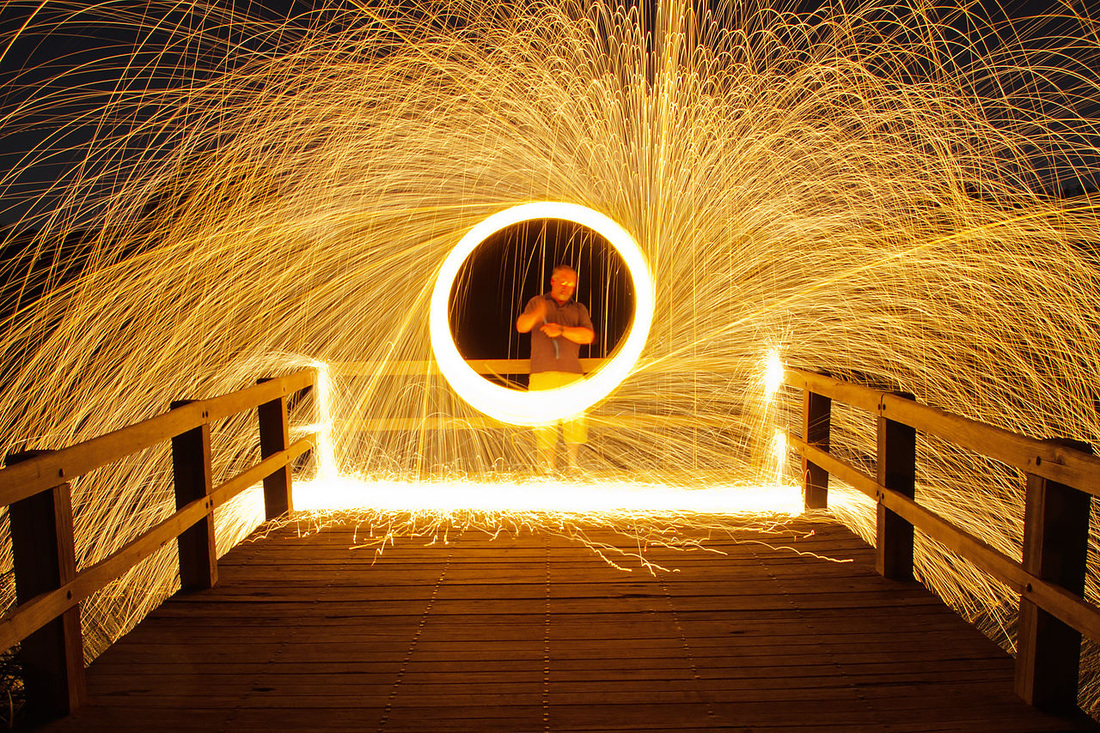
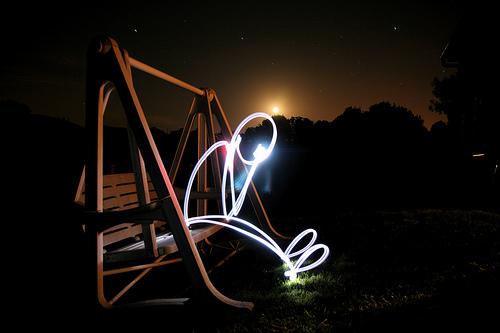
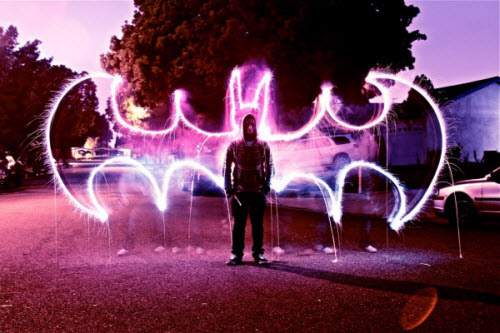
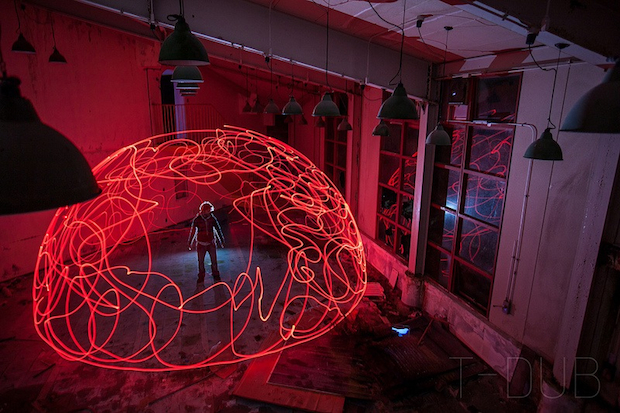
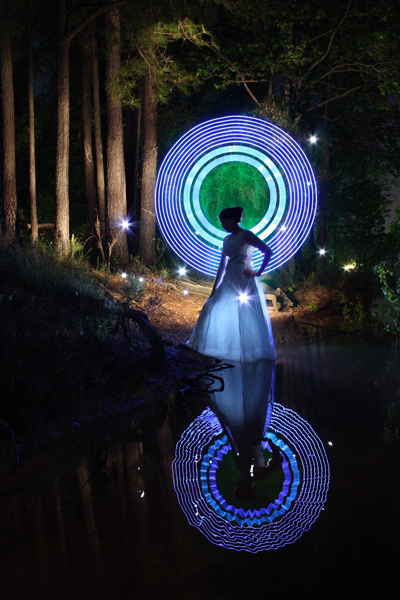
Experiment with light drawing, light writing, adding things that aren't there, etc. You may use the glow sticks that are provided, or your cell phone light. Experiment, experiment, experiment! If it doesn't come out right the first time, keep trying until you've got it right. There are FREE apps for cell phones for light painting if you would like to use them- I like "My Light Paint".
Please be very careful around the tripods and cameras!!!
1. When you are done, you will create an iPhoto album called 10-08-2014 Light Painting,
2. Then create a folder in your "Original Images" folder called 10-08-2014 Light Painting and drag your photos from iPhoto into the folder.
3. Do any editing in iPhoto to make sure it's cropped correctly, adjust any brightness/contrast, retouch any dust, etc.
4. Save your favorite 3- 4 images as last name-firstname-lightpainting1.jpg, lastname-firstname-lightpainting2… in the class folder RBV-Class1- 231Common> Period # > 08-08-2014 Light painting folder.
5. Finally, save your images in your personal "finished projects" folder for your portfolio at the end of the year.
Set your camera on MANUAL mode and bring the aperture to f/5.6 by using the front dial and the shutter speed to 30 seconds by using the back dial. Put your lens in MANUAL focus and focus on the model before the lights go off, otherwise the camera will have a hard time focusing and won't take a photo.
Experiment with light drawing, light writing, adding things that aren't there, etc. You may use the glow sticks that are provided, or your cell phone light. Experiment, experiment, experiment! If it doesn't come out right the first time, keep trying until you've got it right. There are FREE apps for cell phones for light painting if you would like to use them- I like "My Light Paint".
Please be very careful around the tripods and cameras!!!
1. When you are done, you will create an iPhoto album called 10-08-2014 Light Painting,
2. Then create a folder in your "Original Images" folder called 10-08-2014 Light Painting and drag your photos from iPhoto into the folder.
3. Do any editing in iPhoto to make sure it's cropped correctly, adjust any brightness/contrast, retouch any dust, etc.
4. Save your favorite 3- 4 images as last name-firstname-lightpainting1.jpg, lastname-firstname-lightpainting2… in the class folder RBV-Class1- 231Common> Period # > 08-08-2014 Light painting folder.
5. Finally, save your images in your personal "finished projects" folder for your portfolio at the end of the year.
 RSS Feed
