|
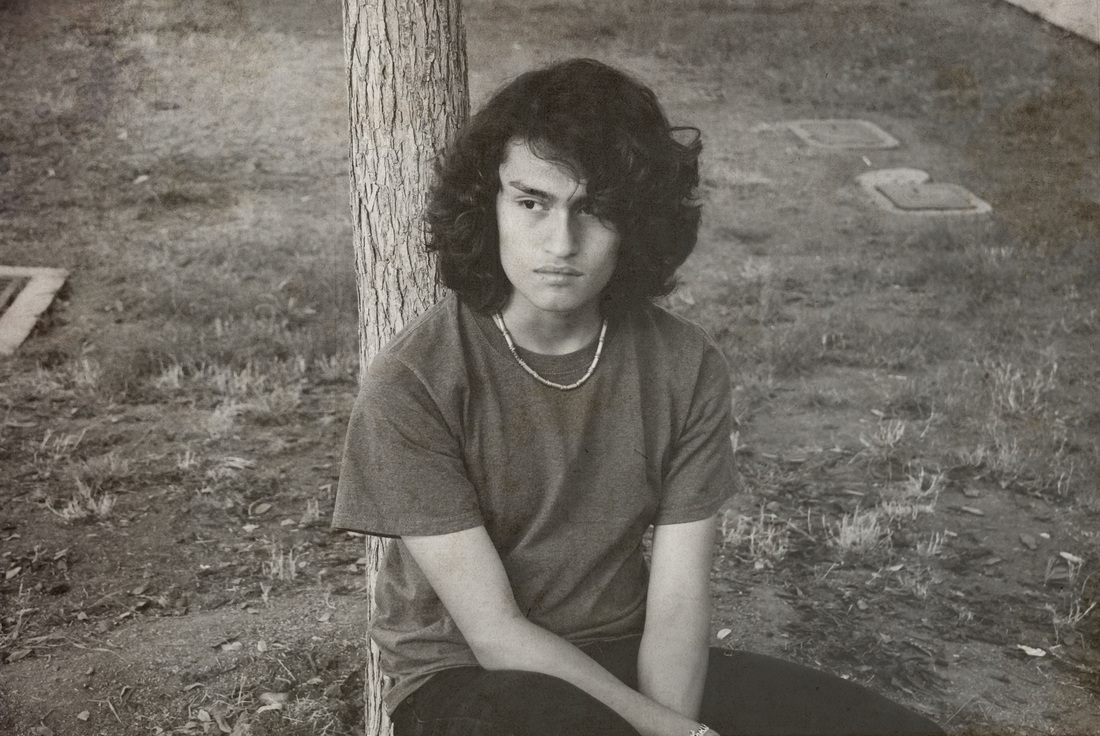
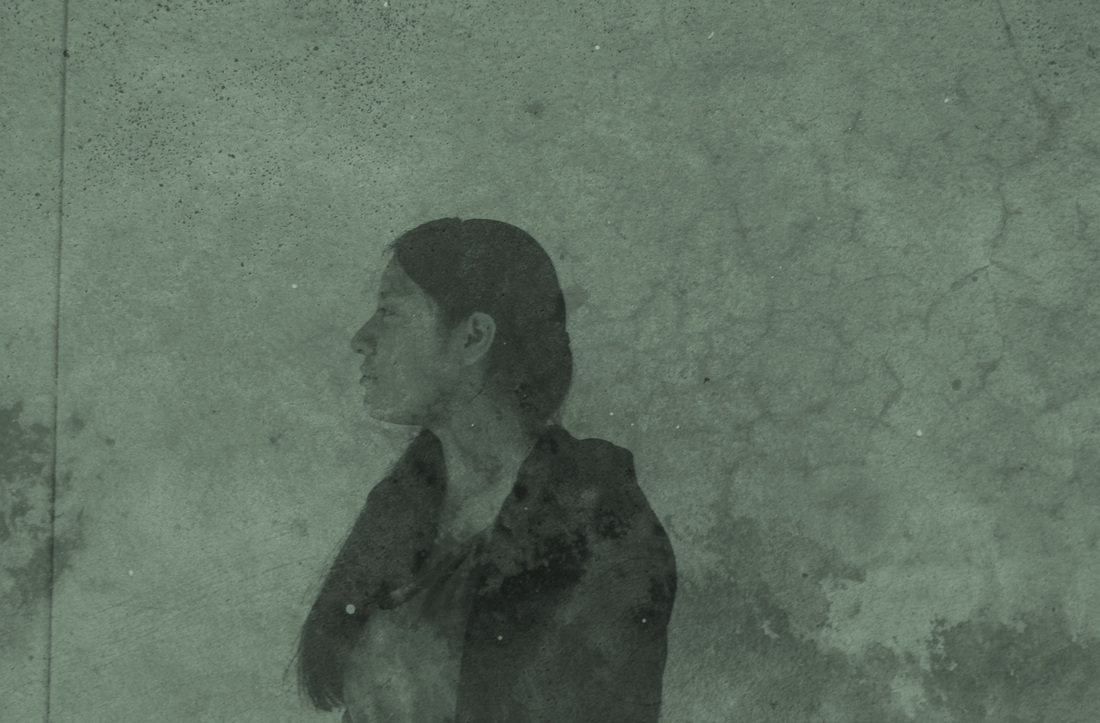
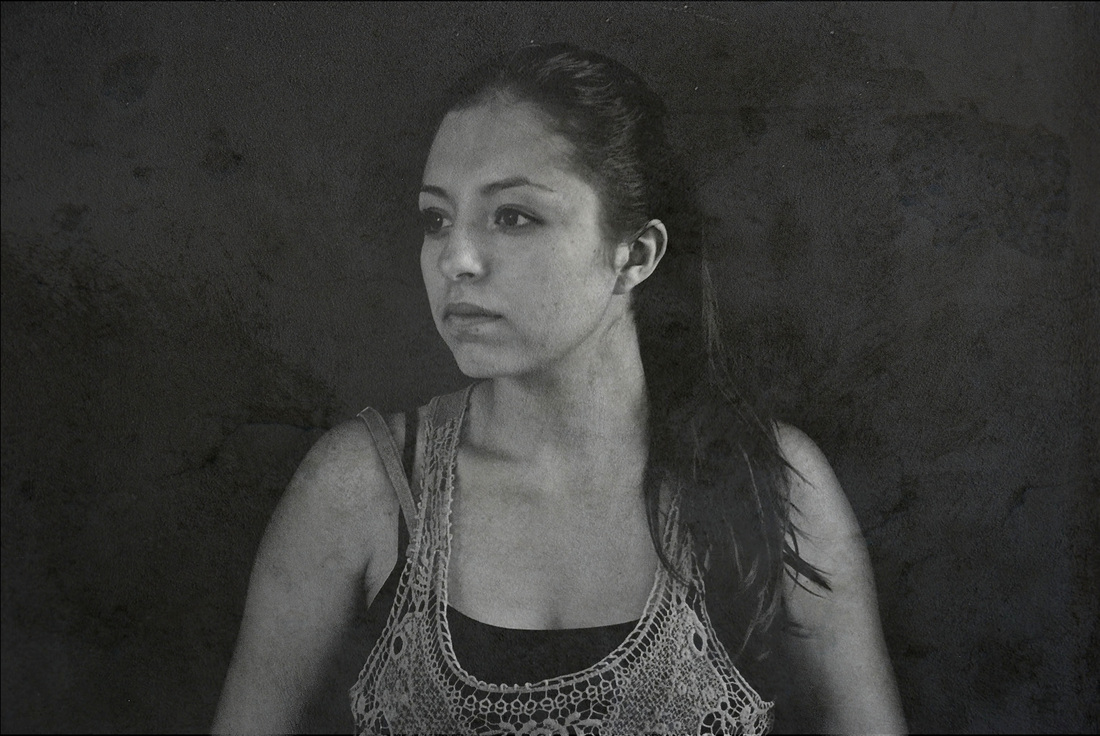
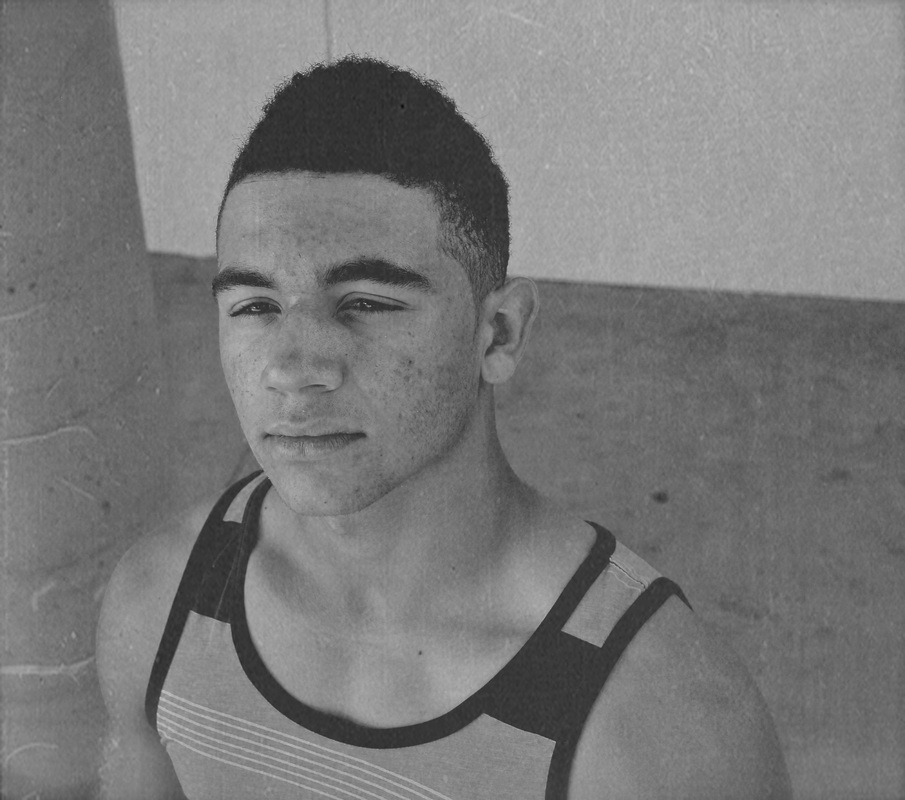
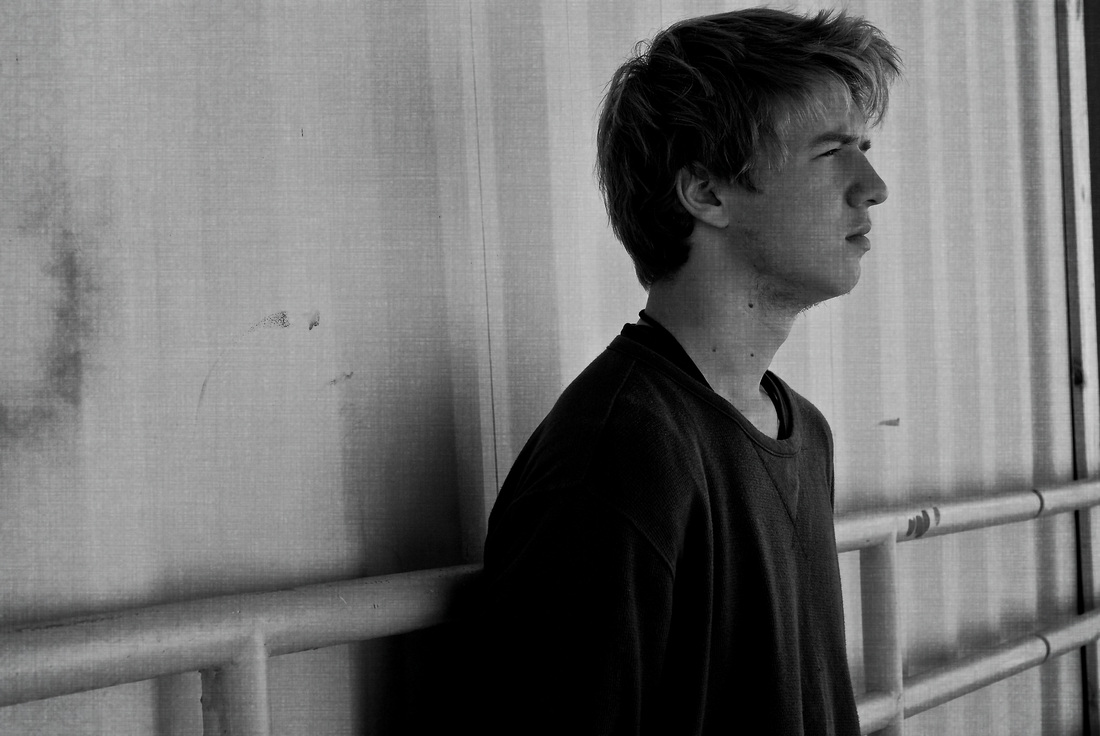
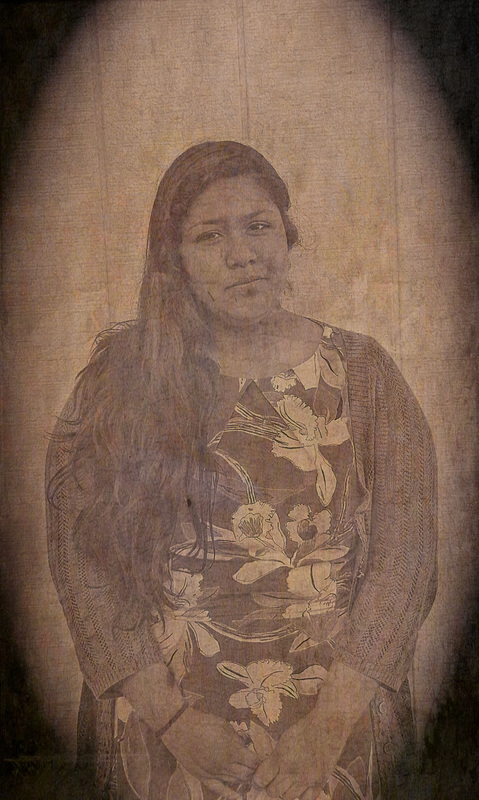
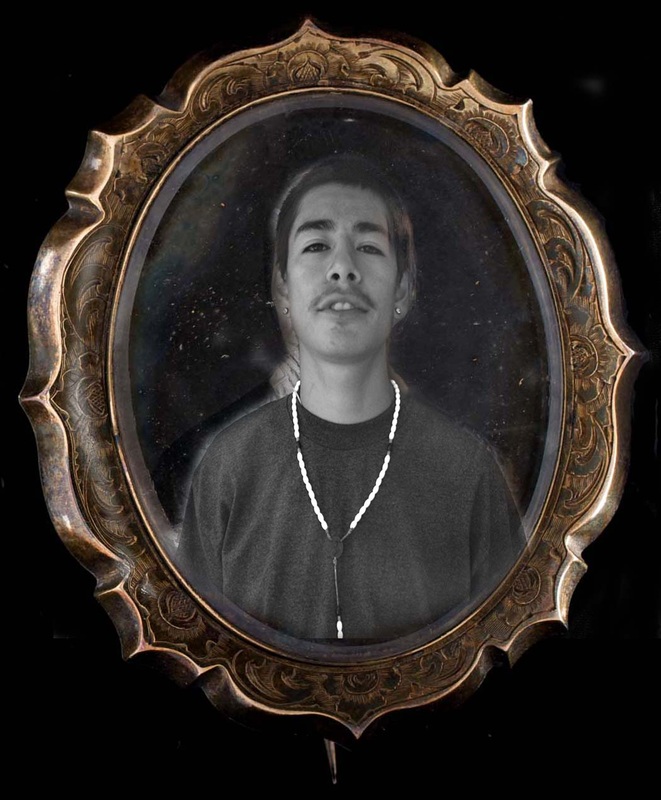
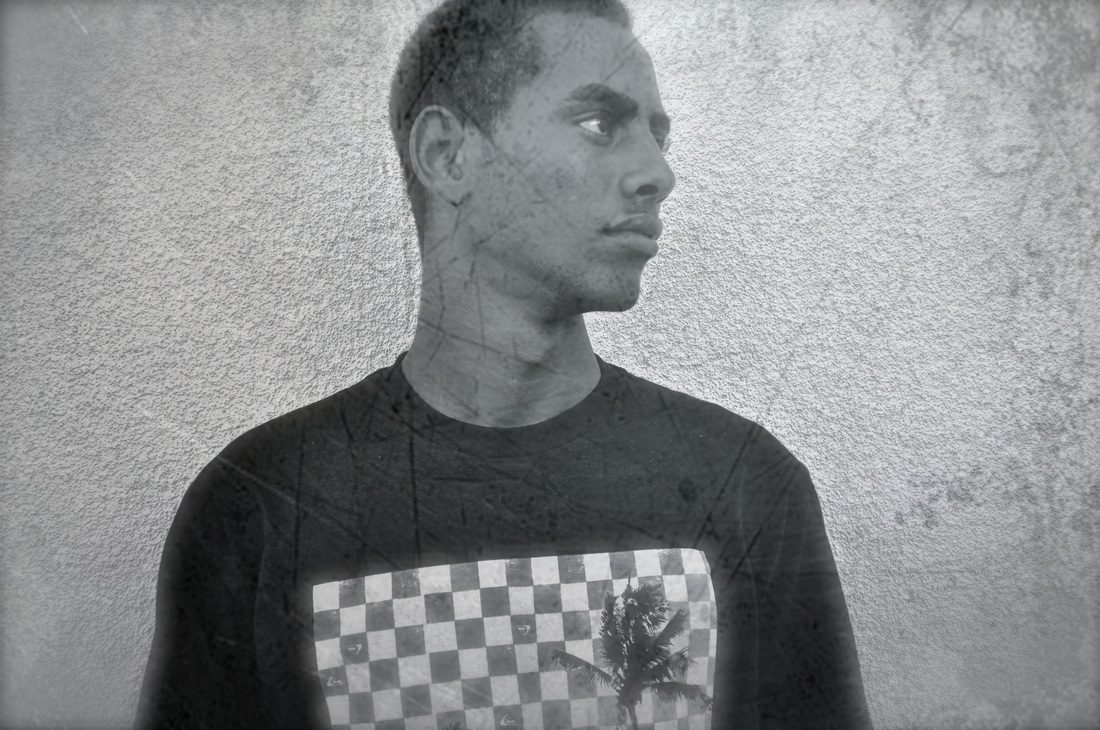
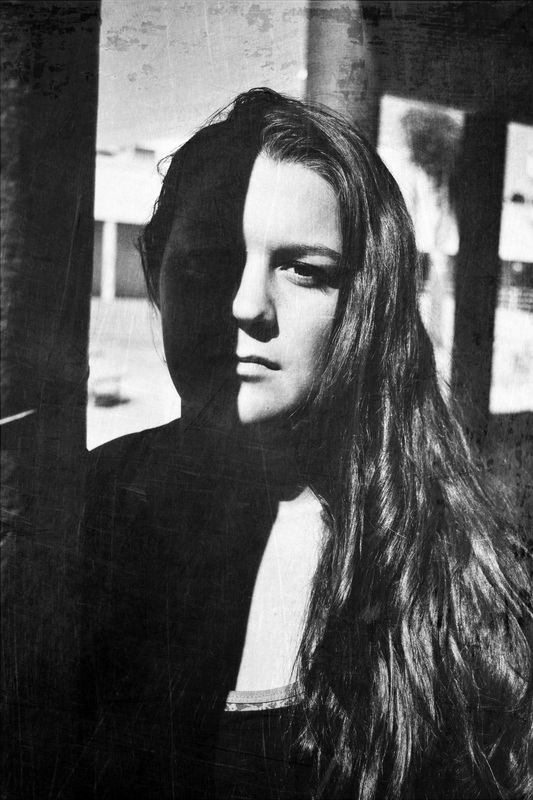
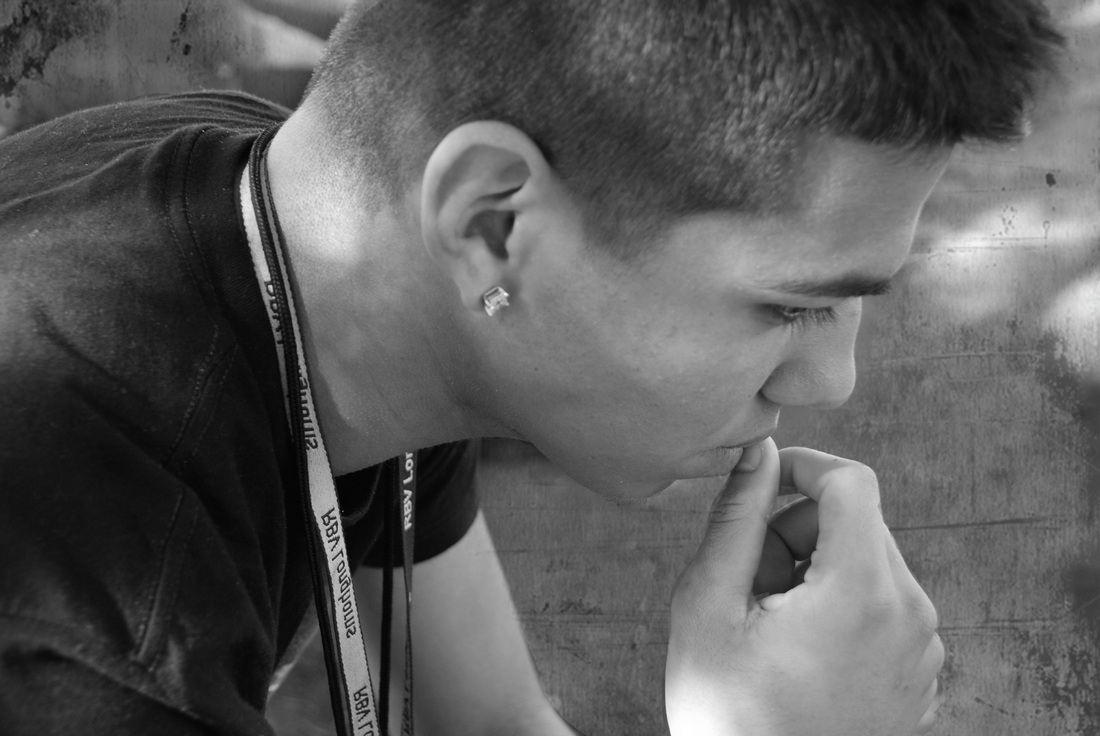
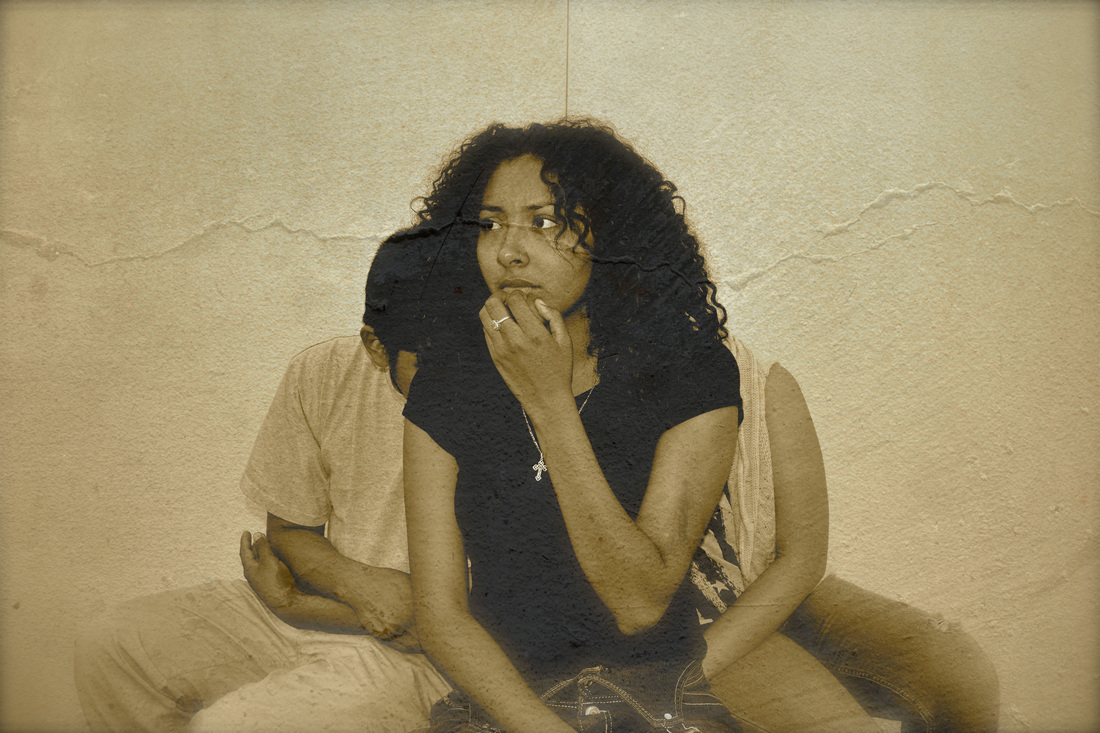
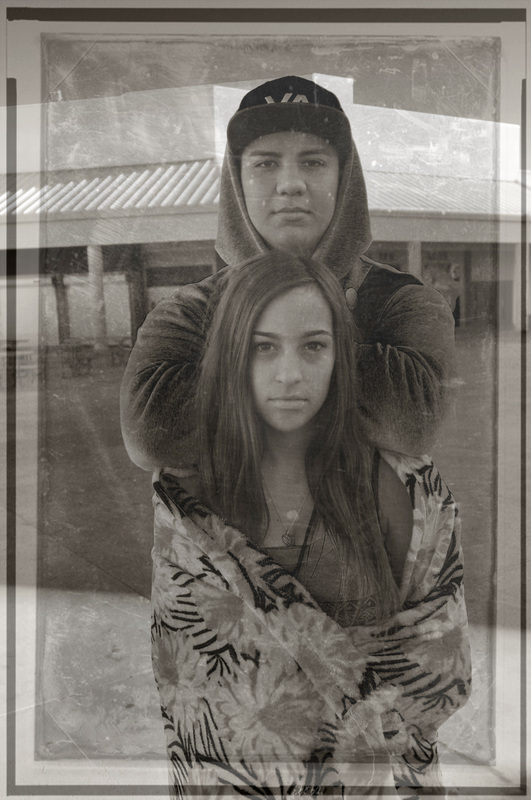
For this project, you are going to take 24 photographs in the style of Julia Margaret Cameron and/or Alexander Gardner. You will then choose your top three photographs, and edit them to emulate a style of a photographic process, specifically daguerrotype, cyanotype, salt print, tin type, or calotype. You must have a separate style from your table mates. You may use Photoshop, iPhoto, PixLR or BeFunky to process your work. Please don't forget scratches, ripped paper, chemical stains etc to really emulate the old fashioned look- don't just make your photo black and white or sepia and be done with it. I recommend looking up tutorials on the web on how to make your image look like your process in Photoshop (but be sure it's straightforward, not too terribly complicated- there will be 100 different tutorials you can find on the web of doing any process), and/or find a texture on the web that you can layer onto your photograph. The album name is 10-29-2014 Alternative Processes- make sure to make an additional folder in your "original images" folder. Create a contact print in iPhoto of all of your photographs and print out to turn in alongside your reflection. You will save your work as lastname-firstname-alternative1.jpg, last name-firstname-alternative2.jpg, lastname-firstname-alternative3.jpg When you are done with your project, you will put your three jpgs in the 10-30-2014 Alternative Processes folder in the Common Drive under your period # 10-30-2014 Alternative Processes. Answer the following questions in paragraph form and in complete sentences on the back of your contact print: 1. What style of photographic processing are you emulating in your photographs? 2. What was the process used by the photographer at that time to make that process that you are emulating- chemicals, materials used, time involved, type of photographic equipment? 3. How specifically did you emulate that style in your editing? Tell me specifically what computer programs you used, what steps and tools you used, and how you used them. 4. What photographer did you choose to emulate? How specifically did your photographs recreate the style the photographer? Graded out of 16 points: 4 points: reflection done in complete sentences and paragraph form, contact sheet printed w/ 24 photos 4 points: 3 chosen photographs well focused, in the style of the photographer, well composed 4 points: Photoshop/ editing work done in the style of the photographic process, good craftsmanship 4 points: Time on task, citizenship, photos saved properly as lastname-firstname-alternative1,2,3 Here are the two videos on photographic history that we viewed in class
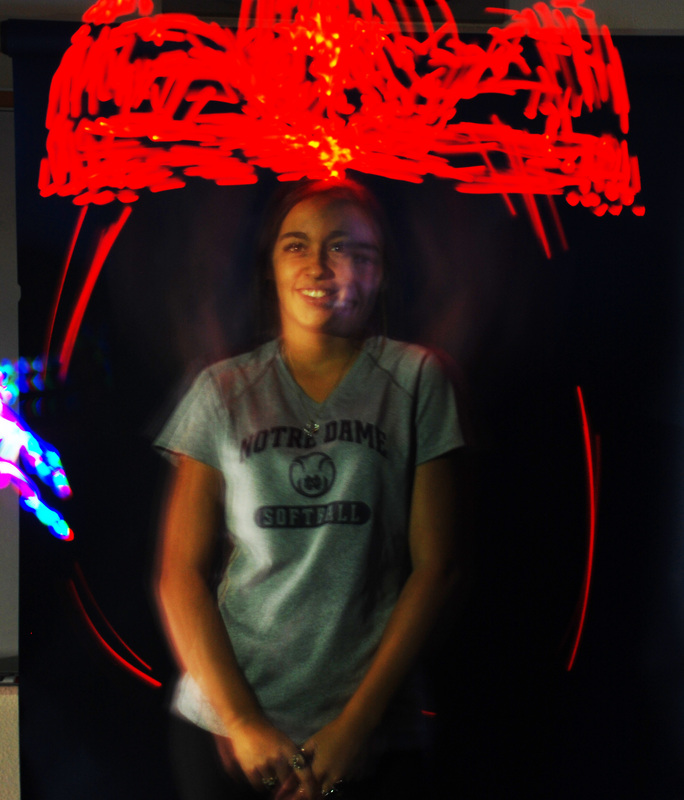
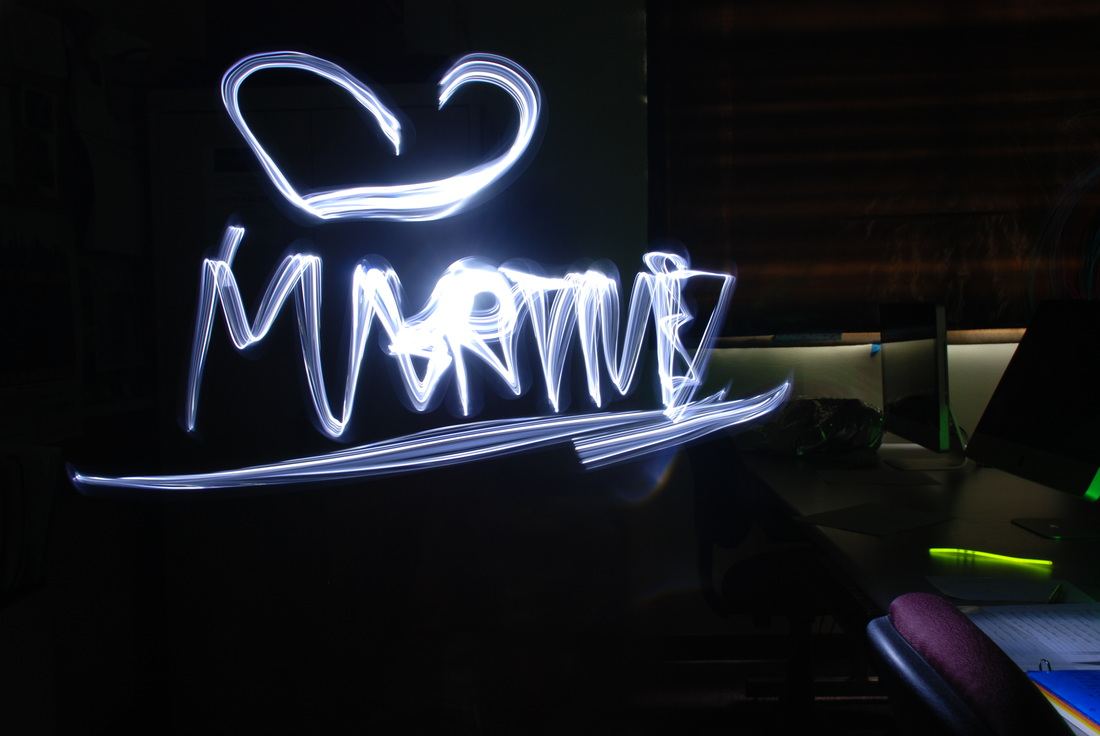
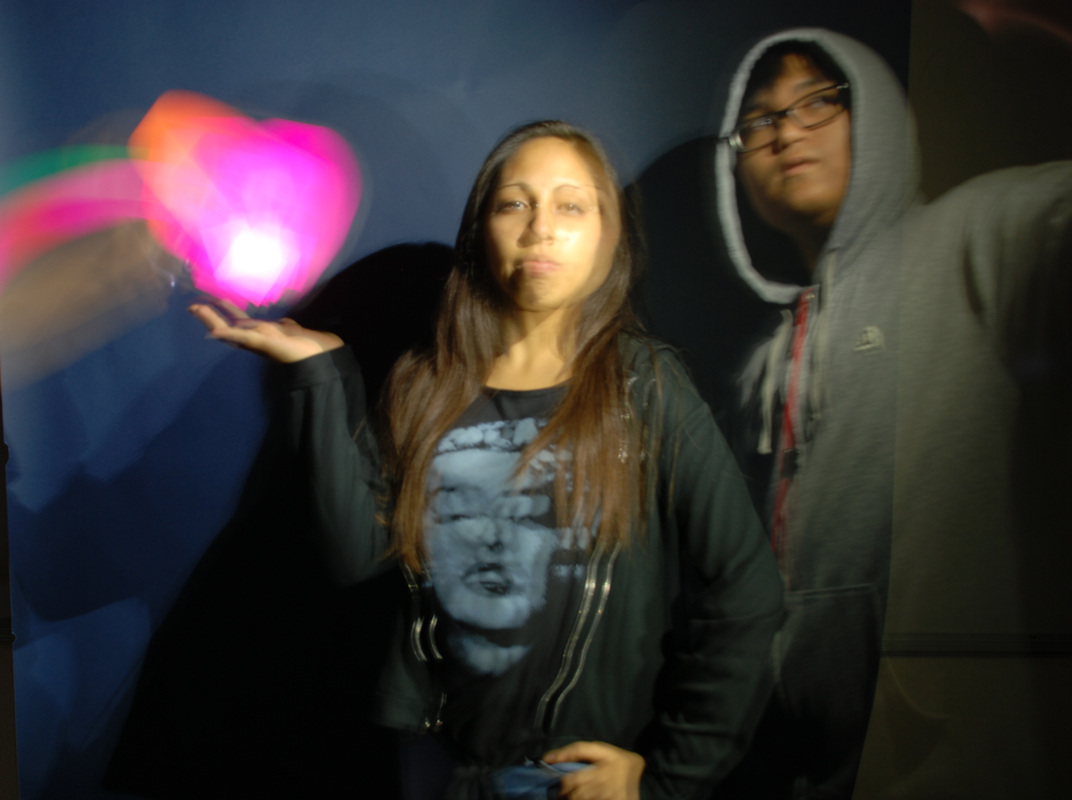
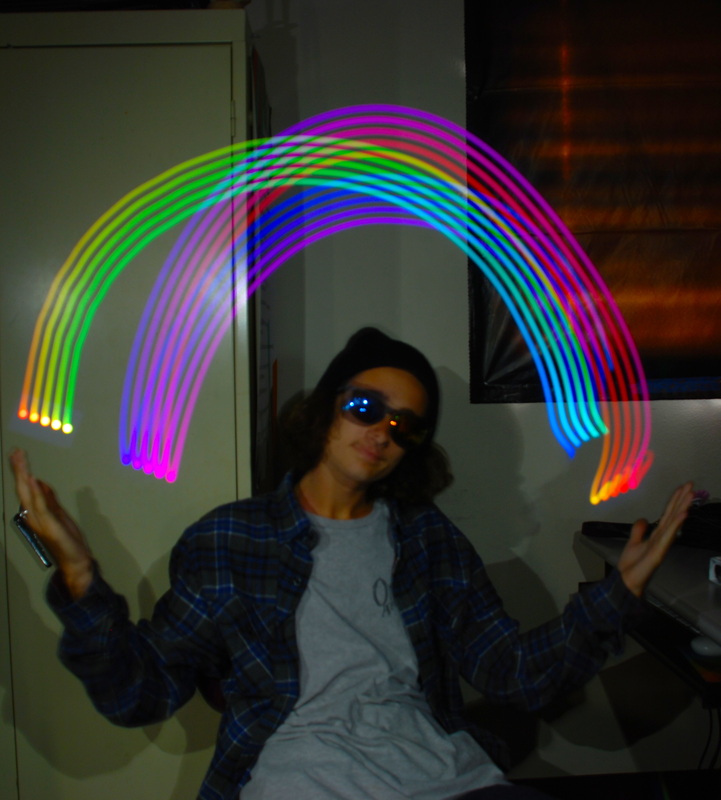
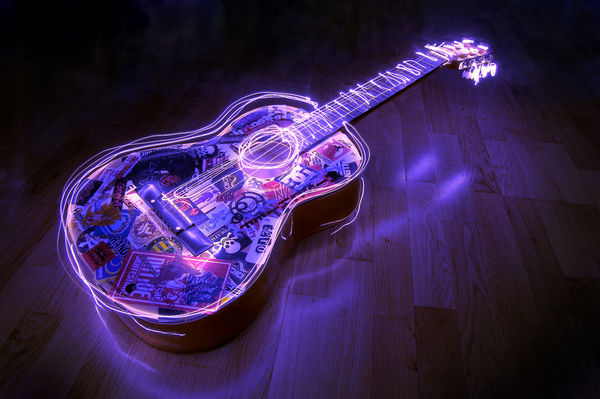
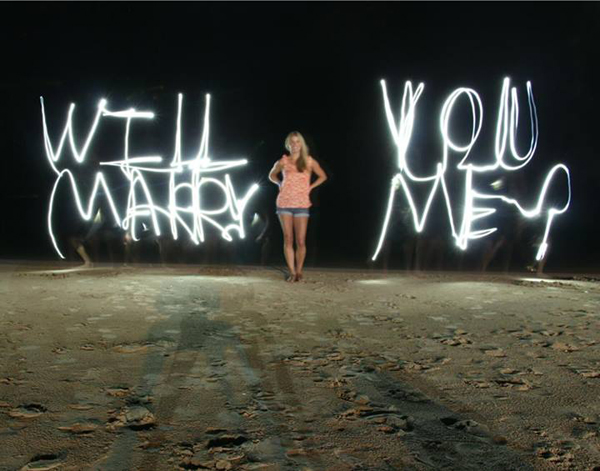
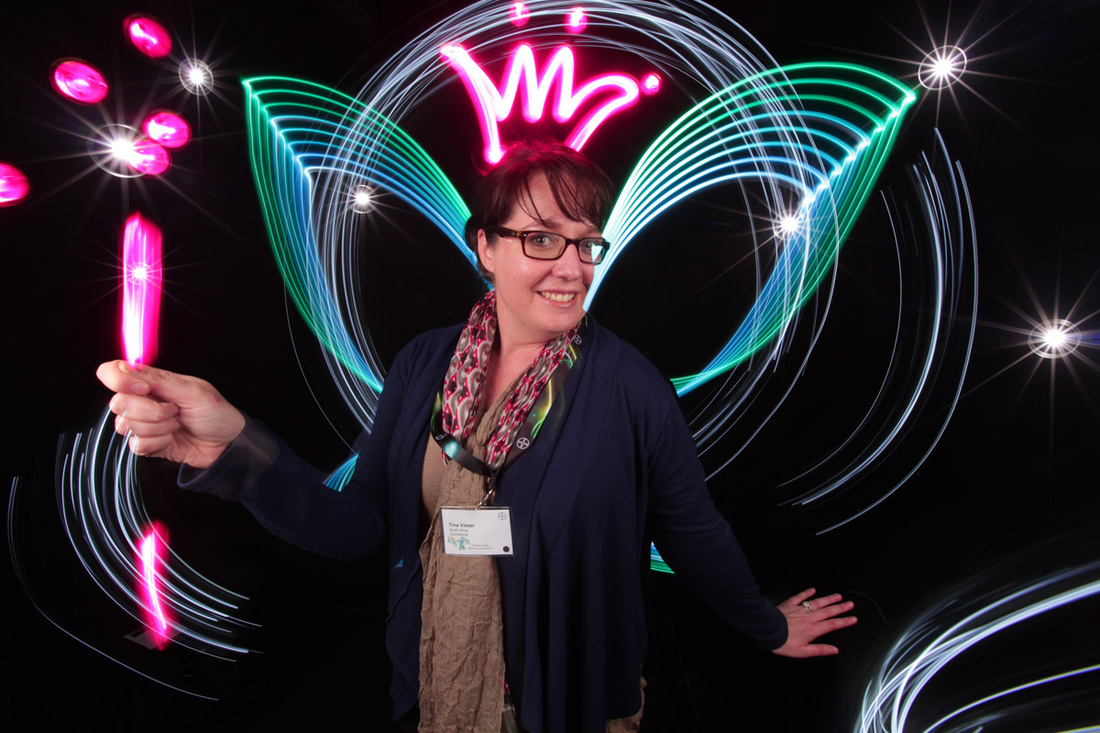
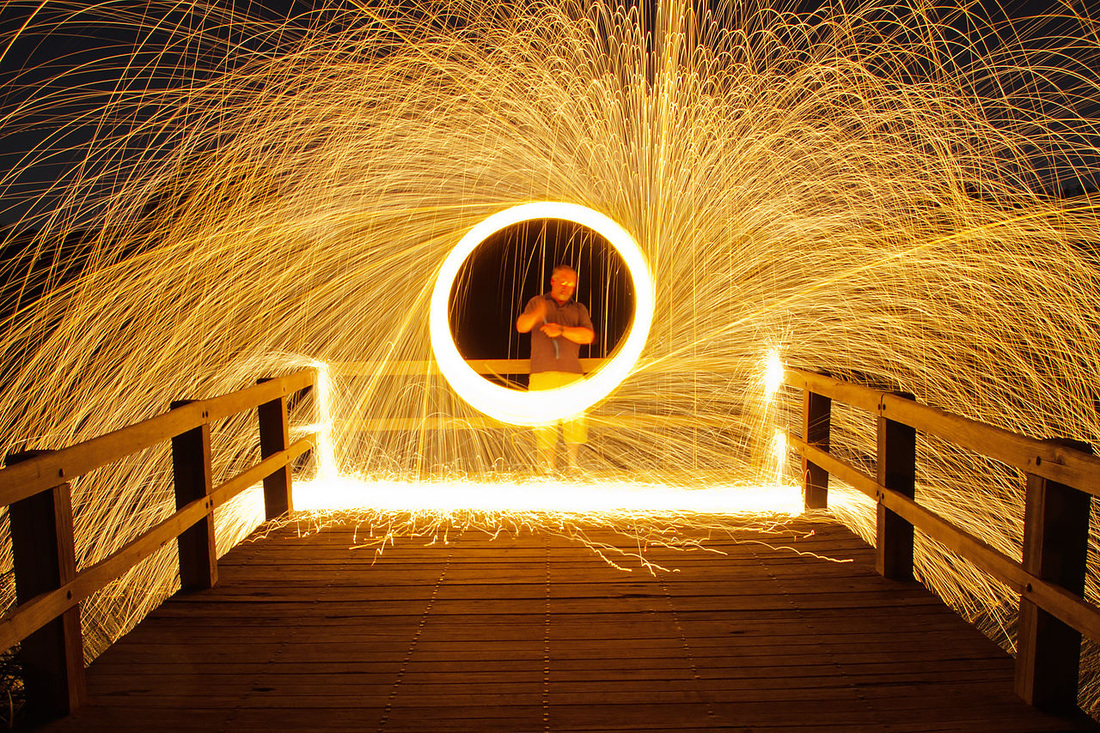
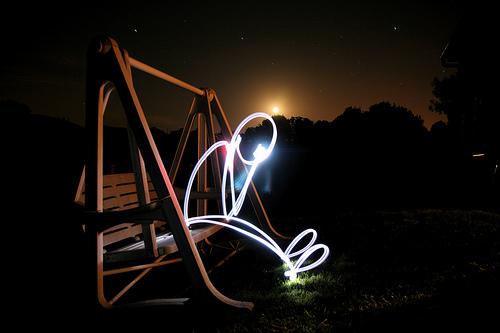
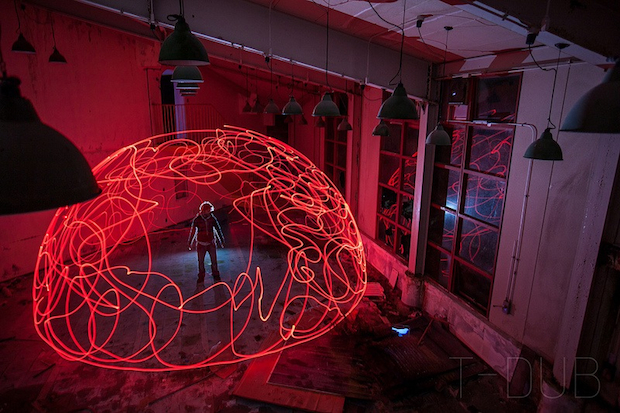
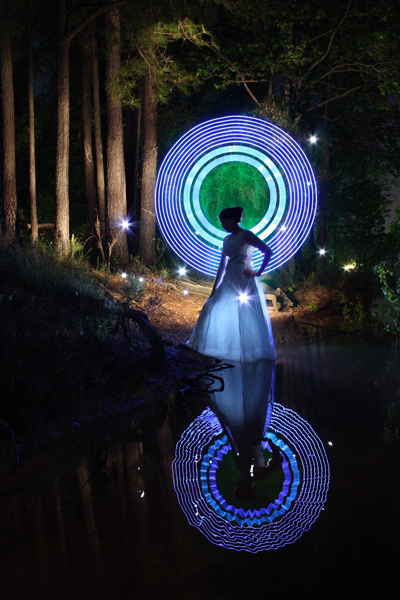
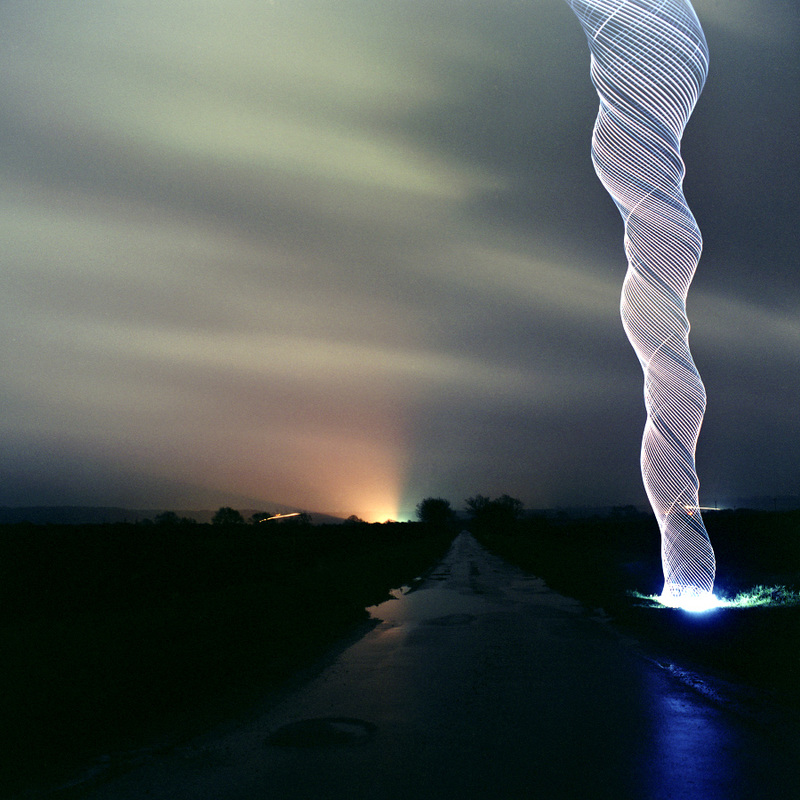
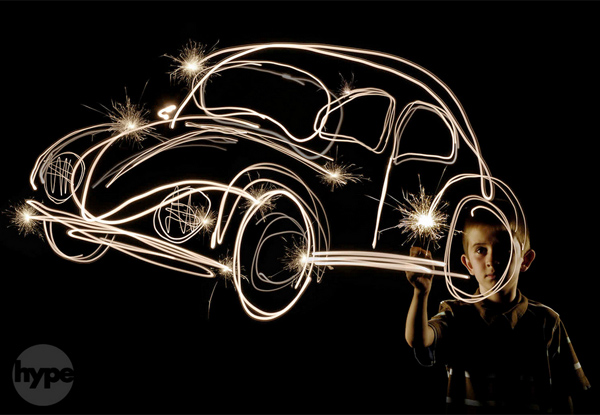
Illuminating photography: From camera obscura to camera phone - Eva Timothy A Brief History of Photography: Innovations in Chemistry - Bytesize Science For this project, you are to create a book with examples of the Elements & Principles of Art through photography. This is one of the most important projects you will do this year, as you will continuously be referring back to it throughout the course.
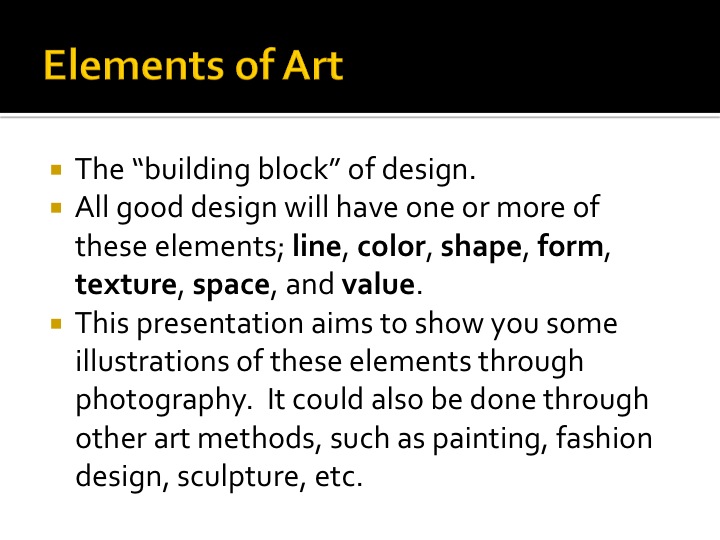
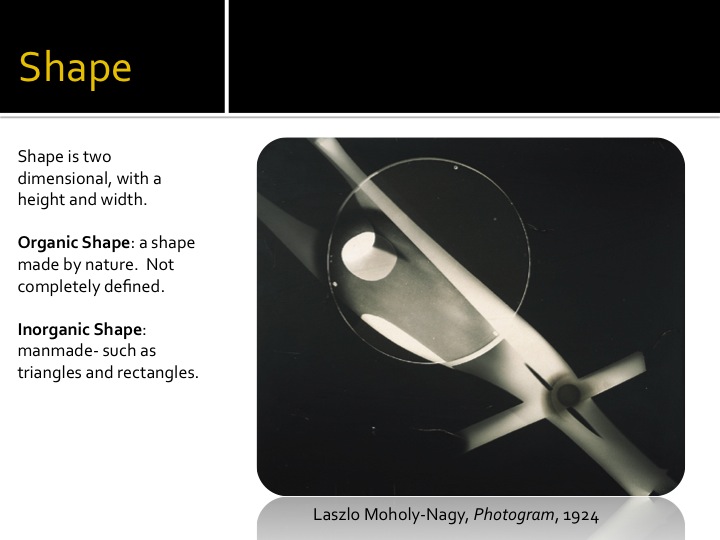
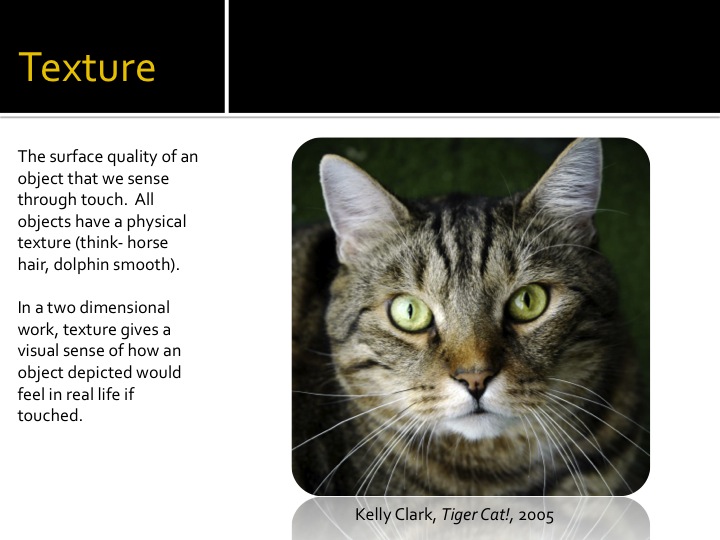
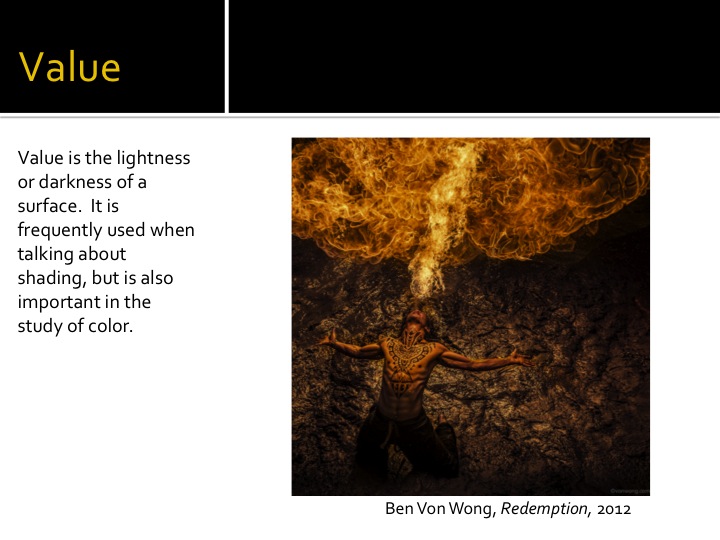
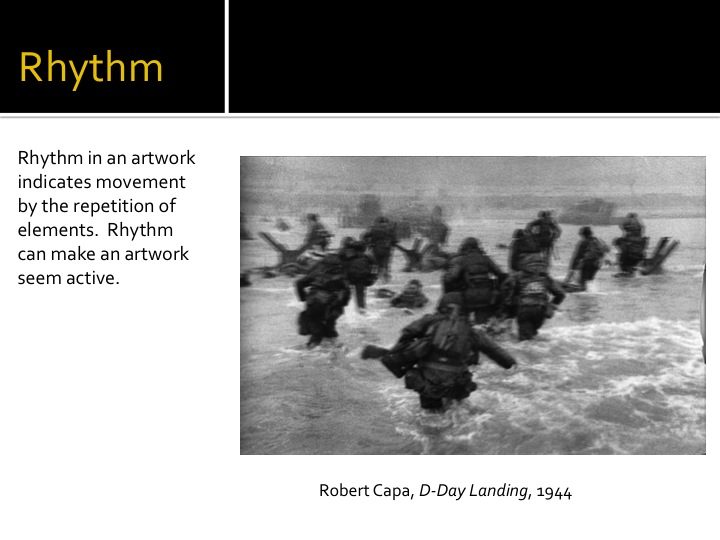
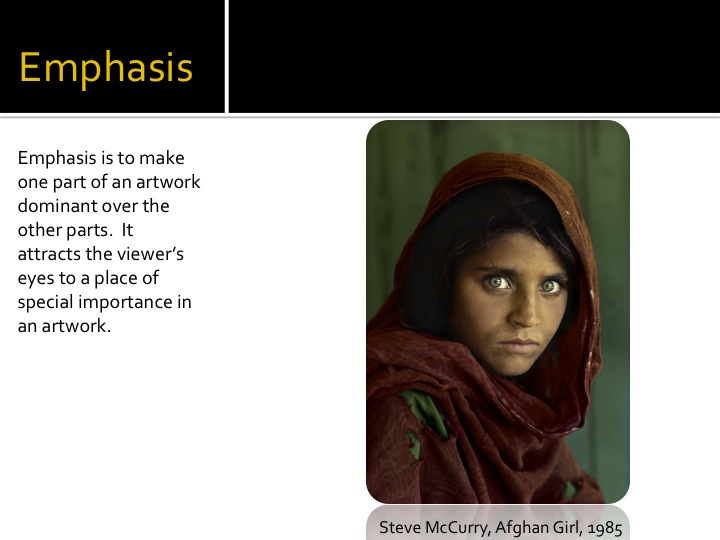
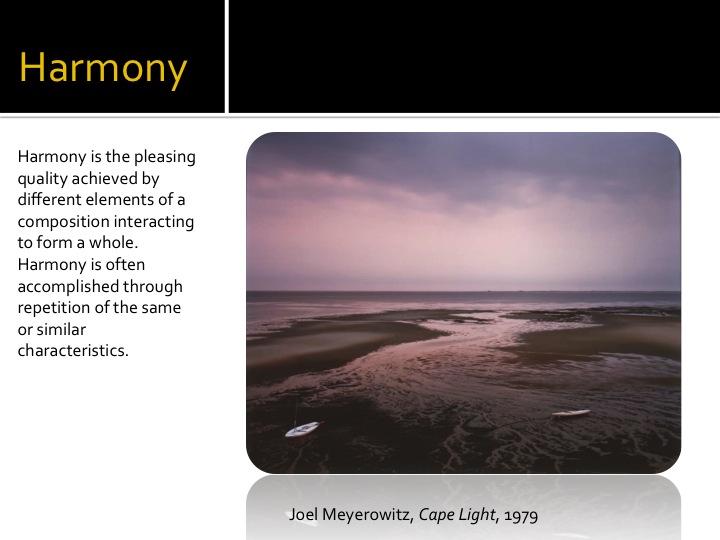
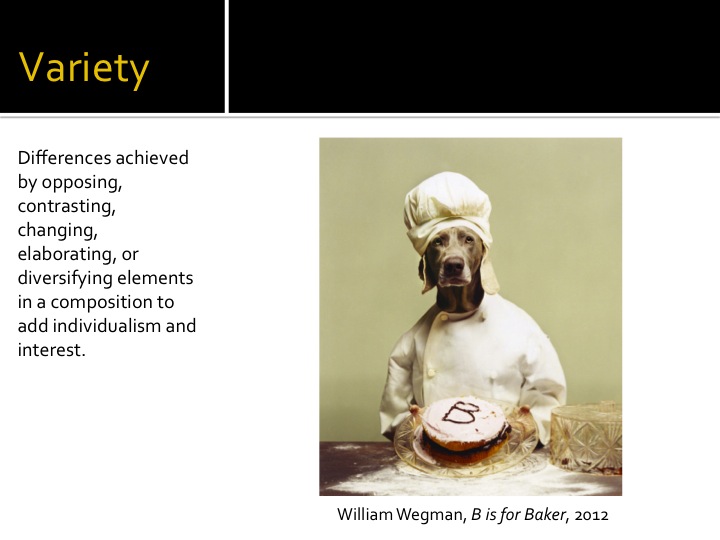
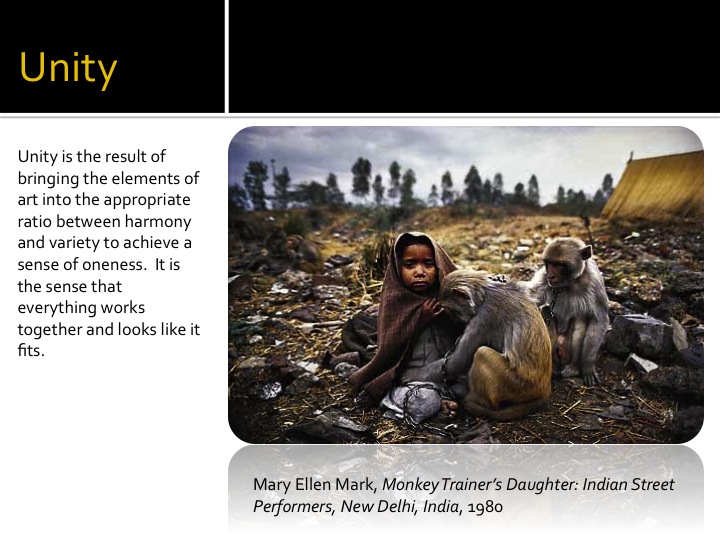
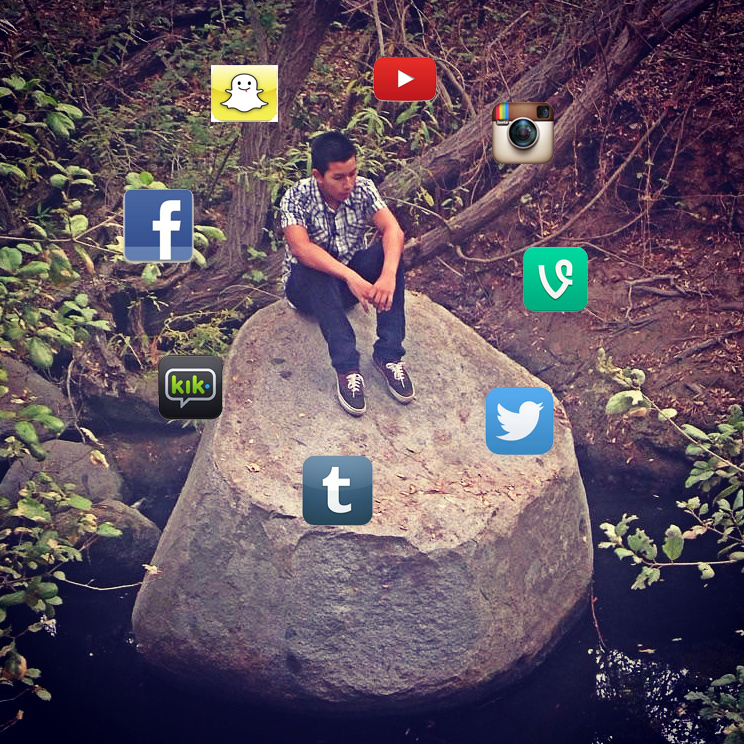
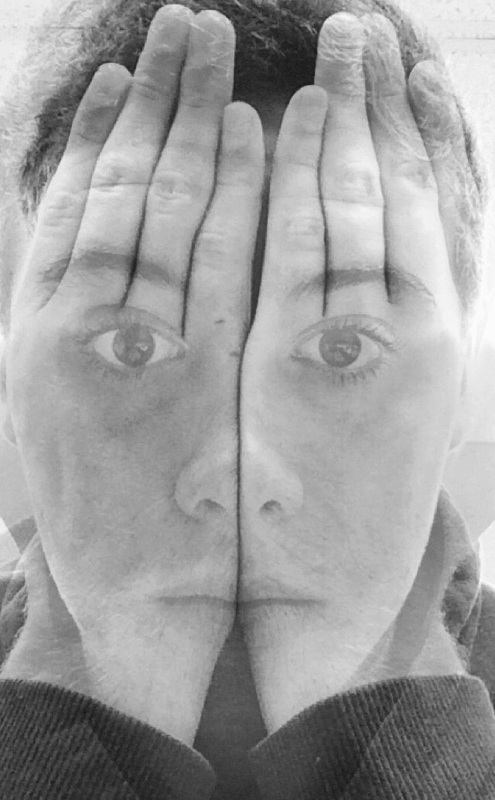
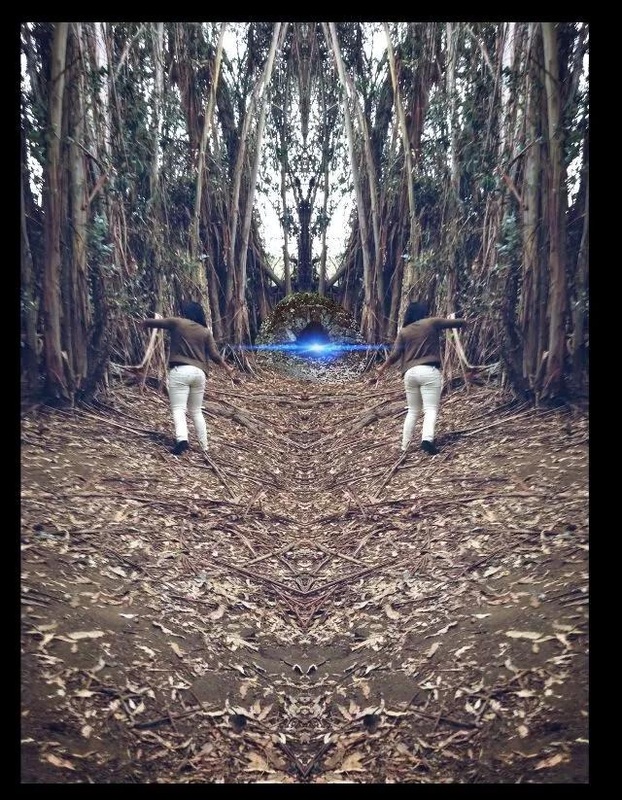
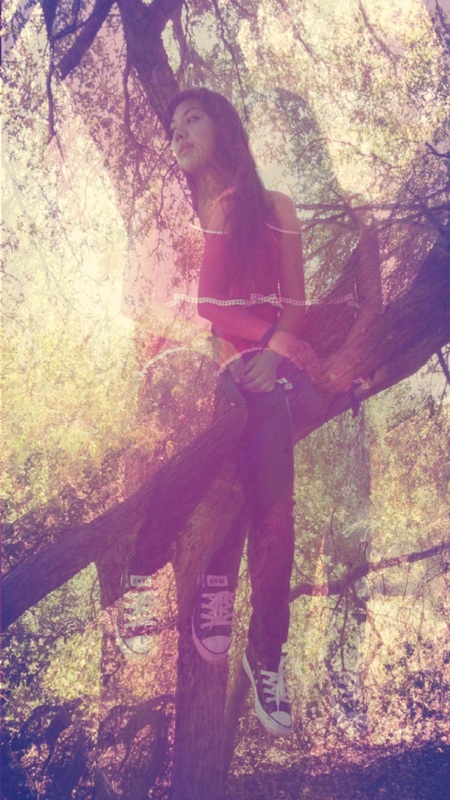
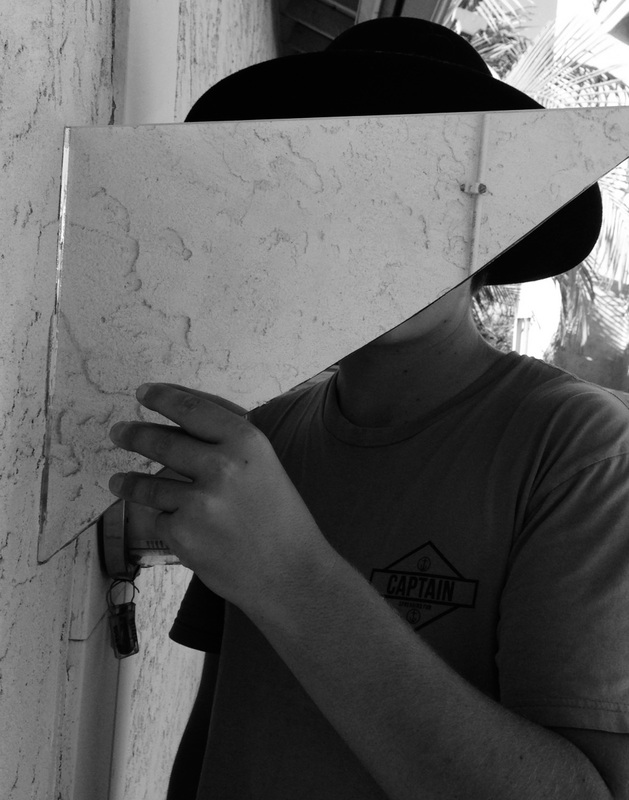
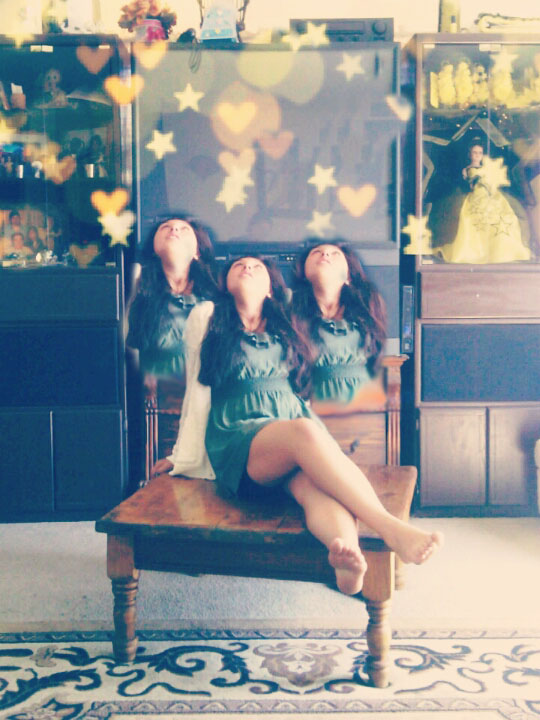
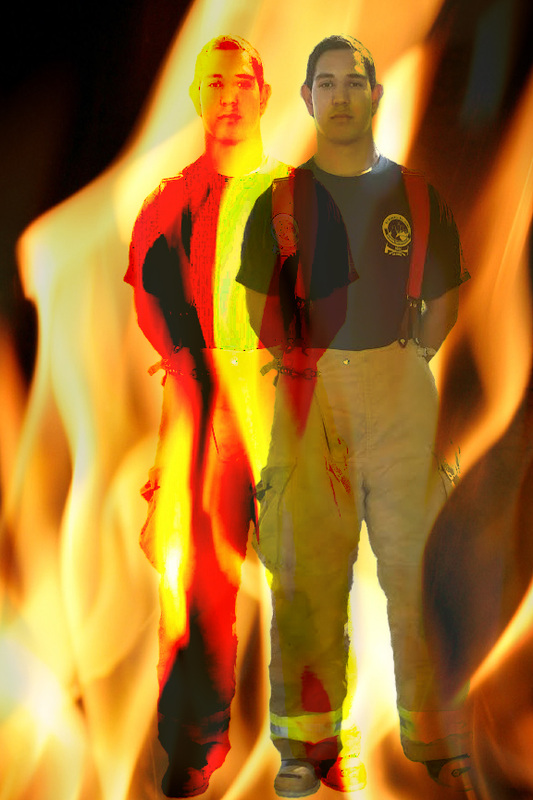
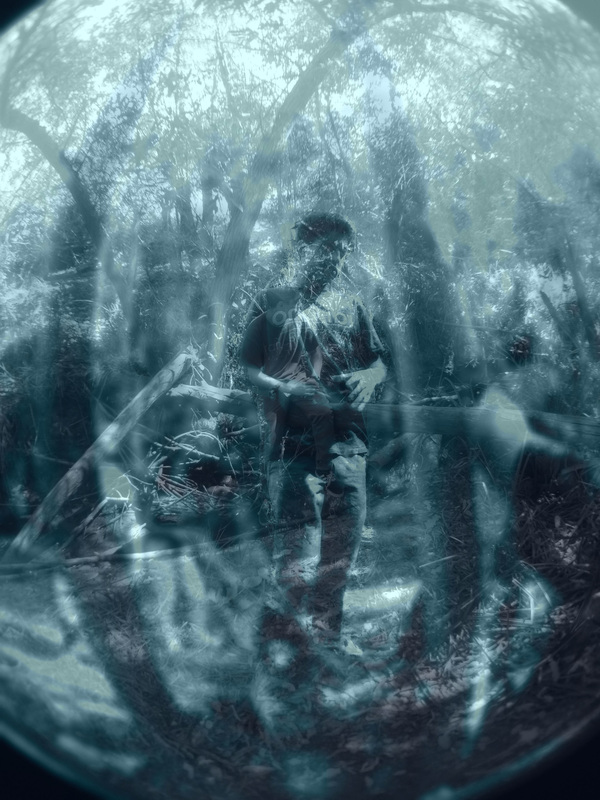
Elements of Art: Line, color, shape, form, texture, space, and value. Principles of Art: Emphasis, harmony, variety, balance, rhythm, proportion and unity. The steps you will take are the following: 1. Find from magazines examples of elements and principles of art, one example for each element and principle. 2. Write lightly which element or principle each photo has on the back so you can remember, & keep track of what you found. 3. Use the white paper provided to make your book 4. Decorate the front cover with the Title of the book, your name, and period number. 5. You are to title each page with the element or principle you are illustrating, as well as a paragraph describing why the photograph is that element or principle. 6. Must be neat and legible- you can type or hand write but only if your writing is very neat and legible! 7. You must do elements in the front part of the book and principles in the back part of the book, in this order- Elements of art page, then one page each for Line, color, shape, form, texture, space, value, Principles of art page, then one page each for emphasis, harmony, variety, balance, rhythm, proportion and unity. Your paragraphs should have the following information: A. Name of the element or principle of art B. Description in your own words what that element or principal is from the notes C. Description of your photograph D. How your photograph is that element or principal Example of descriptive paragraph: “The photograph that I am describing is called Pahalgam, Kashmir, India, and was made in 1998 by Steve McCurry. It is a landscape photograph that has two large trees in the foreground and several trees in the background in a forest. I am assuming that the time of year is the fall, because of all the red leaves on the ground. Within the forest there is a person in front of the main tree who is building a fire, presumably to keep warm. I feel that the artist was using emphasis by the use of the bright light in a subdued color background, and the fire is bright yellow, so it catches your eyes immediately. I feel the artist was successful in using this principle of art because it is the first thing I look at when I see the photograph, and it sets a solemn mood.” (please note that since you are cutting photographs out of magazines, you will probably not know the photographer’s name or title of the piece, which is totally okay. Just make assumptions based on your photograph on where it is set). You will be graded based on the following: Time on task and citizenship- 4 points Craftsmanship - 4 points Quality of Illustrations- 4 points Description of Each Element/ Principle, full sentences- 4 points “We must remember that a photograph can hold just as much as we put into it, and no one has ever approached the full possibilities of the medium.” Ansel Adams Write in your notebook a reflection on your light painting project in complete sentences, specifically: 1. What the settings were on the camera, specifically what the aperture and shutter speed were 2. What the camera had to be on to be stable for the long exposure 3. What camera app or tools did you use to get your photograph (glowsticks? flashlight?) 4. What you did to create your work as far as flashes/ what worked best/ what didn't work. When you are done with the reflection, please edit your best three photographs, save them as lastname-firstname-lightpainting1, 2 and 3 and put them in the class folder in the shared drive RBV-Class1 > 231 Common > Period # > 10-08-2014 Lightpainting. AS WELL AS in your finished projects folder for your portfolio. You will be working in teams of four to get twelve good quality images (3- 4 each) using light painting and slow shutter speeds. You will be experimenting with the amount of time you will need to get a quality image, materials, and models (all four of you need to be a model and all of you will need to be a photographer). Set your camera on MANUAL mode and bring the aperture to f/5.6 by using the front dial and the shutter speed to 30 seconds by using the back dial. Put your lens in MANUAL focus and focus on the model before the lights go off, otherwise the camera will have a hard time focusing and won't take a photo. Experiment with light drawing, light writing, adding things that aren't there, etc. You may use the glow sticks that are provided, or your cell phone light. Experiment, experiment, experiment! If it doesn't come out right the first time, keep trying until you've got it right. There are FREE apps for cell phones for light painting if you would like to use them- I like "My Light Paint". Please be very careful around the tripods and cameras!!! 1. When you are done, you will create an iPhoto album called 10-08-2014 Light Painting, 2. Then create a folder in your "Original Images" folder called 10-08-2014 Light Painting and drag your photos from iPhoto into the folder. 3. Do any editing in iPhoto to make sure it's cropped correctly, adjust any brightness/contrast, retouch any dust, etc. 4. Save your favorite 3- 4 images as last name-firstname-lightpainting1.jpg, lastname-firstname-lightpainting2… in the class folder RBV-Class1- 231Common> Period # > 08-08-2014 Light painting folder. 5. Finally, save your images in your personal "finished projects" folder for your portfolio at the end of the year.  To hand in your Surrealist Selfie Project, you will give me three things: 1. Your image saved as a jpeg in the Common shared folder RBV-Class1>231Common> Period # in the "10-03-14 Surrealist Selfie" folder. Save your image as lastname-firstname-selfie.jpg 2. Your sheet of paper with your manifesto on one side and thumbnail sketches on the other, stapled to your typed self reflection. 3. Your self reflection paper with your image on it, printed out and handed to me for grading along with your manifesto. In addition to printing it out, SAVE in the shared drive as well as lastname-firstname-selfiepaper. Your self reflection paper must be AT LEAST one page long (12 pt font, double or single spaced) and in paragraph form. It must address the following and in the following order: A. Your title of the piece and why you are titling it that B. What the aim of the picture is- what is the story you are trying to tell? What does your photograph say about you? What makes your photograph unique? (at least a paragraph for this) C. What apps did you use, and how did you use them? (at least a paragraph for this) D. What challenges did you have for this project? How did you overcome them? E. What was your favorite part of this project? Why? F. Would you recommend giving this assignment again to students next year? Why or why not? Make sure both your name and your photograph are on the paper, staple your manifesto and thumbnail sketches to it, and hand it in. Your photograph must also be in the classroom folder as lastname-firstname-selfie.jpg and your paper must be in the classroom folder too- lastname-firstname-selfiepaper! Graded on: 16 points Thumbnail sketches, manifesto, reflection: 4 points Craftsmanship, saved properly as lastname-firstname-selfie.jpg and time on task: 4 points Photograph is surrealistic and talks about subject: 4 points Use of apps and quality of photograph: 4 points |
Categories
All
AuthorMrs. Moncure, photo teacher of truly great artists from Rancho Buena Vista High School in Vista, northern San Diego County. Archives
May 2016
|
| Ms. Clark CTE Photo Imaging I |
|


 RSS Feed
