1. Make sure that you have FIVE images of the same subject, one with regular exposure, one with -.5 exposure, -1.0, +0.5 and +1.0- specifically, two that are underexposed (too dark), two that are overexposed (too light), and one where it looks like a happy medium.
2. Go to Photoshop and press FILE > AUTOMATE > MERGE TO HDR PRO...
3. A new menu will pop up. Select FILES and BROWSE.
4. Another menu will pop up. Scroll down on the left side until you see "Photos" under Media. This is where all your images on iPhoto will come up. Select the five images of the same subject by pressing COMMAND + CLICK > OPEN. It will go back to the original menu with the images listed. Press OKAY.
5. Give the computer a few moments to think, as it is aligning the layers. Another screen will pop up, with the layers merged. Press REMOVE GHOSTS at the top right hand side to make the computer align the layers even more.
6. Go through the various presets of Photoshop on the top right- "more saturated" is the most popular, but you can play with them to see what looks best. You can also vary the dials on the bottom to make it more saturated/ more exposure etc to your vision. You may have to press "remove ghosts" again after you make your selection.
7. Retouch any dust out of the sky by using the SPOT HEALING BRUSH tool, which looks like a bandaid with a dotted semi circle on top of it.
8. Save your work as a JPEG (it will be preset as a Photoshop file) as the specific compositional rule that the image is- specifically, lastname-firstname-compositionalrule.jpg i.e. Moncure-Kelly-ruleofthirds.jpg
9. All together you will be creating SIX HDR photographs, one of each compositional rule-
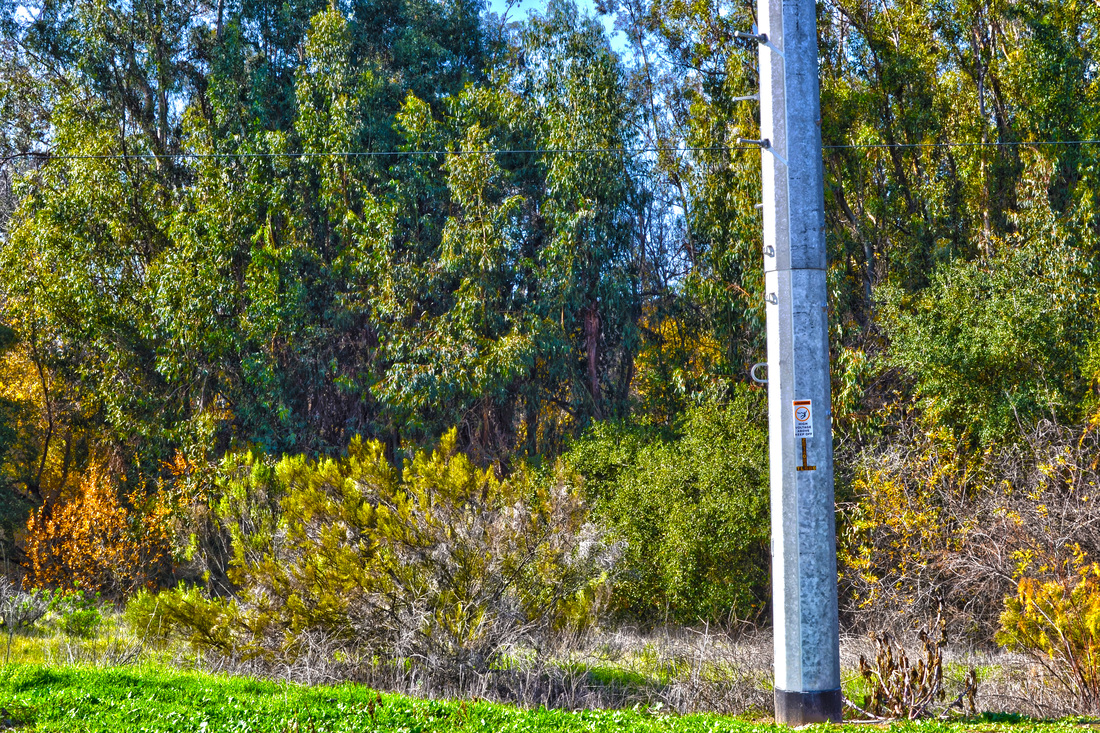
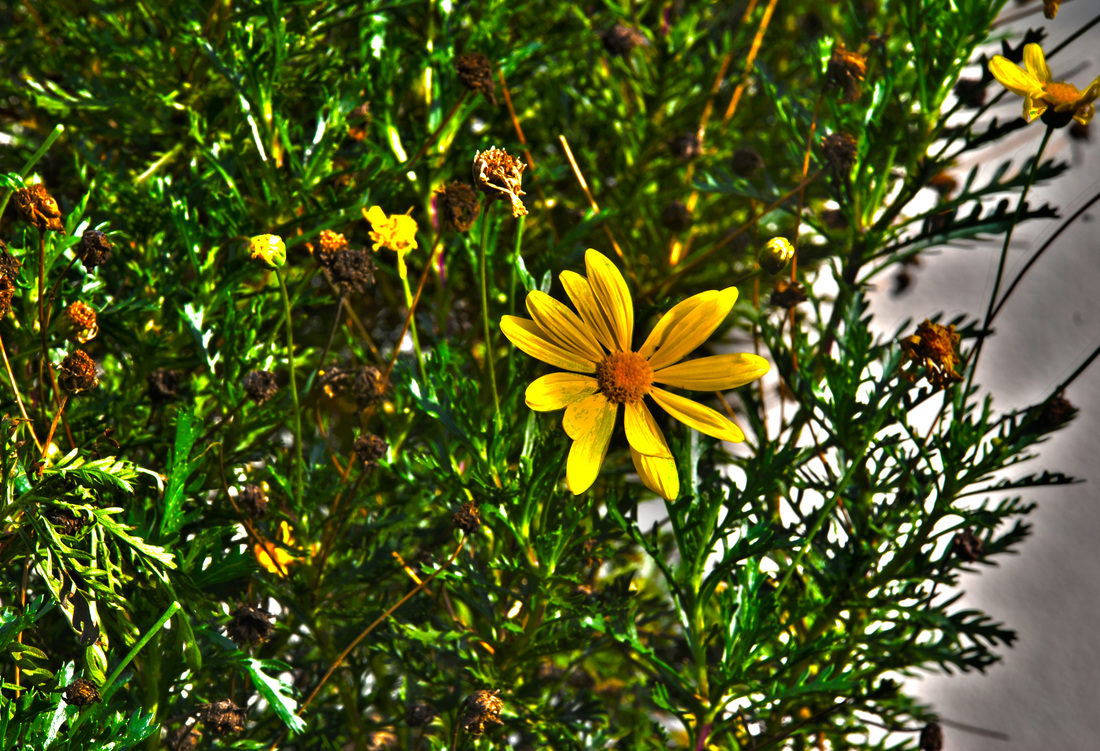
A. Rule of thirds (your subject is in the 1/3 quadrant of the picture, like it’s folded into thirds)
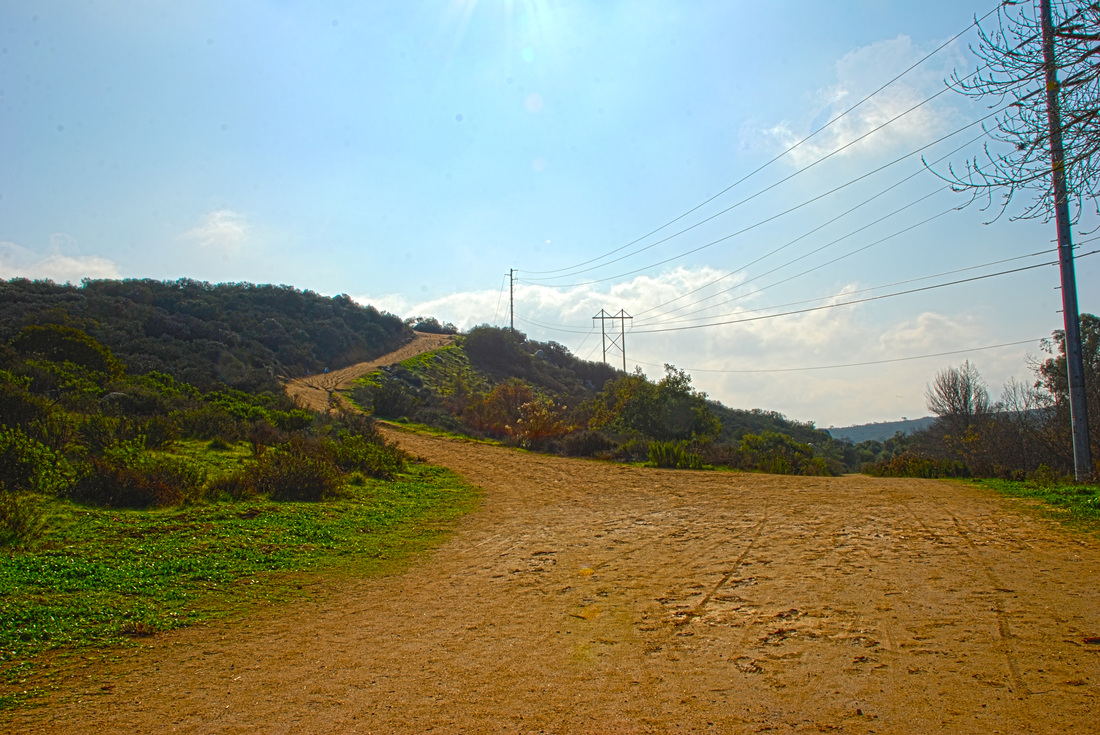
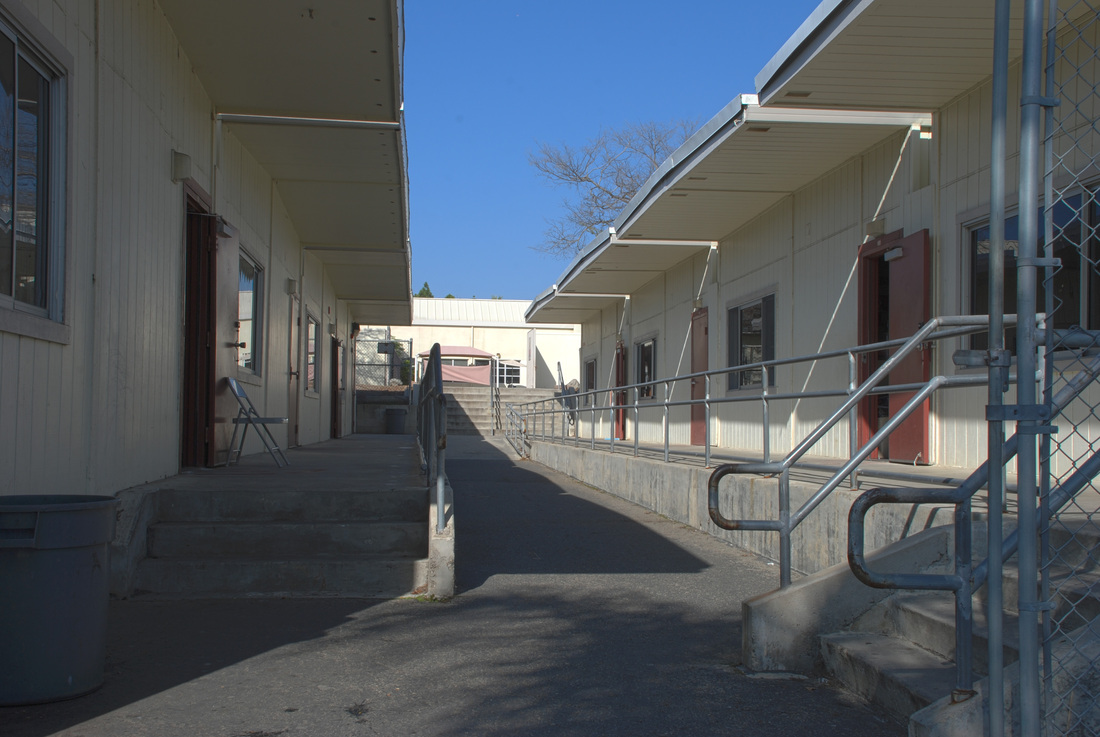
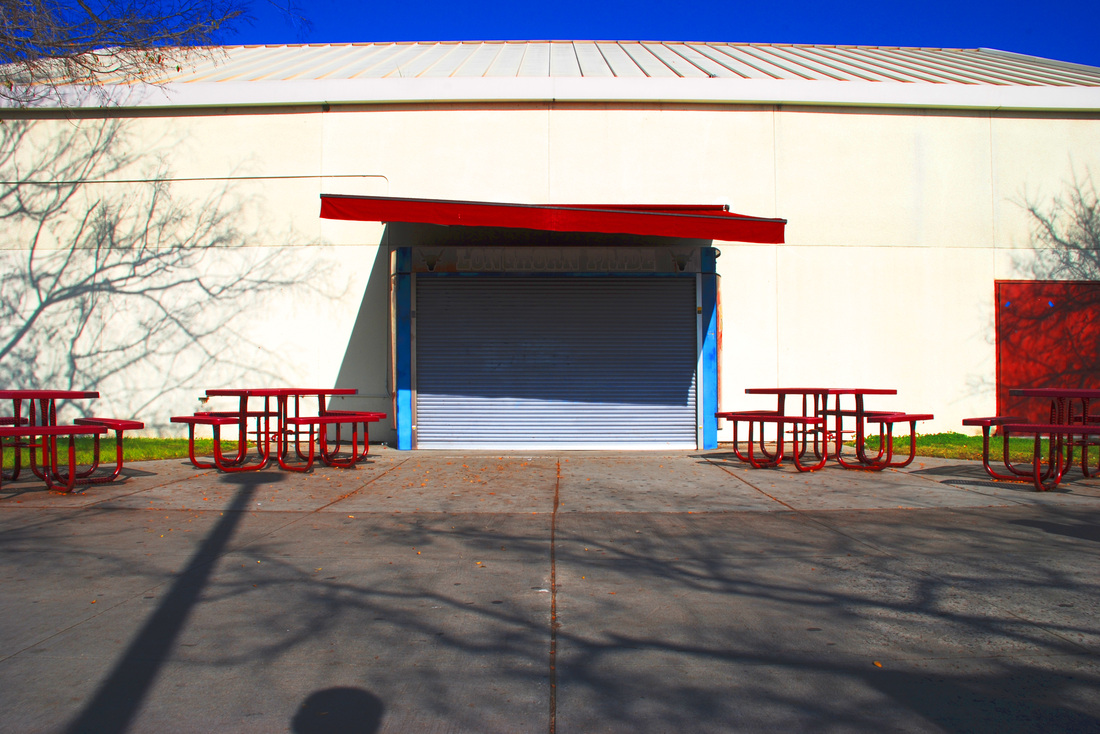
B. Leading line (your eye will be led through the photograph through a line, such as a sidewalk or a path)
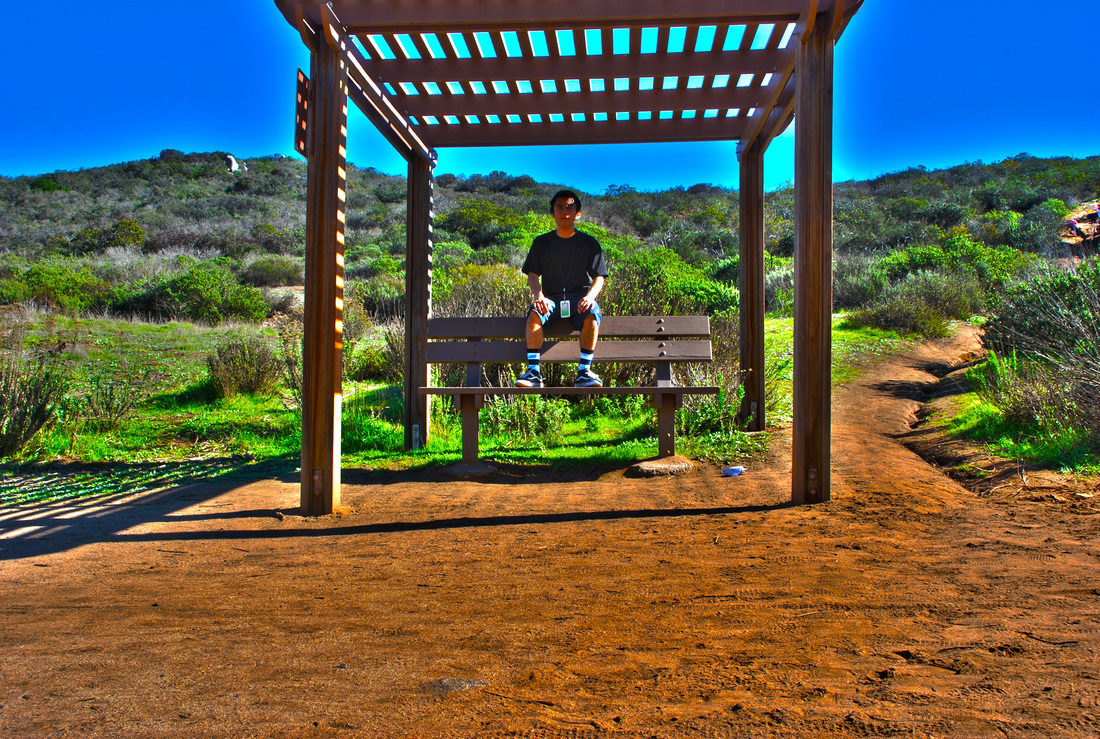
C. Framing (your subject will be “framed” by trees, a gazebo, etc)
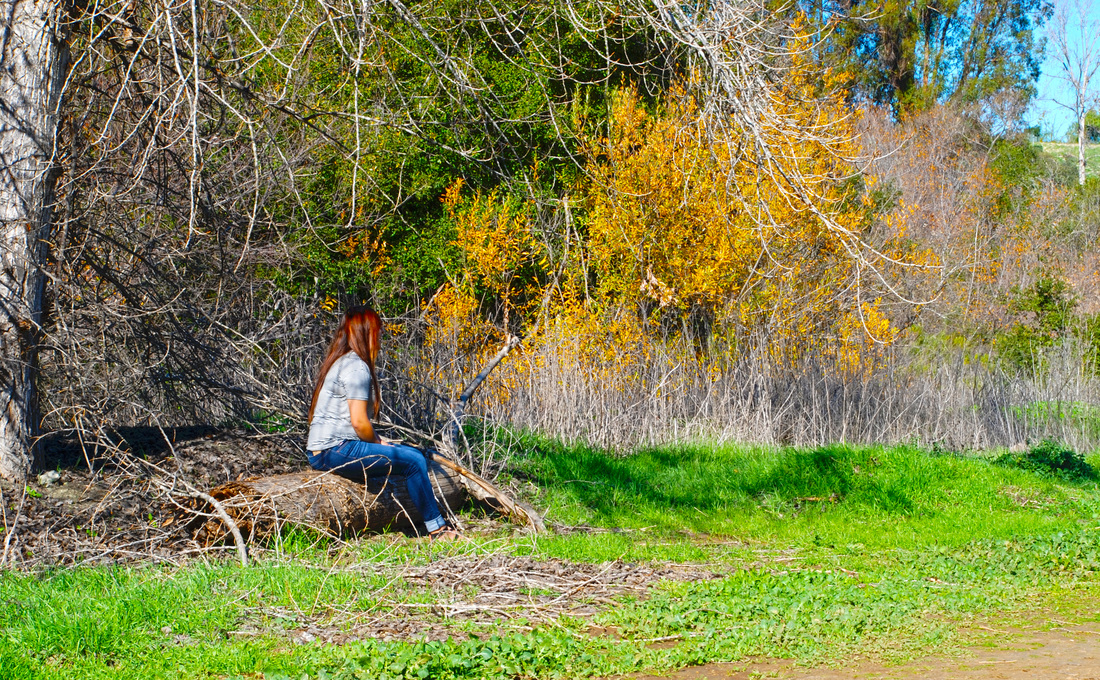
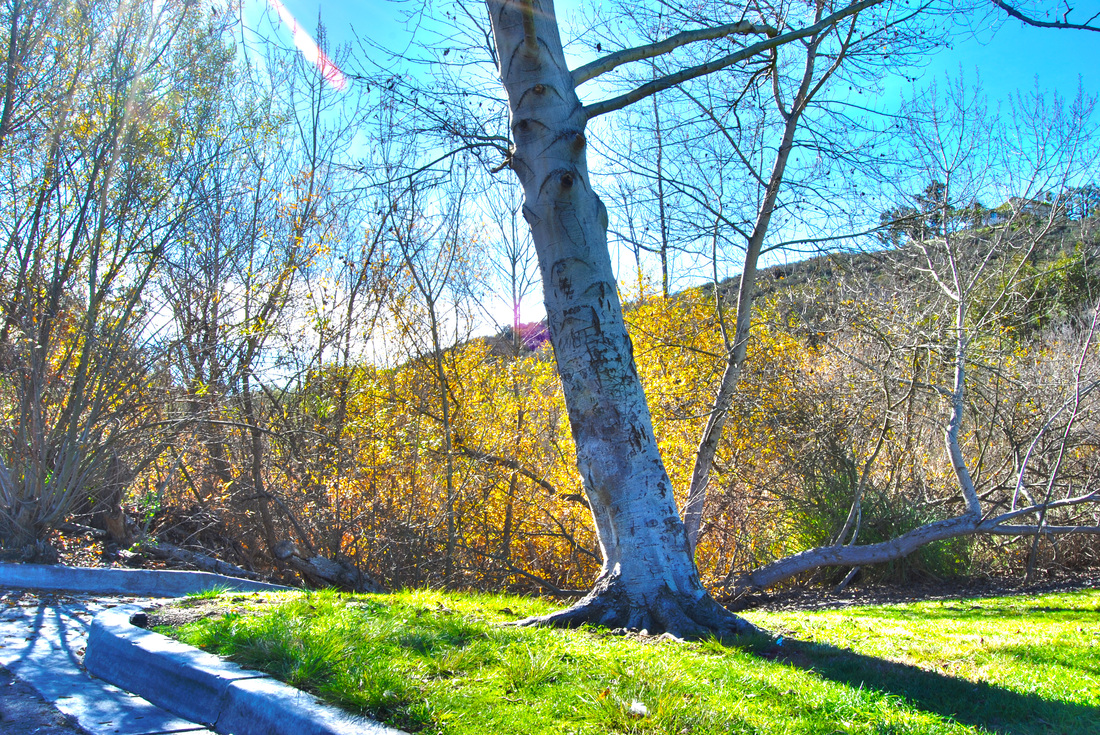
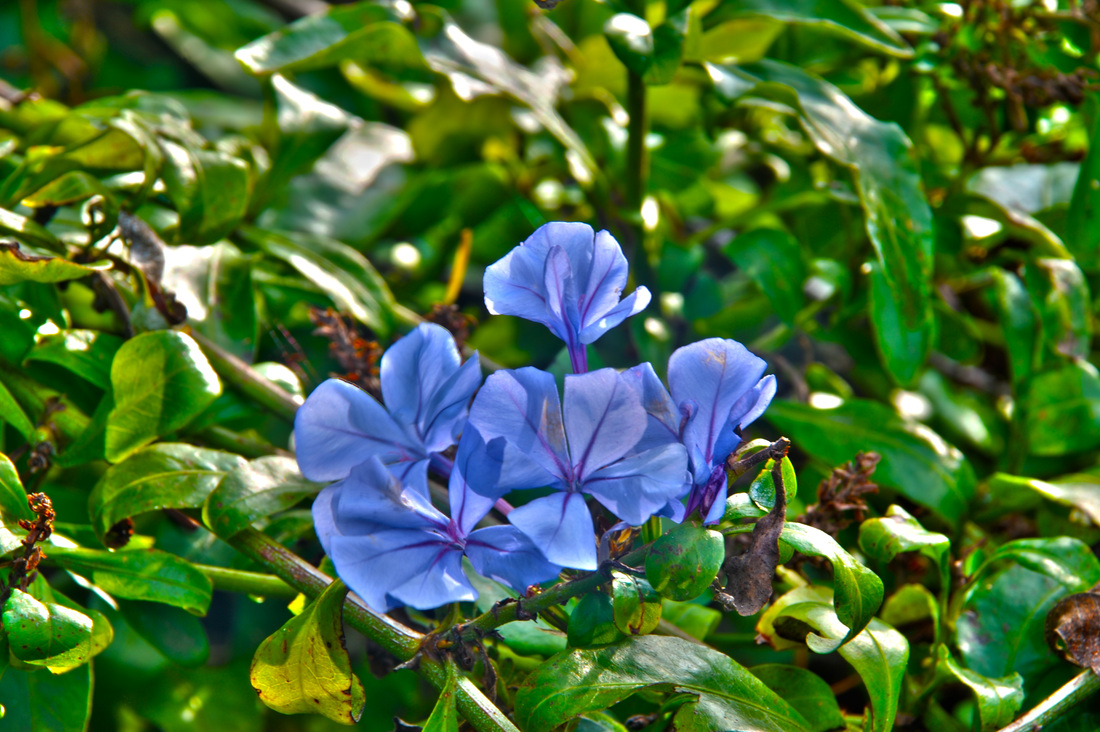
D. Simplicity (your subject is clearly defined with a non-busy background)
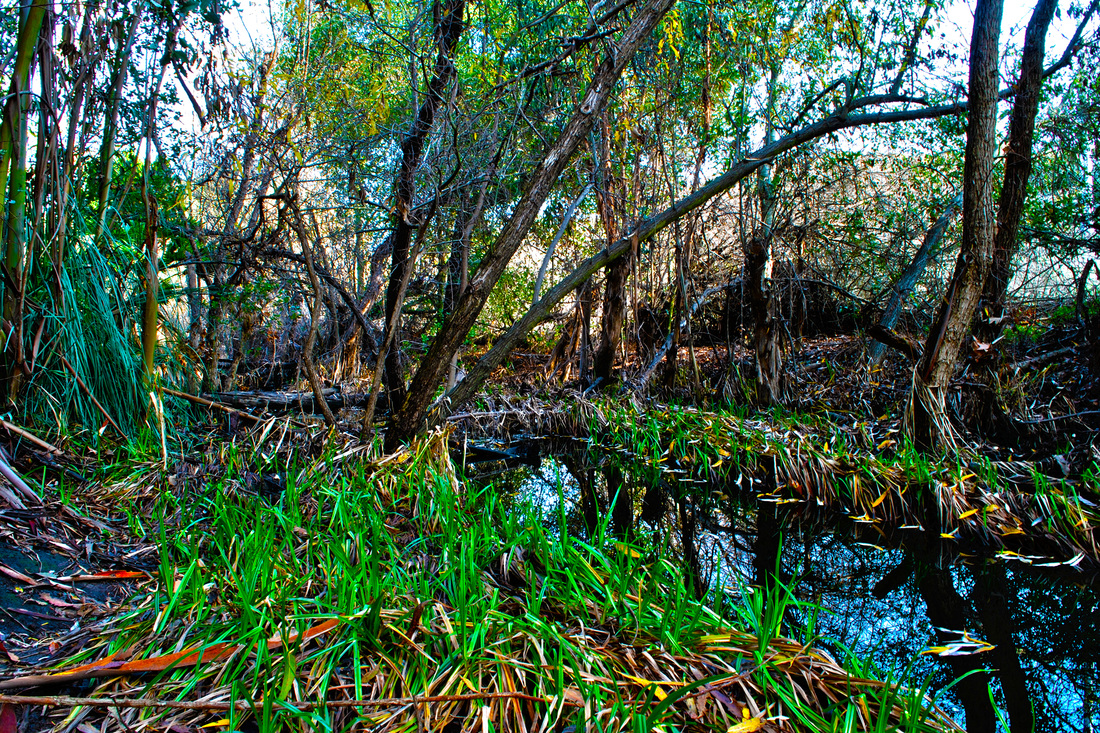
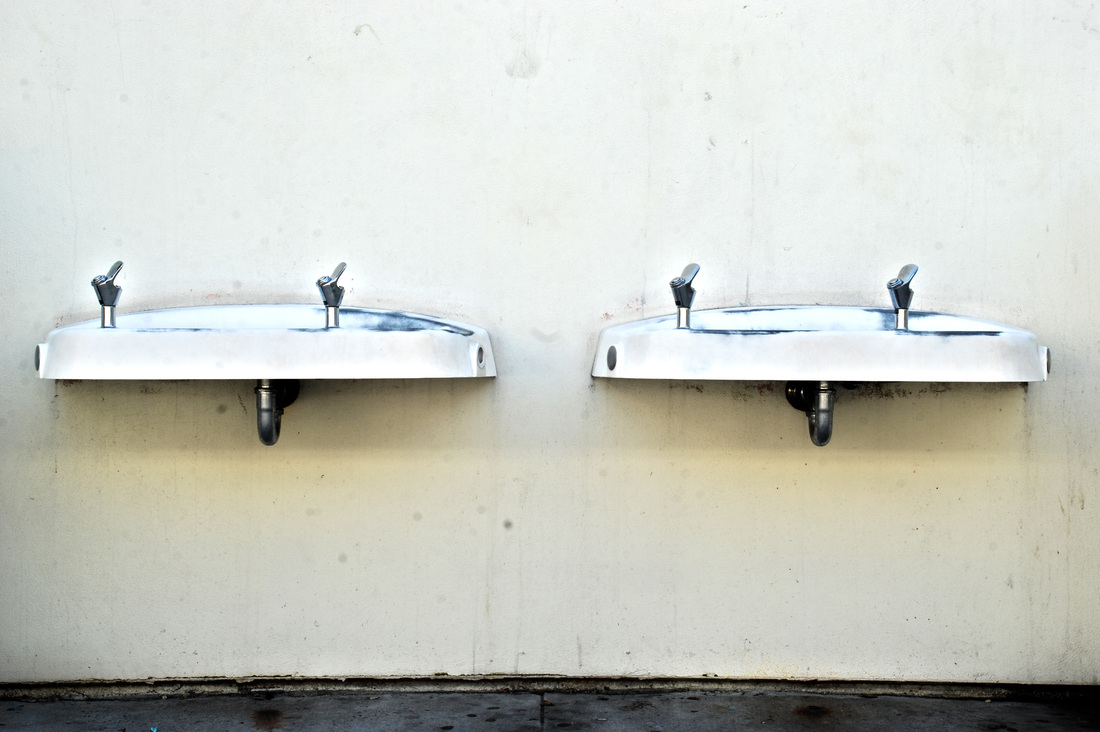
E. Symmetry (think of a butterfly wing/ two trees evenly spaced)
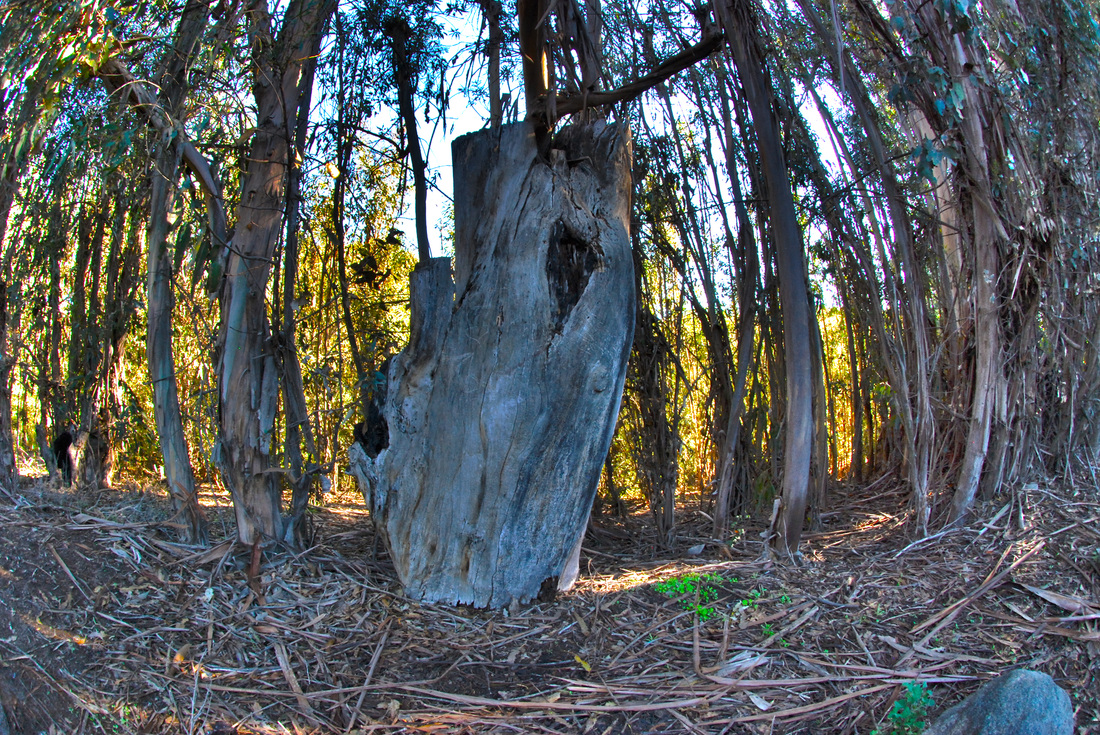
F. Crop (get in close to your subject to show texture and detail)
2. Go to Photoshop and press FILE > AUTOMATE > MERGE TO HDR PRO...
3. A new menu will pop up. Select FILES and BROWSE.
4. Another menu will pop up. Scroll down on the left side until you see "Photos" under Media. This is where all your images on iPhoto will come up. Select the five images of the same subject by pressing COMMAND + CLICK > OPEN. It will go back to the original menu with the images listed. Press OKAY.
5. Give the computer a few moments to think, as it is aligning the layers. Another screen will pop up, with the layers merged. Press REMOVE GHOSTS at the top right hand side to make the computer align the layers even more.
6. Go through the various presets of Photoshop on the top right- "more saturated" is the most popular, but you can play with them to see what looks best. You can also vary the dials on the bottom to make it more saturated/ more exposure etc to your vision. You may have to press "remove ghosts" again after you make your selection.
7. Retouch any dust out of the sky by using the SPOT HEALING BRUSH tool, which looks like a bandaid with a dotted semi circle on top of it.
8. Save your work as a JPEG (it will be preset as a Photoshop file) as the specific compositional rule that the image is- specifically, lastname-firstname-compositionalrule.jpg i.e. Moncure-Kelly-ruleofthirds.jpg
9. All together you will be creating SIX HDR photographs, one of each compositional rule-
A. Rule of thirds (your subject is in the 1/3 quadrant of the picture, like it’s folded into thirds)
B. Leading line (your eye will be led through the photograph through a line, such as a sidewalk or a path)
C. Framing (your subject will be “framed” by trees, a gazebo, etc)
D. Simplicity (your subject is clearly defined with a non-busy background)
E. Symmetry (think of a butterfly wing/ two trees evenly spaced)
F. Crop (get in close to your subject to show texture and detail)


 RSS Feed
